
Workspace quickstart
This works one real question — which search provider should our documentation site use? — through to something you could show someone. Allow about half an hour, most of it waiting for research to finish.
1. Create the workspace
Section titled “1. Create the workspace”Open Workspace under Content Modules and choose Create Workspace.
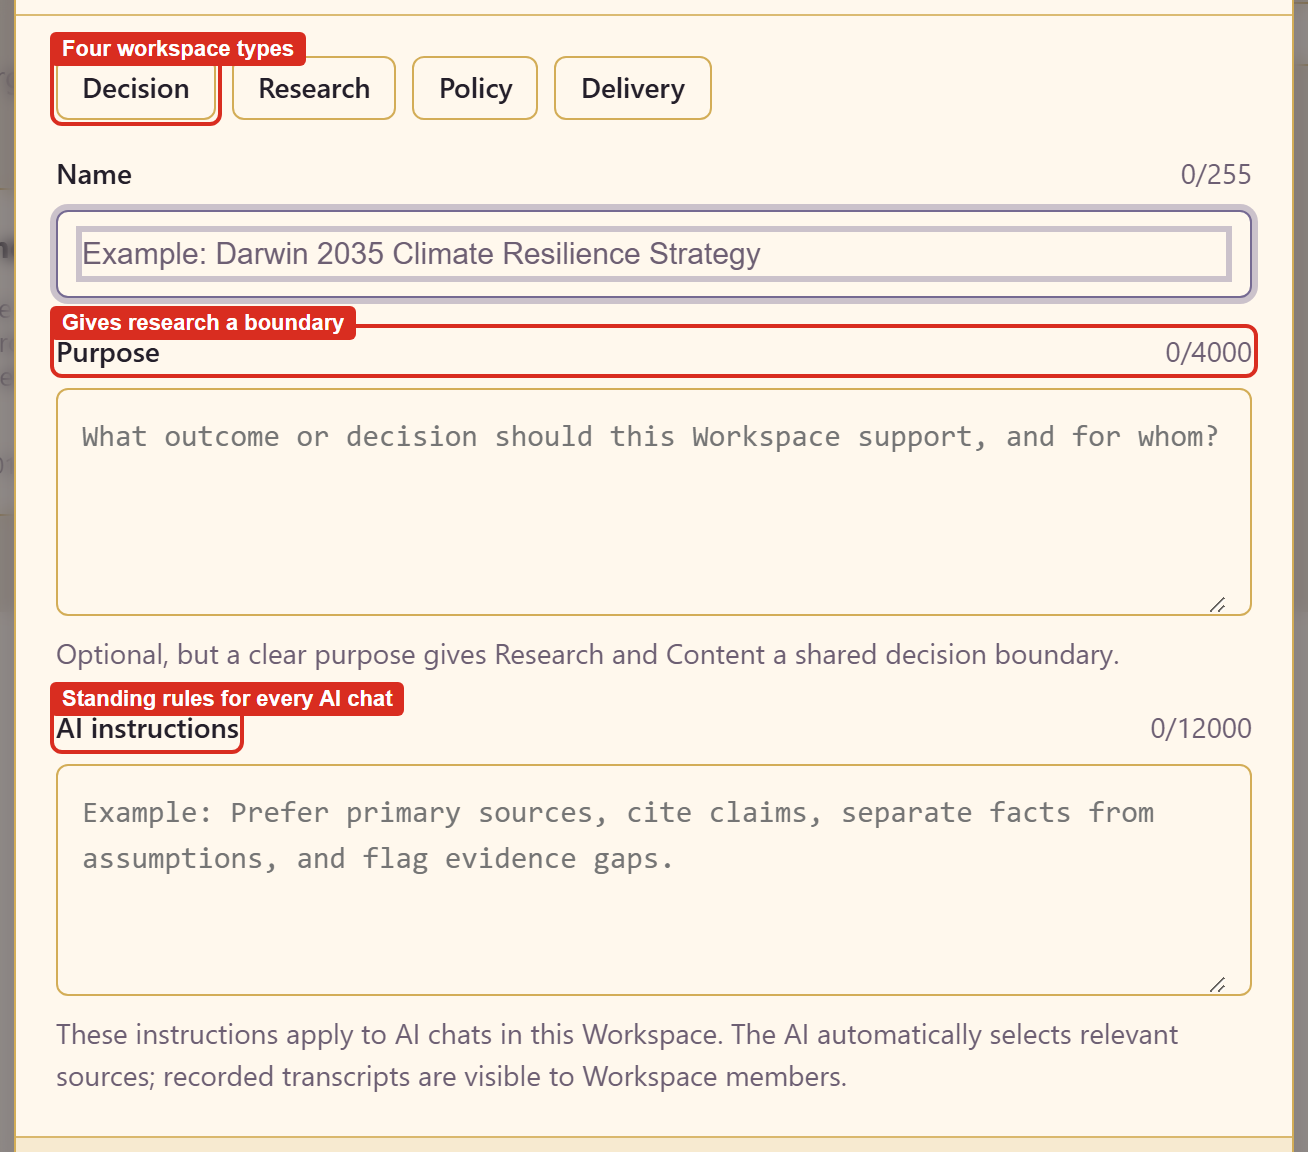
Pick a type: Decision, Research, Policy, or Delivery. This example is a Decision.
Name it for the question, not the project. “Docs search replacement” says what is being settled.
Purpose is optional and worth writing. The dialog explains why: a clear purpose gives Research and Content a shared decision boundary. Without one the AI has no way to judge what is relevant.
The example uses: Decide which search provider the documentation site should use from 2027, and record the evidence behind the choice.
2. Write the AI instructions
Section titled “2. Write the AI instructions”The third field sets standing instructions for every AI chat in this workspace, and it is the highest-leverage thing on the form.
The example uses: Prefer primary sources and vendor documentation over blog posts. Always state pricing in USD per month at our current page count. Flag any claim you cannot source.
Each sentence does a job. The first sets a quality bar for evidence. The second forces a comparable number instead of “pricing varies”. The third makes gaps visible, and you can see the result in the finished document, which carries a warning callout wherever a claim had no source behind it.

Note what the dialog tells you: the AI selects relevant sources automatically, and recorded transcripts are visible to Workspace members. Treat the chat as team-visible, because it is.
3. Add the source material you already have
Section titled “3. Add the source material you already have”Open References at the bottom of the left sidebar. Add from Assets pulls in anything registered in the service; Upload takes a file straight from your machine.
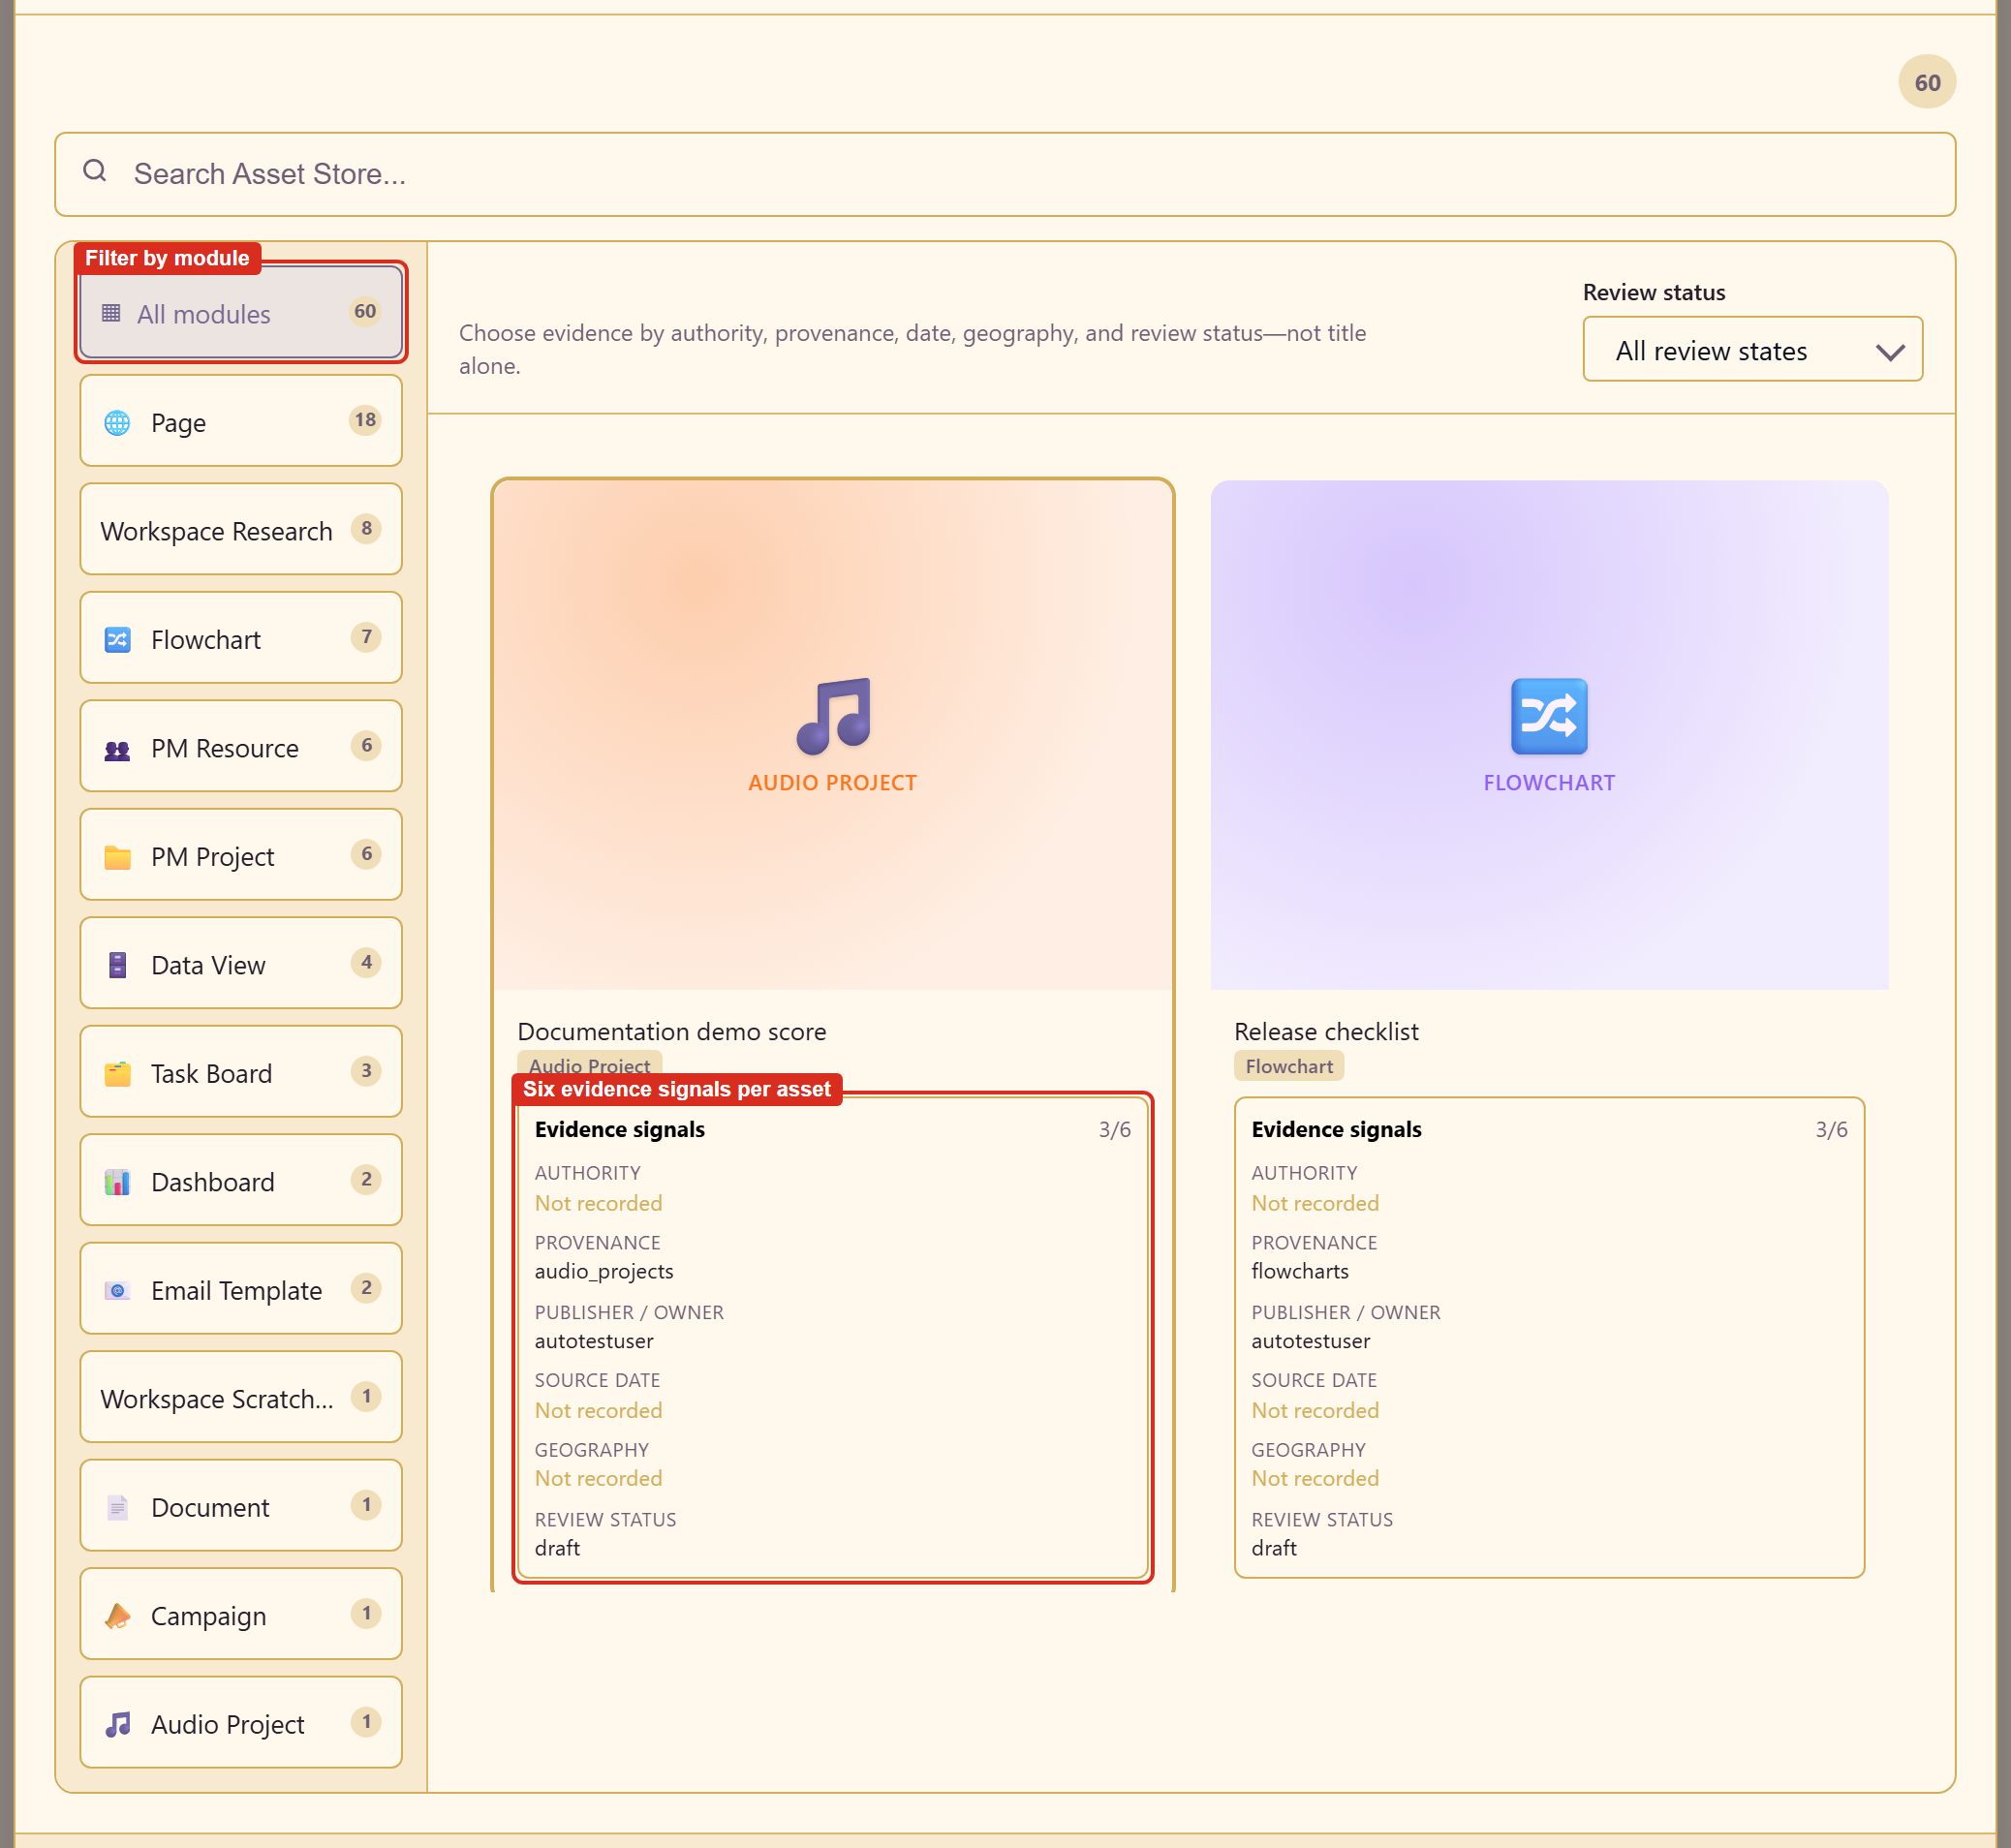
You pick one asset at a time and confirm with Use asset. Gather references covers the evidence signals on each card and how to choose well.
4. Ask for what you actually want
Section titled “4. Ask for what you actually want”Ask for the end product rather than the steps. The example asked for a document comparing three named providers on cost, hosting, and setup effort for a 335-page site.
“Compare search providers” produces a survey. Naming the candidates and the criteria produces something you can decide from.
5. Watch it plan the work
Section titled “5. Watch it plan the work”The AI does not answer immediately. It says what it is going to do — “This request will be researched topic by topic. I will map the topics first, research each one separately, then plan the content from what they find” — and then works through it.
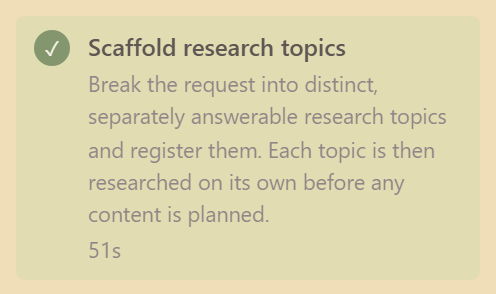
Every step shows a tick and how long it took, and a bar at the bottom counts completed tasks. Nobody asked for twelve research topics — the workspace worked out that the comparison needed them.
Two things to know while it runs. The plan keeps running if you navigate away, so you can go and do something else. And Stop takes effect after the current request finishes, not immediately, because provider requests cannot be paused safely mid-flight.
6. Read the research
Section titled “6. Read the research”Each completed topic lands in the Research rail. Open one.
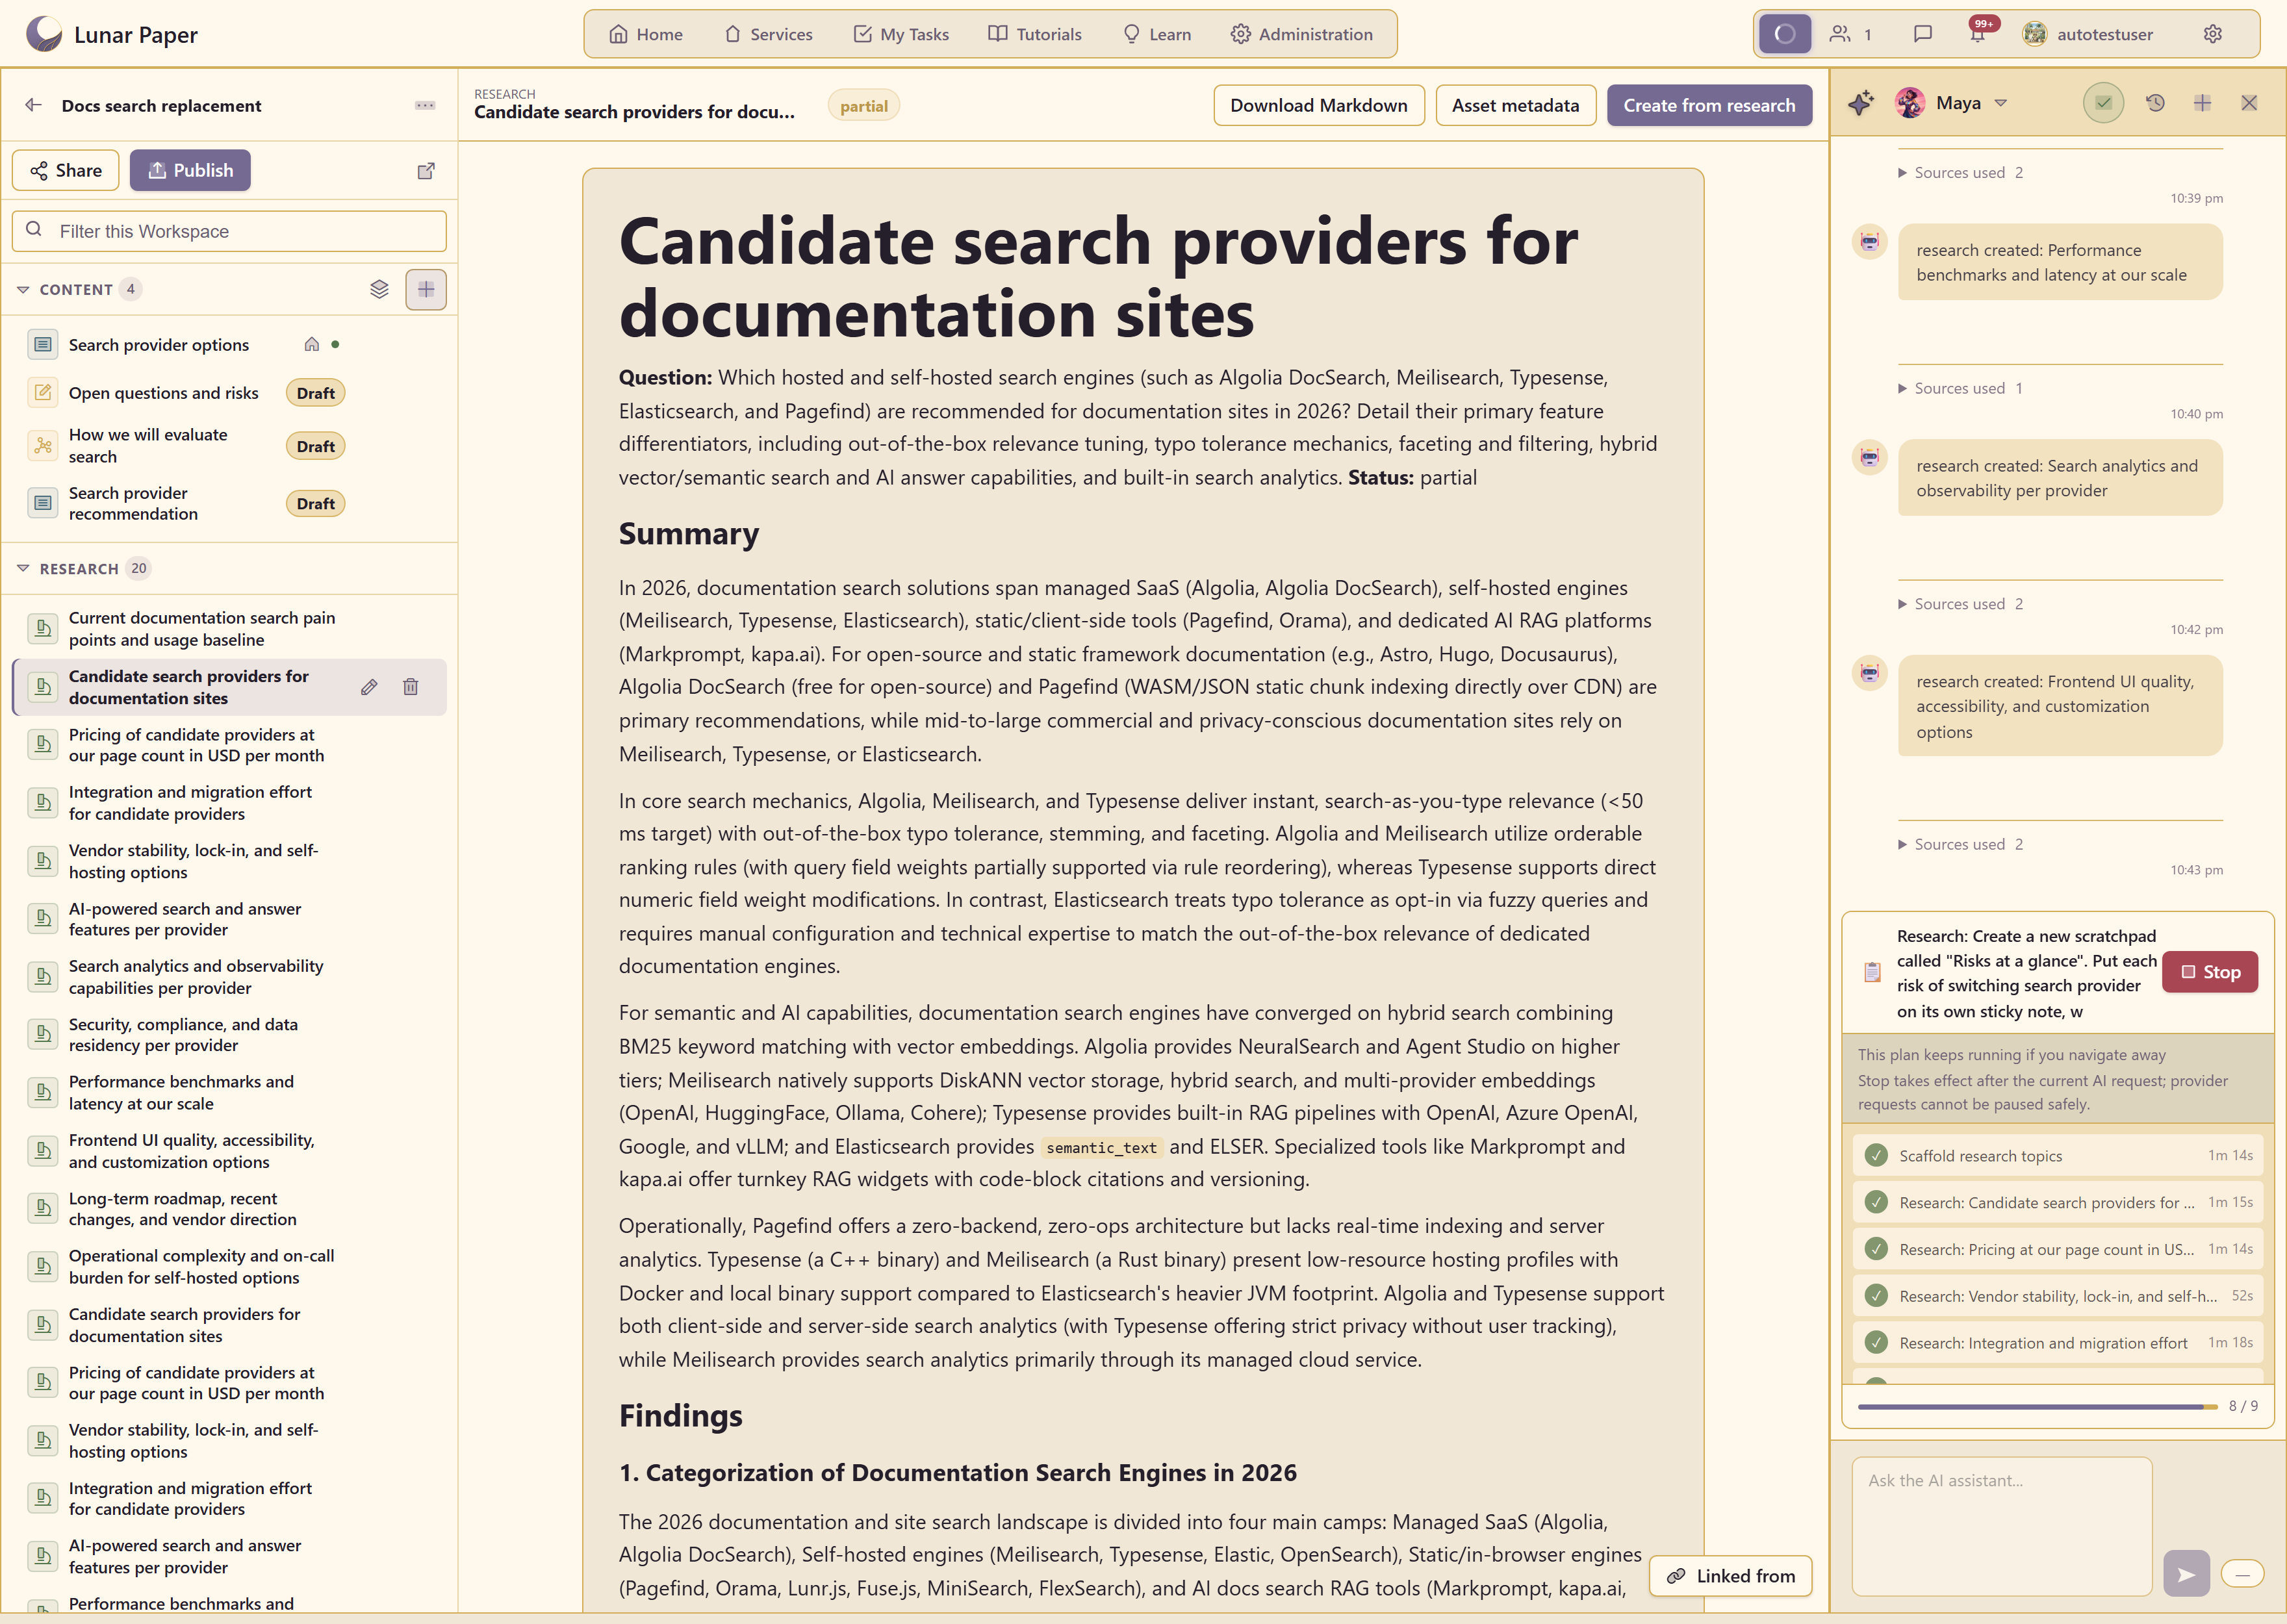
The structure is the same every time: the Question it set out to answer, a Status, a Summary, then findings, each with its own sources.
Read the sources, not just the summary. Every step in the AI panel has a Sources used disclosure you can open.
This is where you catch a weak answer. A finding with one blog post behind it reads exactly like one with three vendor documents, and only the sources tell you which you have.
7. Look at what it wrote
Section titled “7. Look at what it wrote”Generated content lands in the Content rail and opens in the full document editor.
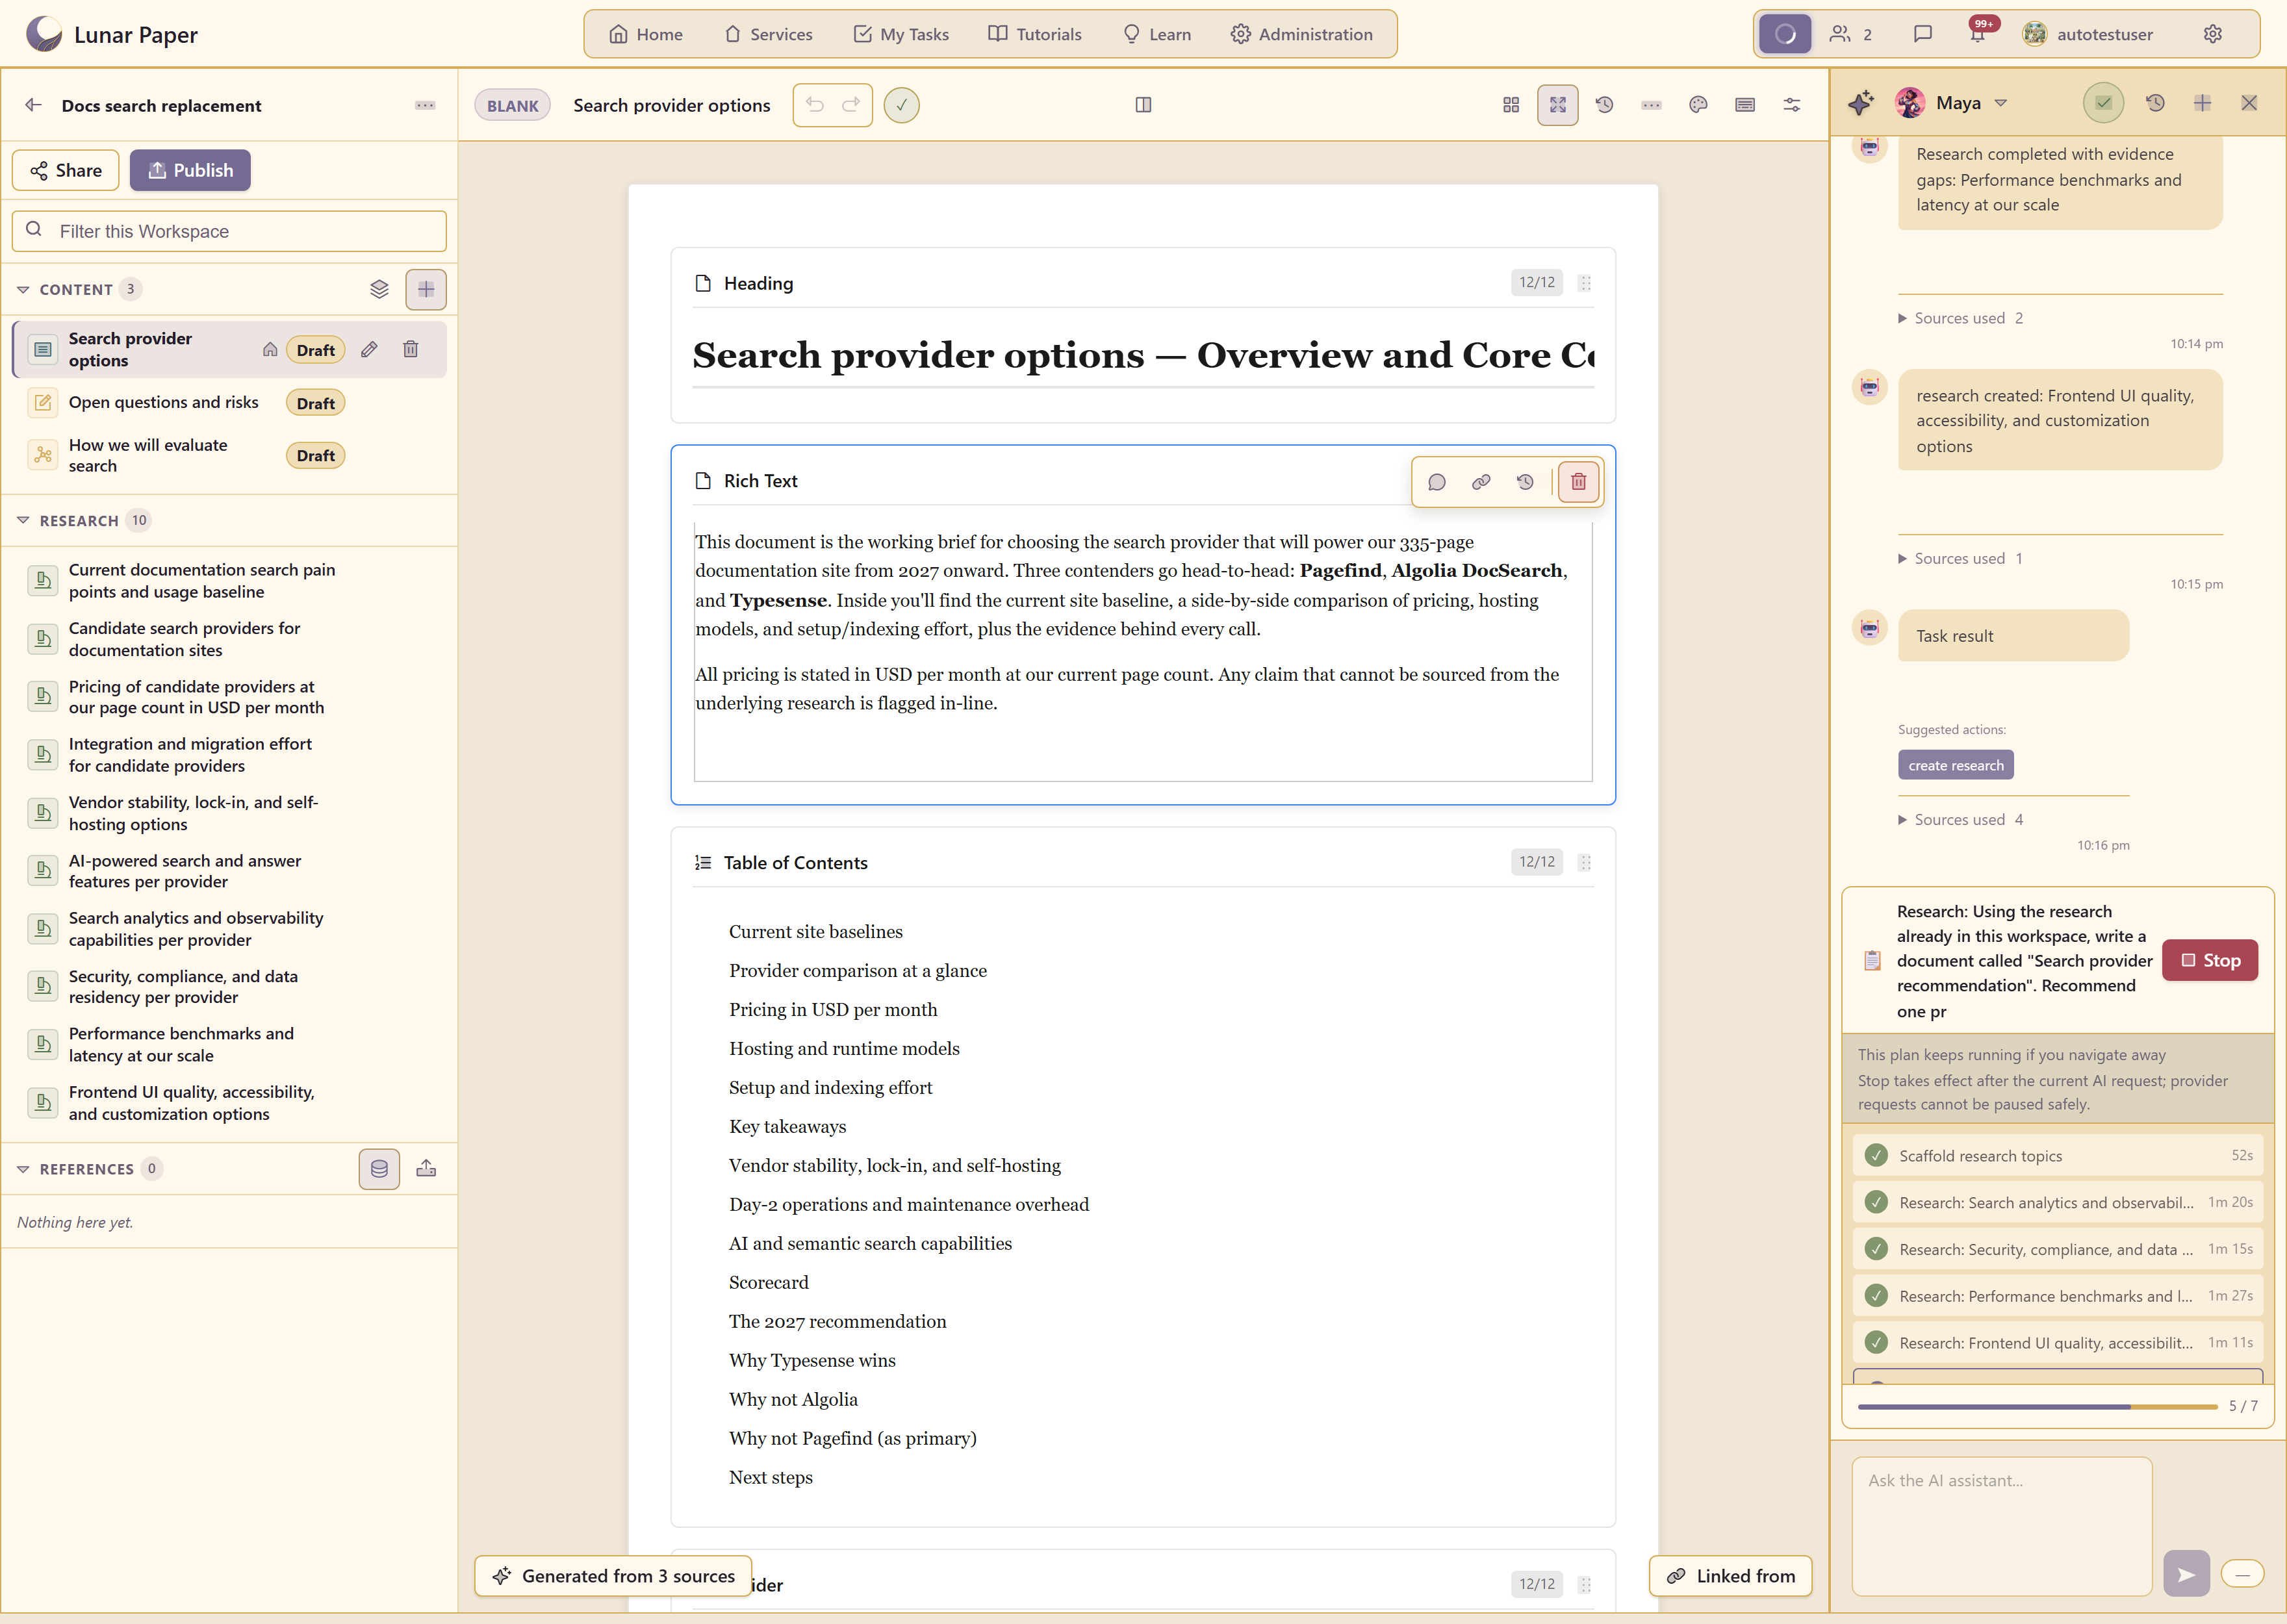
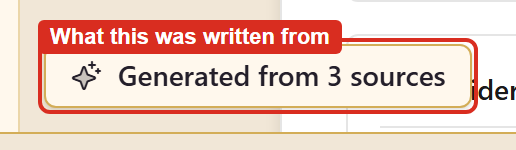
Two badges sit along the bottom of the editor. Generated from N sources records what the item was written from; Linked from shows what points at it.
8. Publish
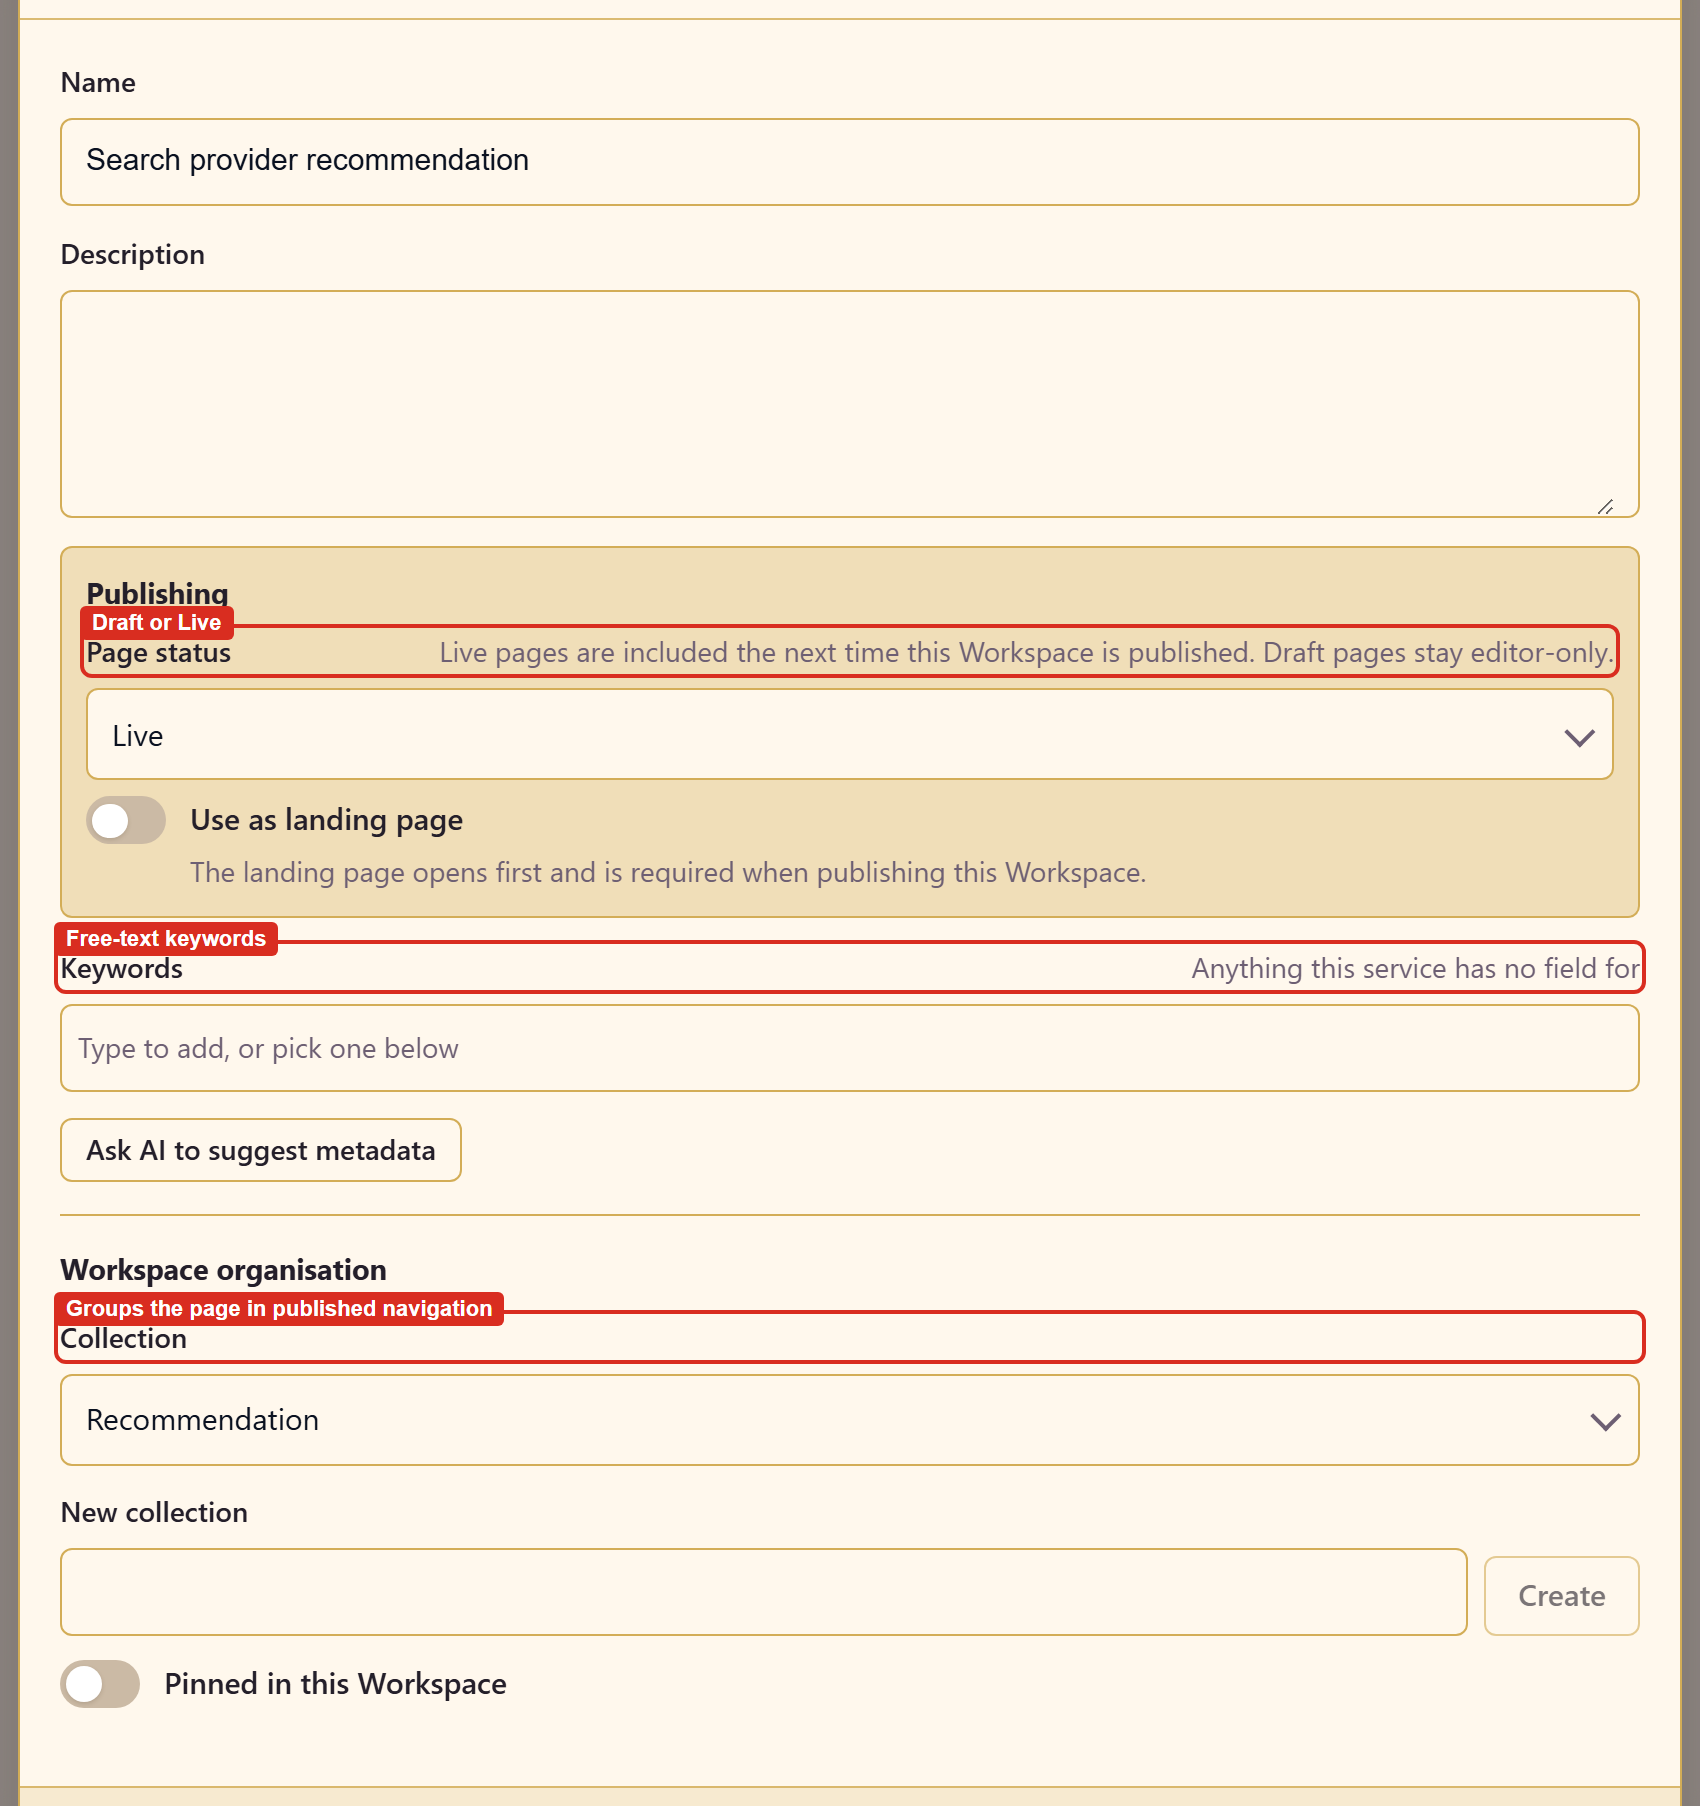
Section titled “8. Publish”Content starts as Draft, and drafts are never published. Open Configure page on the item you want readers to land on, set Page status to Live, and turn on Use as landing page.
Then choose Publish. The dialog tells you exactly what is going out and what is being left behind.
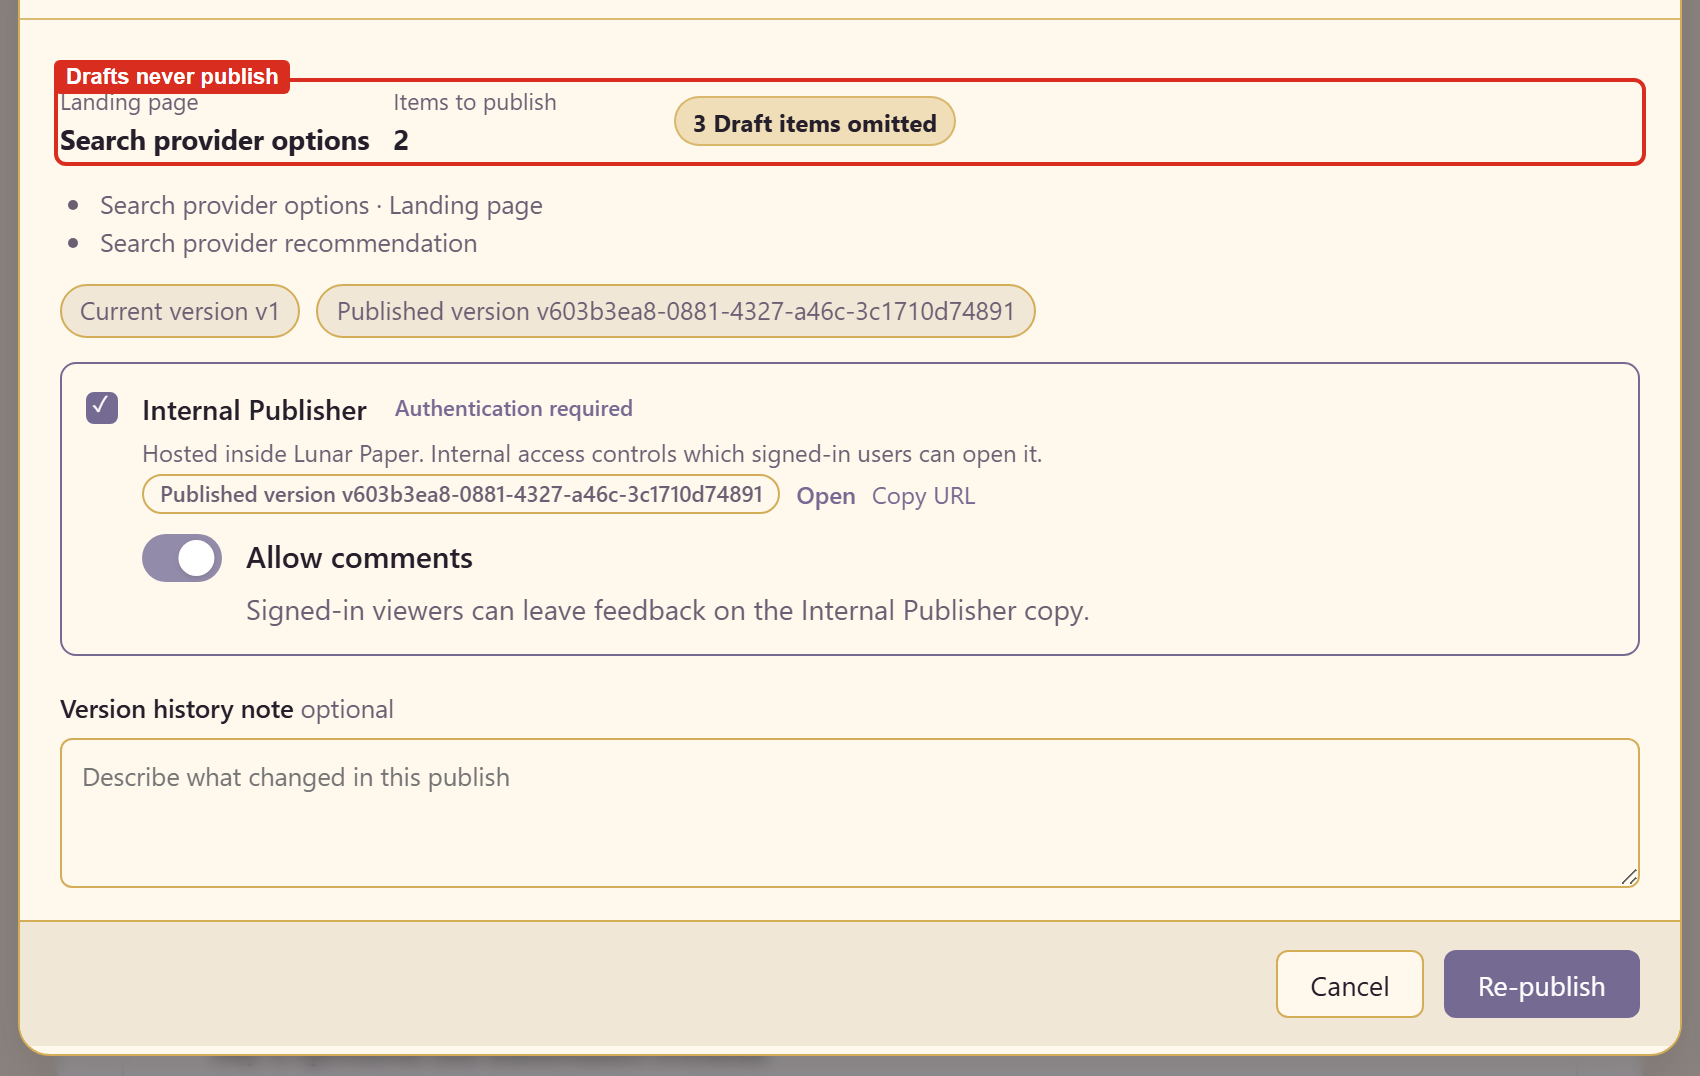
Add a version note if you want the change recorded, then publish. The header gains an Open published Workspace link.
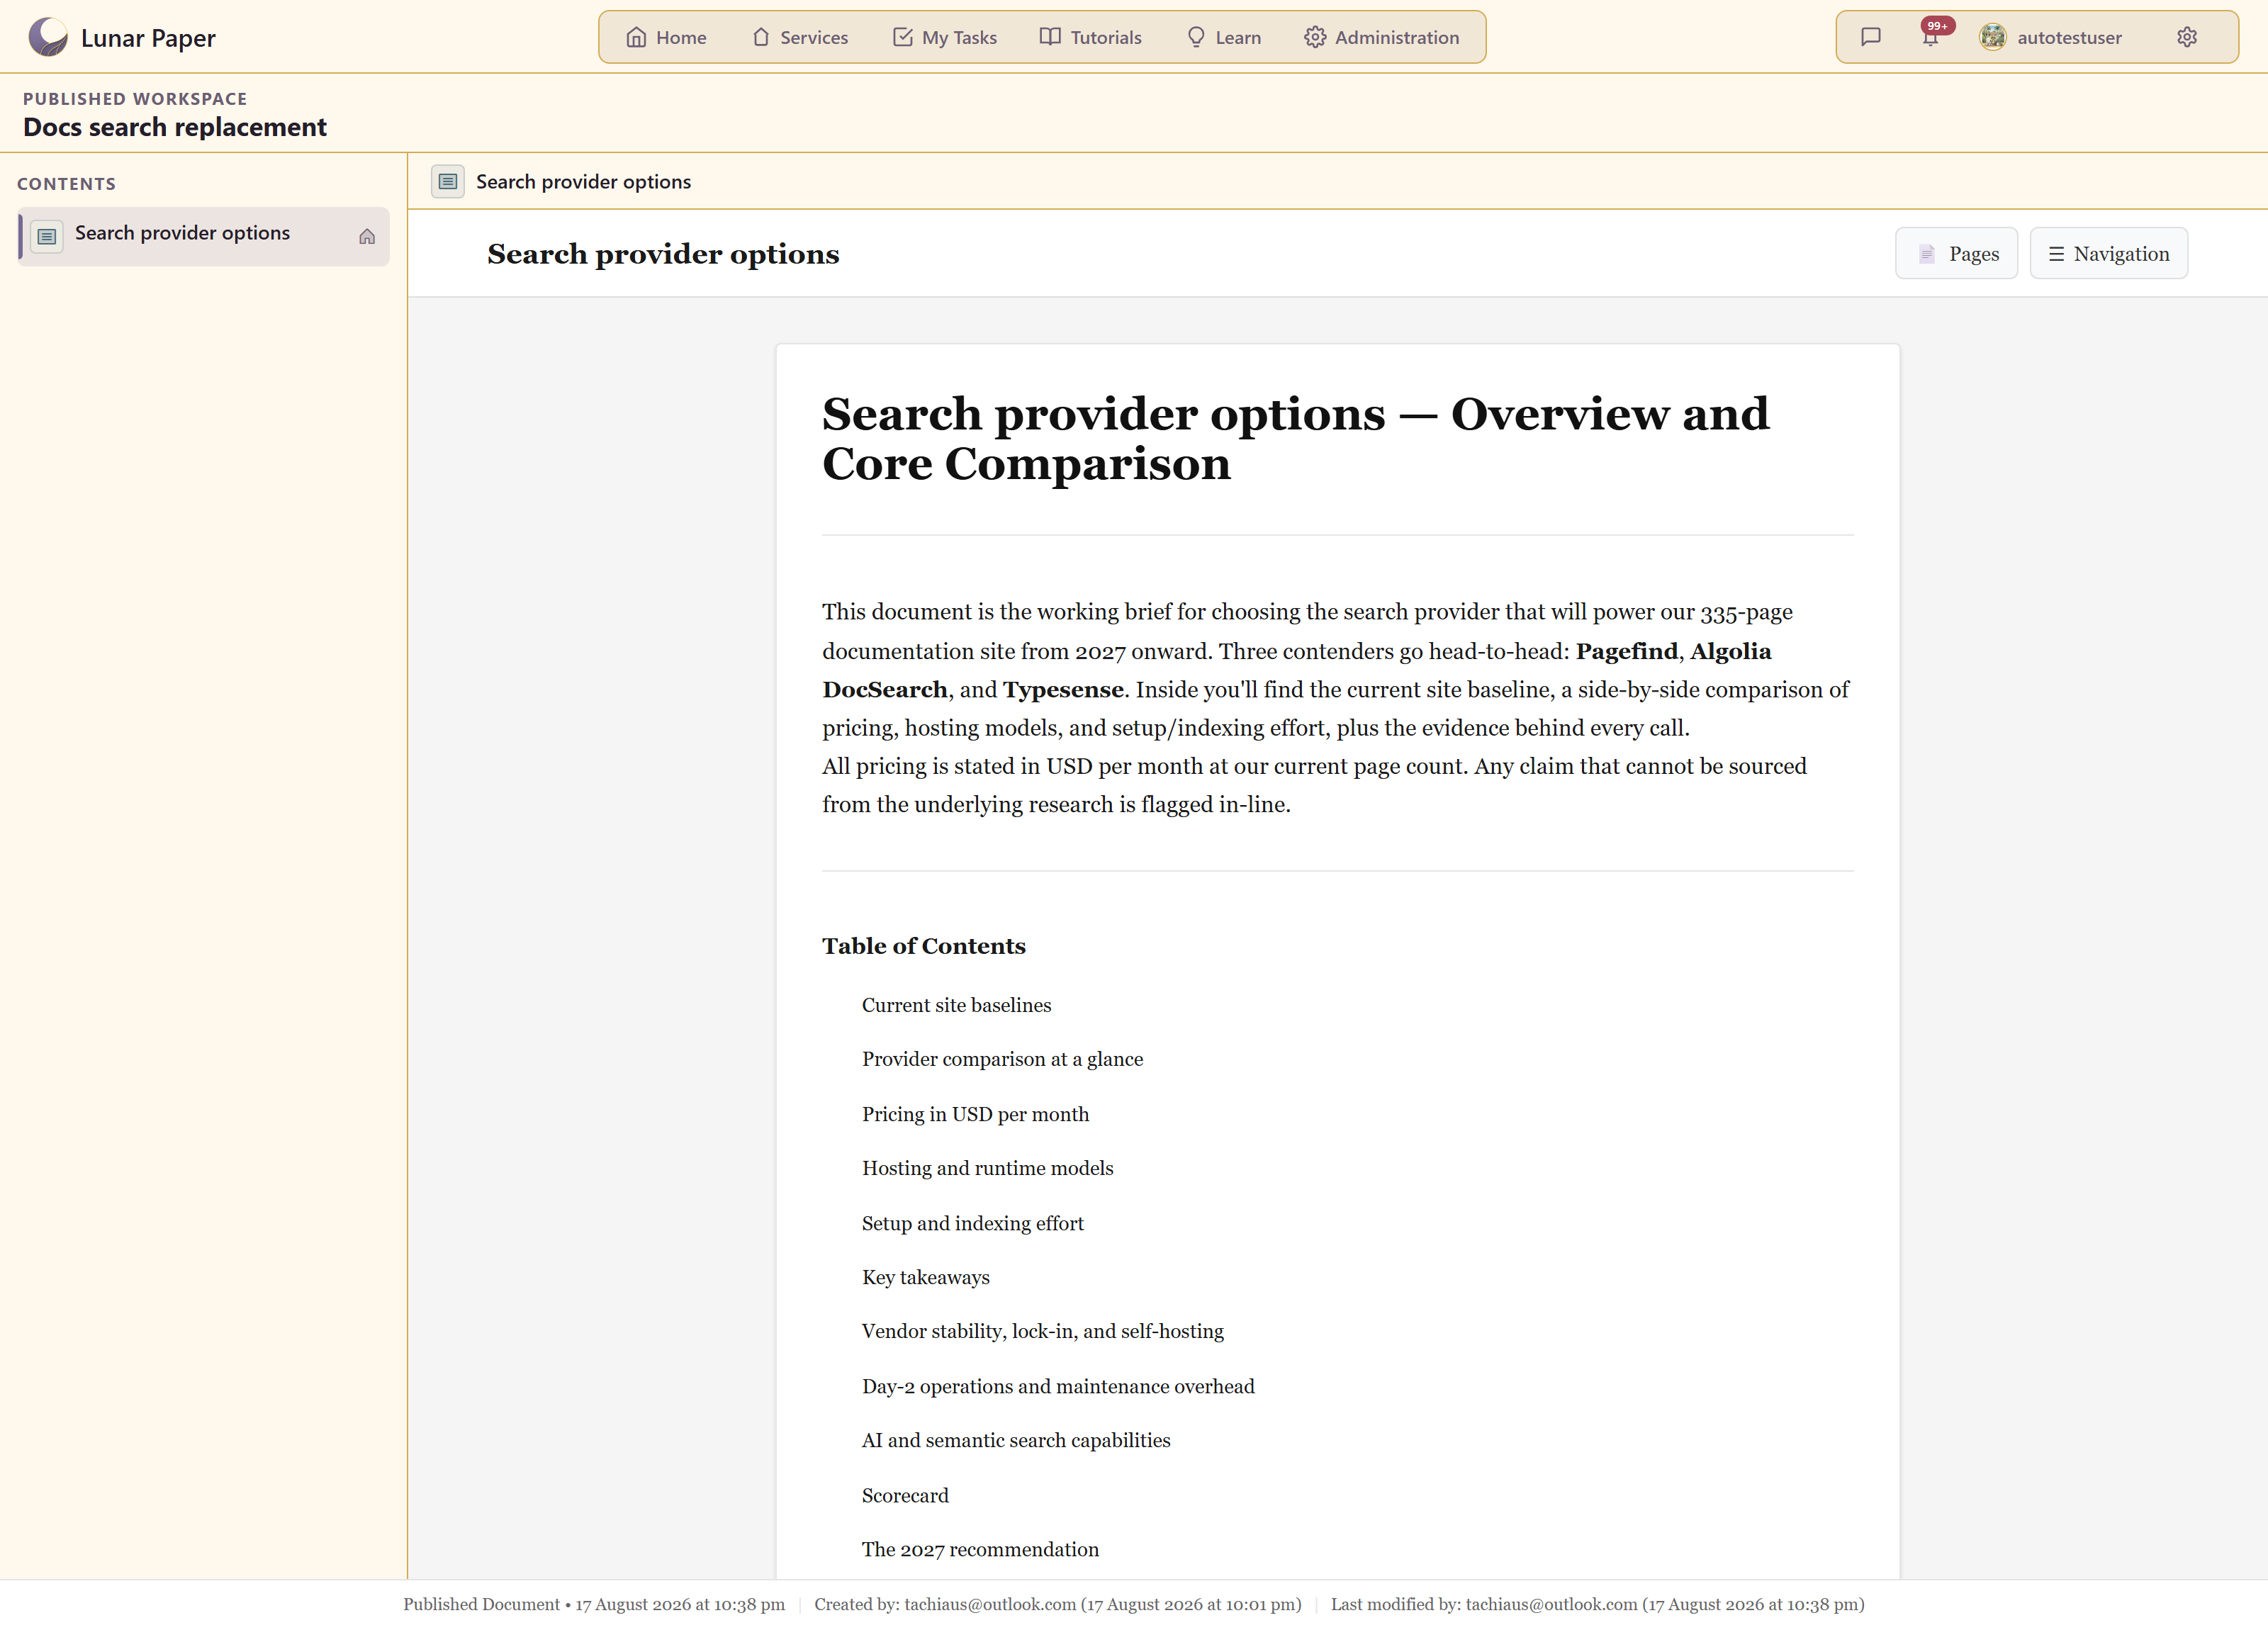
What you have
Section titled “What you have”A recorded decision: the question, the evidence with its sources, and content written from it — all in one place, with the reasoning still attached.
Run a decision end to end is the fuller version of this, including what to do when the research disagrees with itself. Control what the AI does covers staging and approval.