
Quickstart — your first document
1. Open the module
Section titled “1. Open the module”Open your service in Lunar Paper. In the left sidebar, scroll to the Content Modules heading and click Documents. The module view appears with the document list for that service.
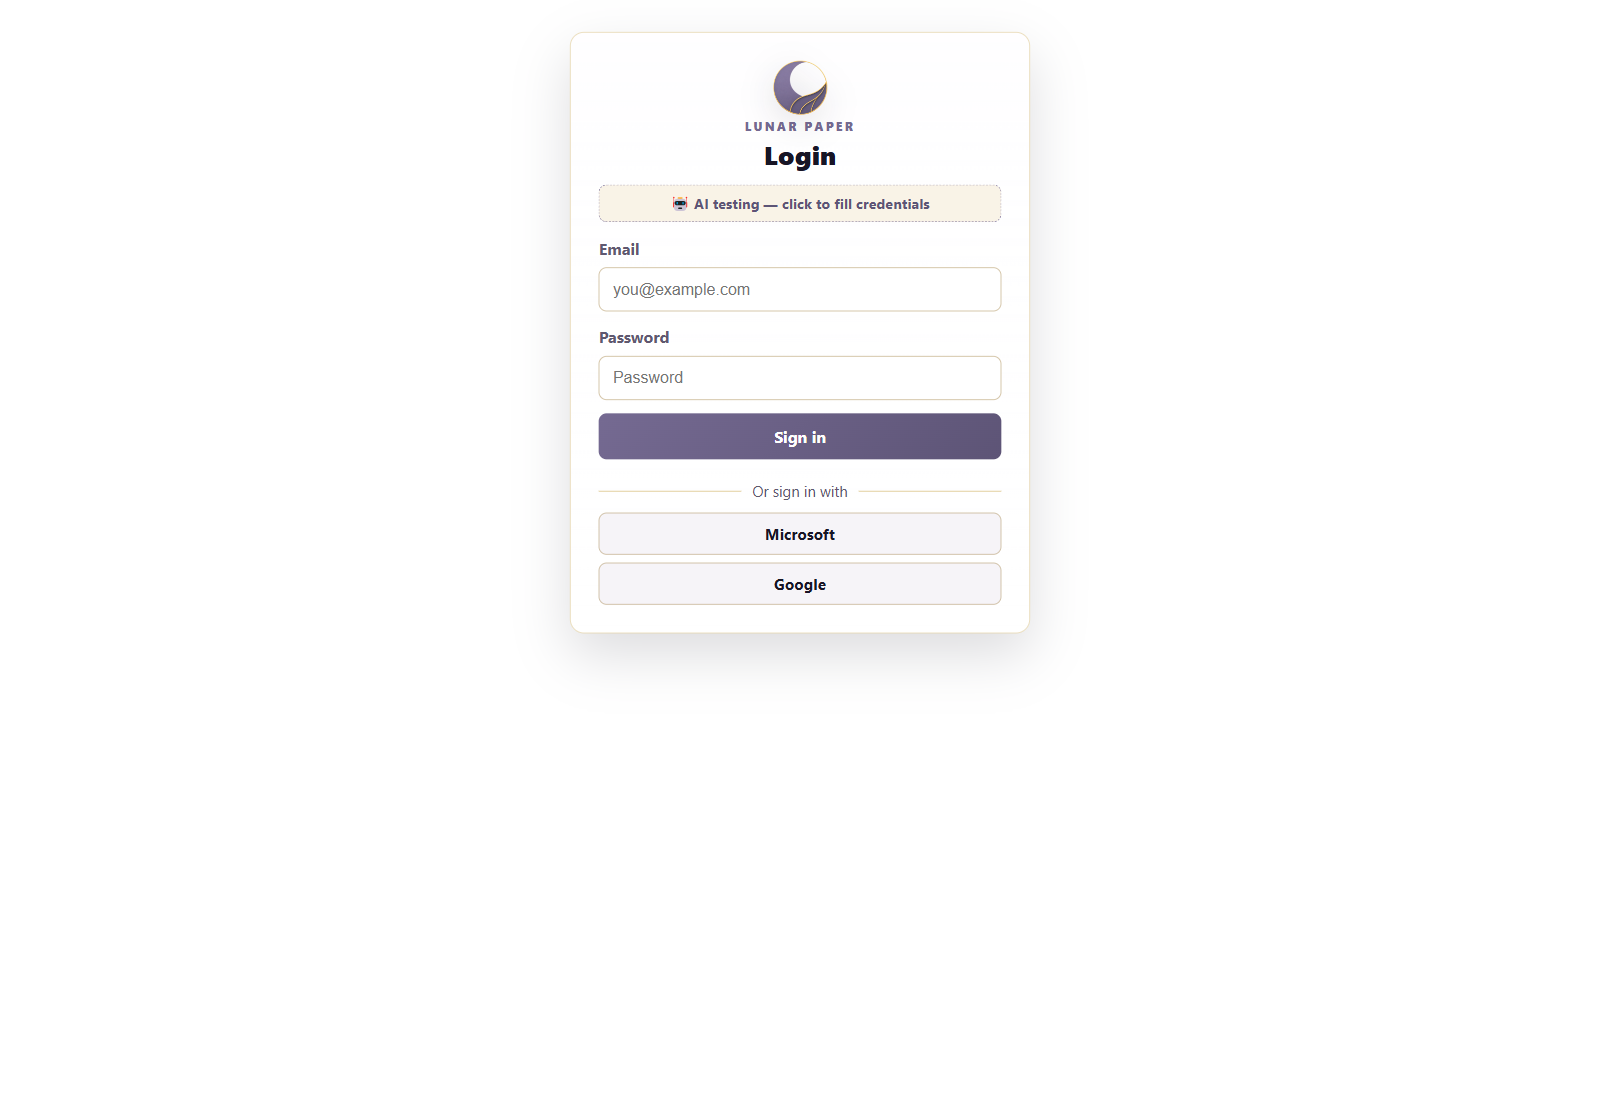
If you have no documents yet, the list is empty and Create New is where you start.
2. Create a document
Section titled “2. Create a document”Click Create New, then choose Document. The template picker opens with 114 templates across 11 categories.
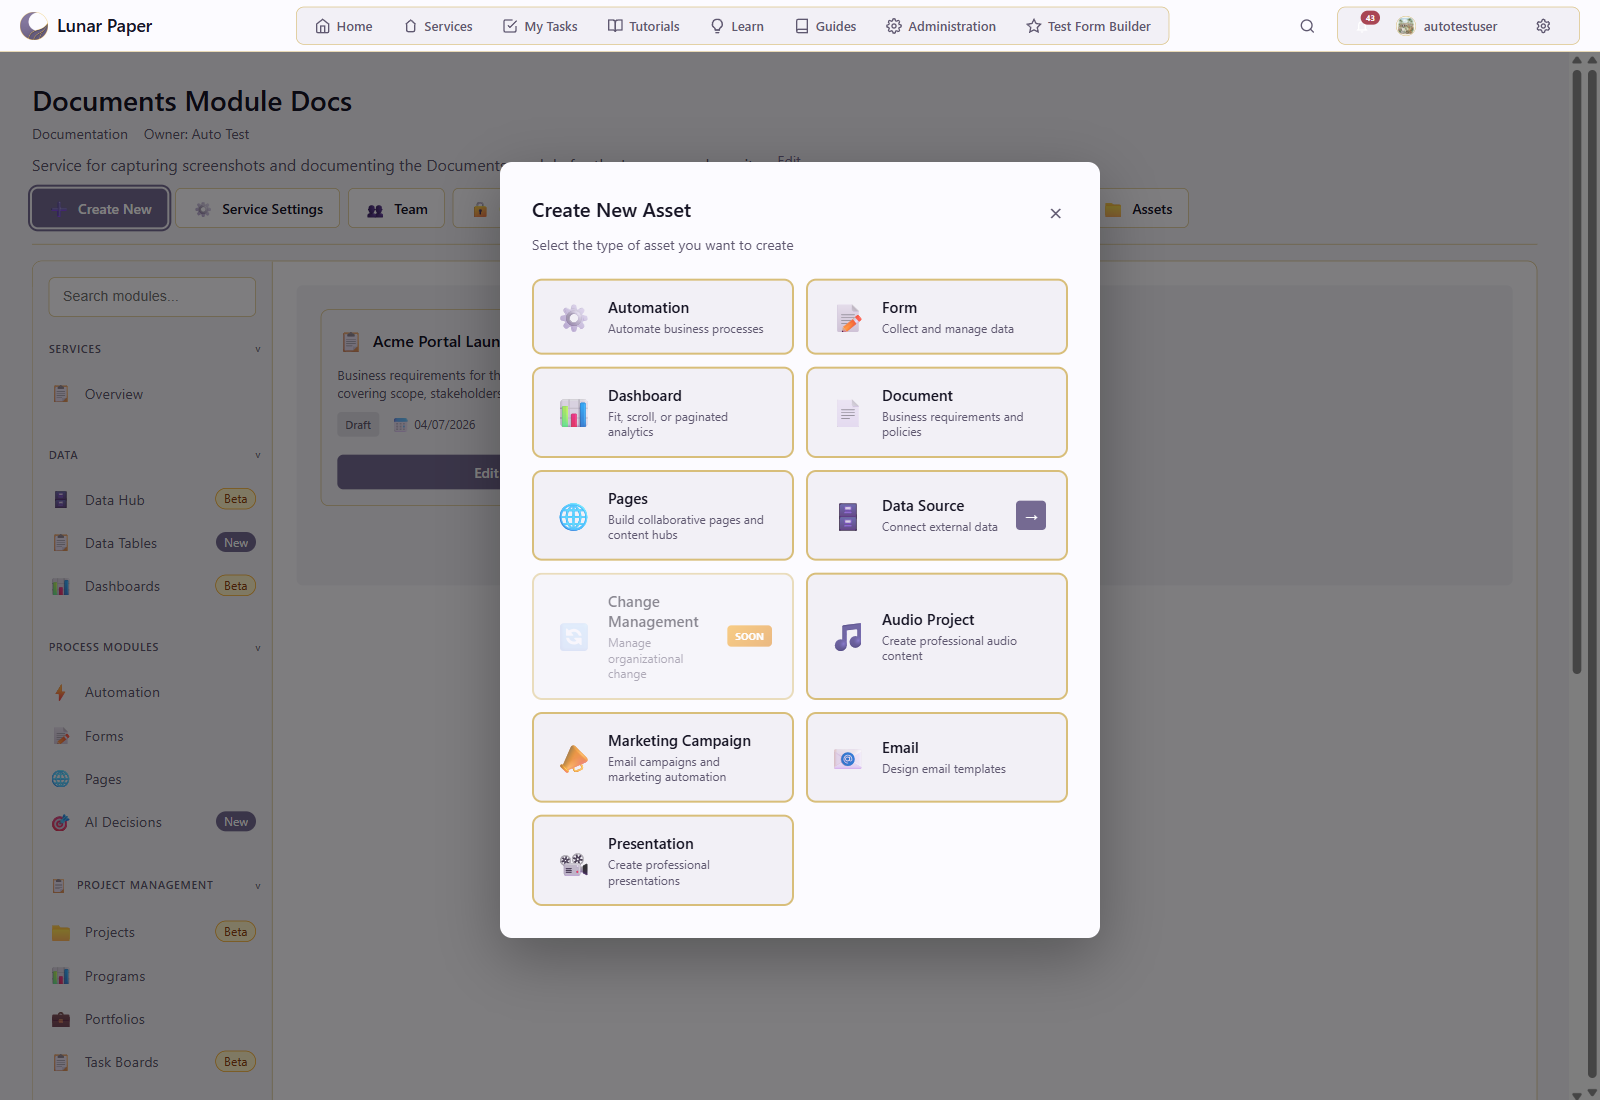
For this quickstart, select Business Requirements under the Business & Strategy category. Type a real document name (Acme Portal Launch — Business Requirements, not test or Untitled) and click Create Document.
The Document Builder opens with a title heading, intro paragraph, and placeholder sections from the template.
3. Add a section
Section titled “3. Add a section”Click the bottom Click to add content area, then press / to open the component picker. Type Heading and press Enter to insert a heading component.
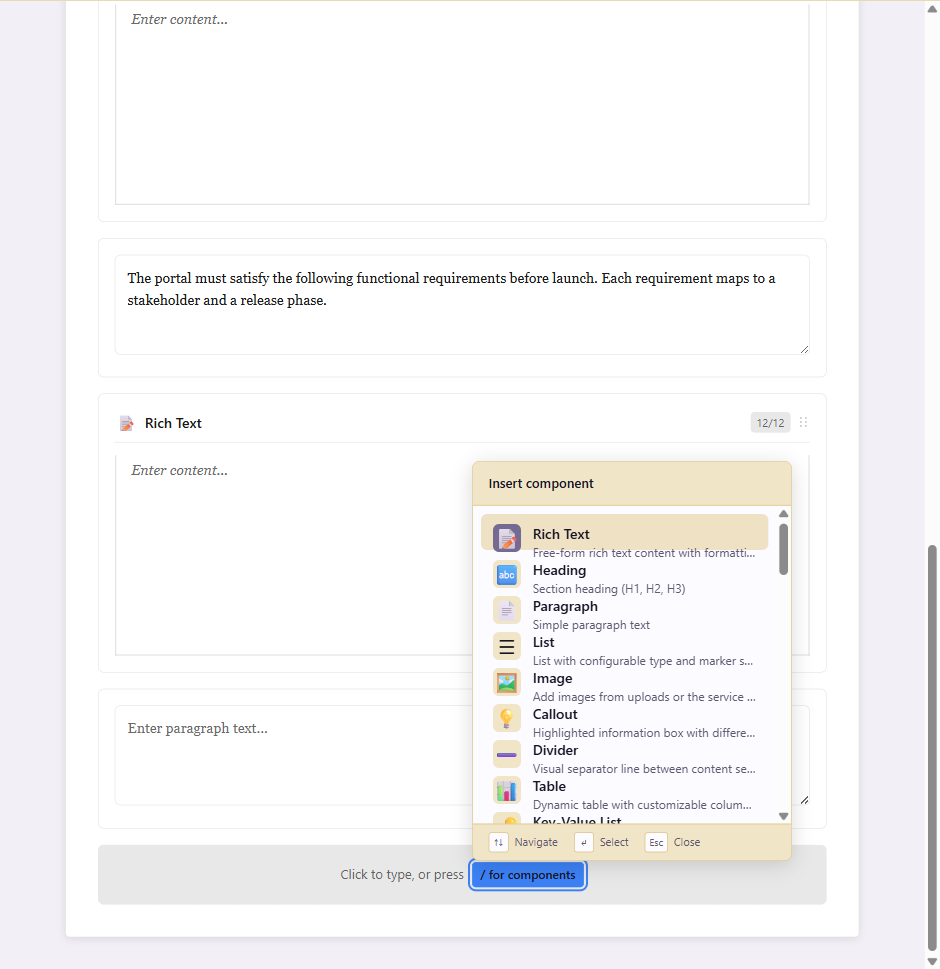
Type Stakeholders into the heading field. Then insert a Paragraph below it and write a short intro that explains who must sign off.
4. Add a structured component
Section titled “4. Add a structured component”Open the component picker again and choose Stakeholders from the Analysis category, or type stakeholders in the slash command and press Enter. A stakeholder table appears in the canvas.
Click Add Stakeholder in the table and add a real person: name Priya Shah, role VP Customer Experience, organization Acme Support, contact priya.shah@acme.example, and notes Final sign-off on requirements. Repeat for Marcus Lee and Dana Okafor.
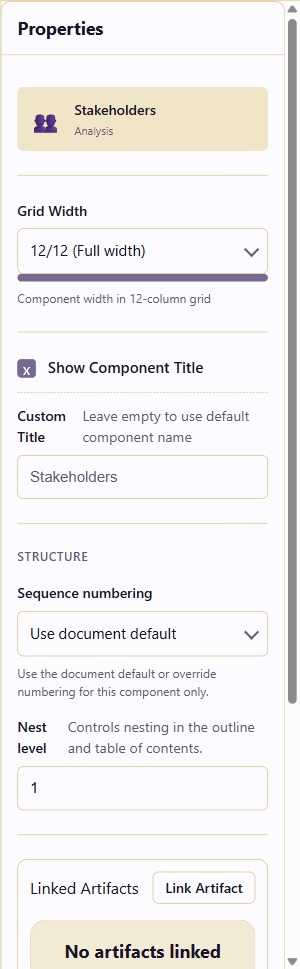
Click a row to see the Properties panel on the right, where you can adjust grid width, sequence numbering, nest level, and linked artifacts.
5. Style the document
Section titled “5. Style the document”Click Design in the top toolbar to open the design panel. Pick a typography preset such as Professional or Modern, choose a paper theme, and set header and footer content.

The changes apply immediately to the canvas preview.
6. Publish a version
Section titled “6. Publish a version”Press Ctrl+S to save. Then click Version History in the toolbar and add a comment such as Initial draft with stakeholders and requirements. to create a named checkpoint.

Published versions appear in the panel and can be restored or compared later.
7. Export the document
Section titled “7. Export the document”Click Actions in the toolbar, then choose Export. Select PDF, Word, or Markdown, set any export options, and click Export.
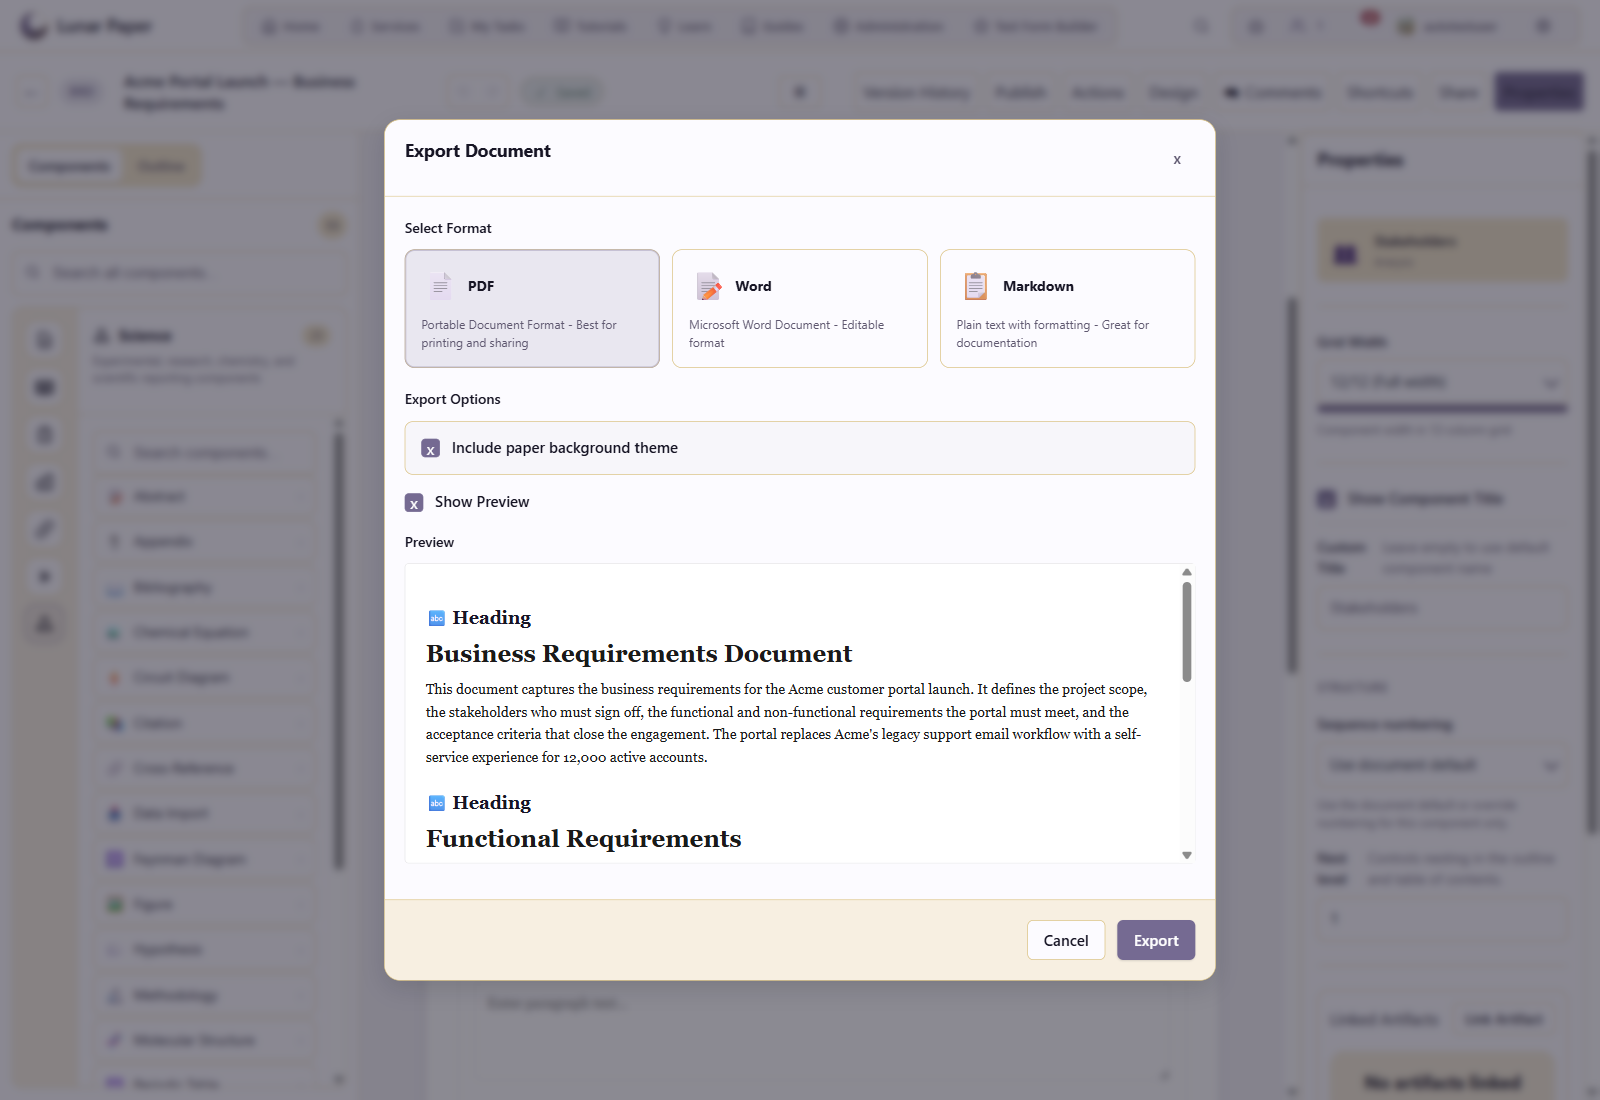
The file downloads to your computer, ready to share outside Lunar Paper.
Guides for each task
Section titled “Guides for each task”With a first document saved, the Guides hub takes one task at a time: adding each component type, organizing with the outline, designing documents, exporting, and managing versions. If a panel or button is unfamiliar, the Editor reference names every region of the screen.