
Build a UI button with states
A UI button usually exports as several states (normal, hover, pressed, disabled), and each state is its own image in the engine. Draw one button and produce each state as a tagged frame in a single project, rather than maintaining four separate files.
You end up with one project holding four tagged states, exported as four PNGs or one sprite sheet.
New project, draw the base button
Section titled “New project, draw the base button”Make a new project sized for a button: 32×16 or 64×24 suit most, or set a custom Width × Height for a non-square button. Name it ui_button_main.
On frame 1, draw the normal state. Use the Rectangle tool (U) for the body, filled, then add a 1 px lighter top edge and a 1 px darker bottom edge for a raised look. If there’s a label, draw it on a separate label layer so it can change per state without disturbing the button body. Keep the total color count small, because three to five colors are clearest at this size.
Create three more frames
Section titled “Create three more frames”Click Add Frame (Ctrl+Shift+N) three times so the project has four frames. Frame 1 is normal, frame 2 is hover, frame 3 is pressed, frame 4 is disabled.
Edit each state
Section titled “Edit each state”Each state is a small, deliberate change to the base. On frame 2, hover, brighten the top edge and lighten the body slightly so the button appears lit. On frame 3, pressed, invert the bevel so the top edge is dark and the bottom edge light, then shift the contents down 1 px. That 1 px shift is the standard pressed-state cue and is immediately recognizable. On frame 4, disabled, drop brightness around 20% and desaturate slightly. Pure gray tends to appear inert rather than disabled, so a desaturated, dimmed version of the normal colors usually communicates better.
Tag each state
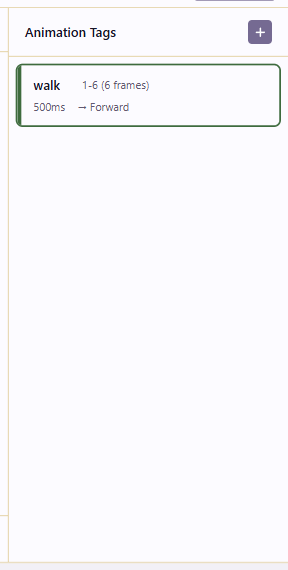
Section titled “Tag each state”Open Animation Tags and add one tag per state, each spanning a single frame: normal (1–1), hover (2–2), pressed (3–3), disabled (4–4). Direction is irrelevant for single-frame tags.
Export each state
Section titled “Export each state”Open Export, pick PNG, set Animation to a tag (say hover), leave Export all frames separately unticked since it’s one frame anyway, choose a scale, and export. Repeat per tag and you get normal.png, hover.png, pressed.png, disabled.png. The full option reasoning is on the Export formats & engine handoff page.
If your UI system prefers a single image, export a Sprite Sheet with 4 columns × 1 row. Note the order (normal, hover, pressed, disabled) in the publish comment so the importer knows the contract.
Keeping the label on its own layer helps here: if a disabled state needs grayer text, you edit only the label layer on frame 4 and the button body stays untouched.