
Quickstart — your first audio project
1. Open the module
Section titled “1. Open the module”Open your service in Lunar Paper. In the left sidebar, scroll to the Creative Modules heading and click Audio Creator. The Audio Studio library appears with your existing projects and the Create Project button.
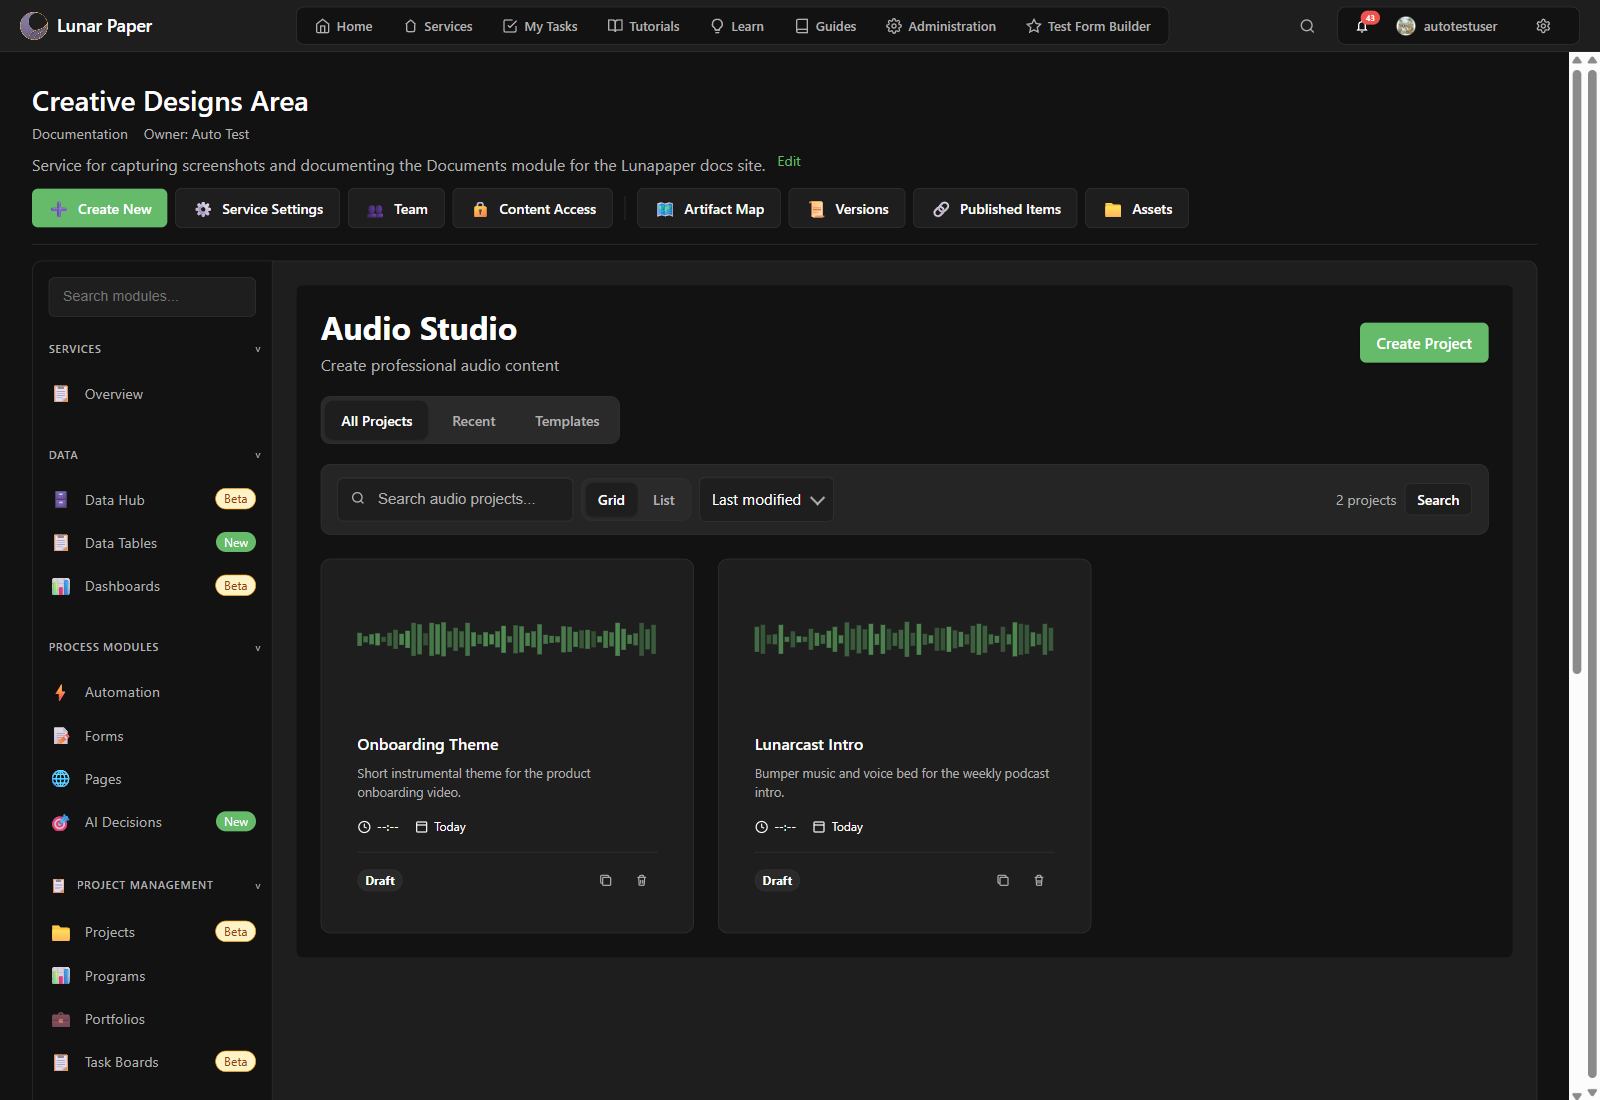
If you have no projects yet, the library shows an empty state with a single prompt to get started.
2. Create a project
Section titled “2. Create a project”Click Create Project. A dialog shows six starting points.
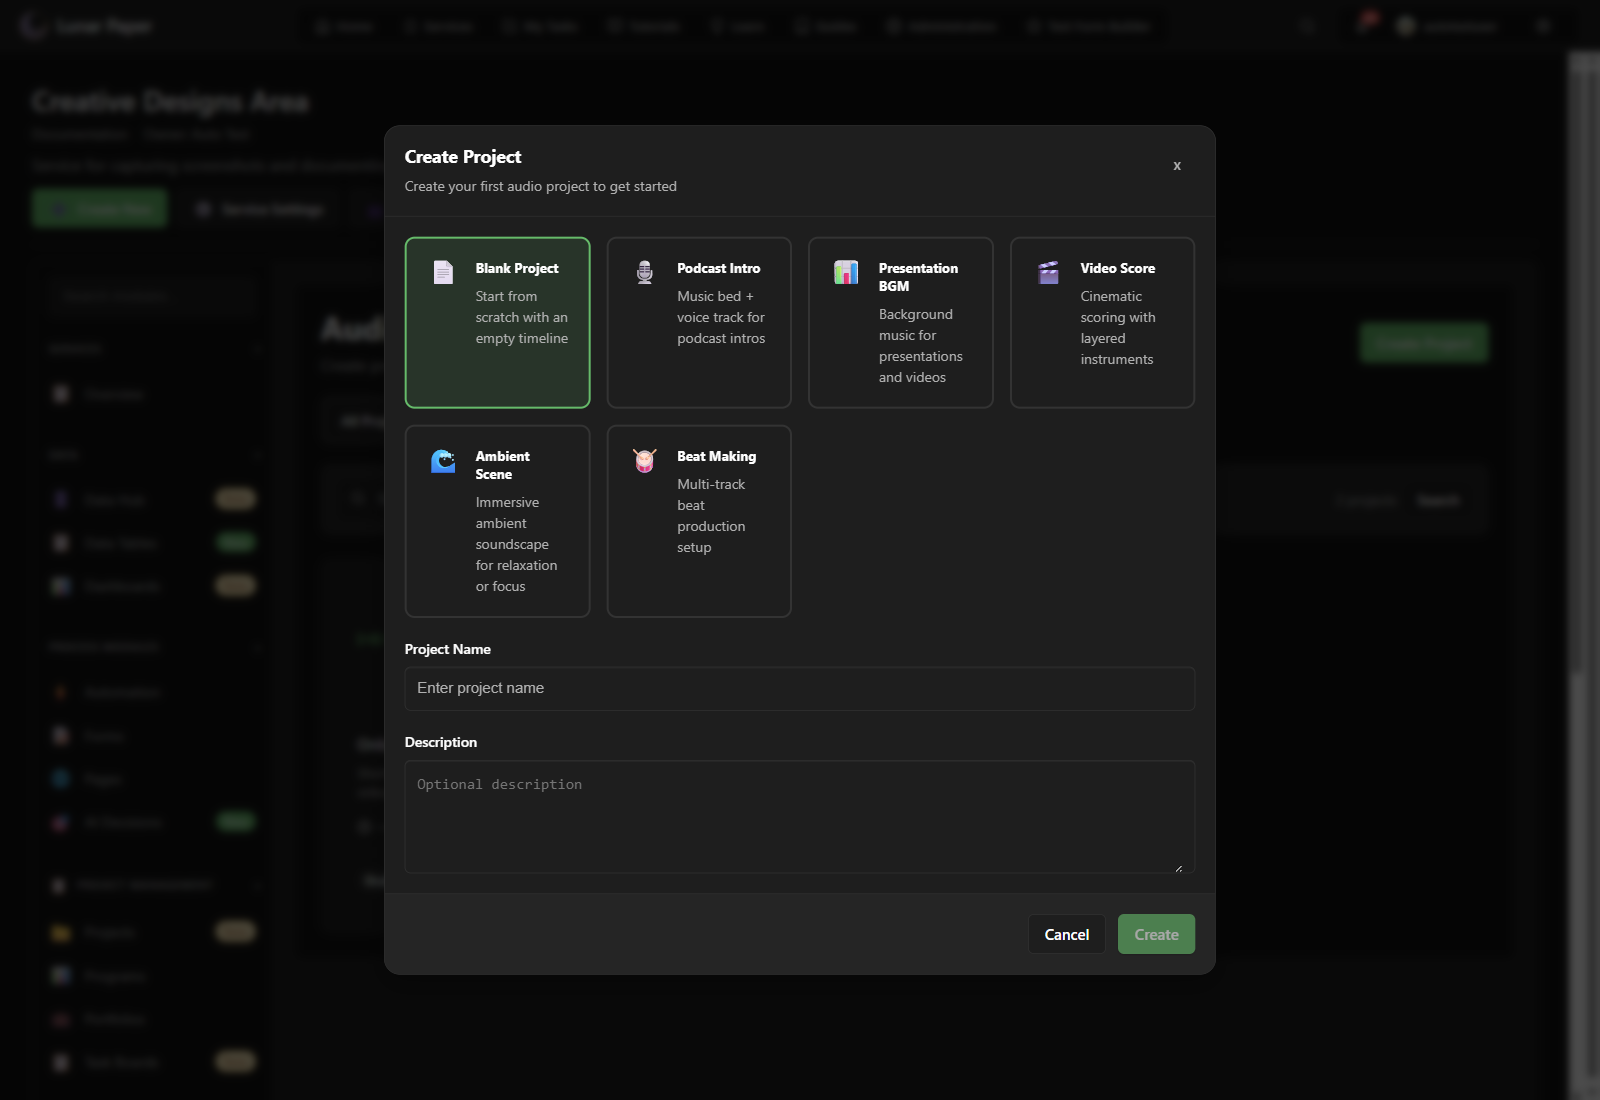
For this quickstart, choose Blank Project. Type a real project name (Onboarding Theme, not test or Untitled) and add a short description (Short instrumental theme for the product onboarding video.). Click Create.
The Audio Studio editor opens with one empty track and a blank timeline.
3. Add a section
Section titled “3. Add a section”The timeline shows a ruler numbered in bars and beats. Double-click the empty timeline where it says Double-click to add a section. A new section appears with a default label.
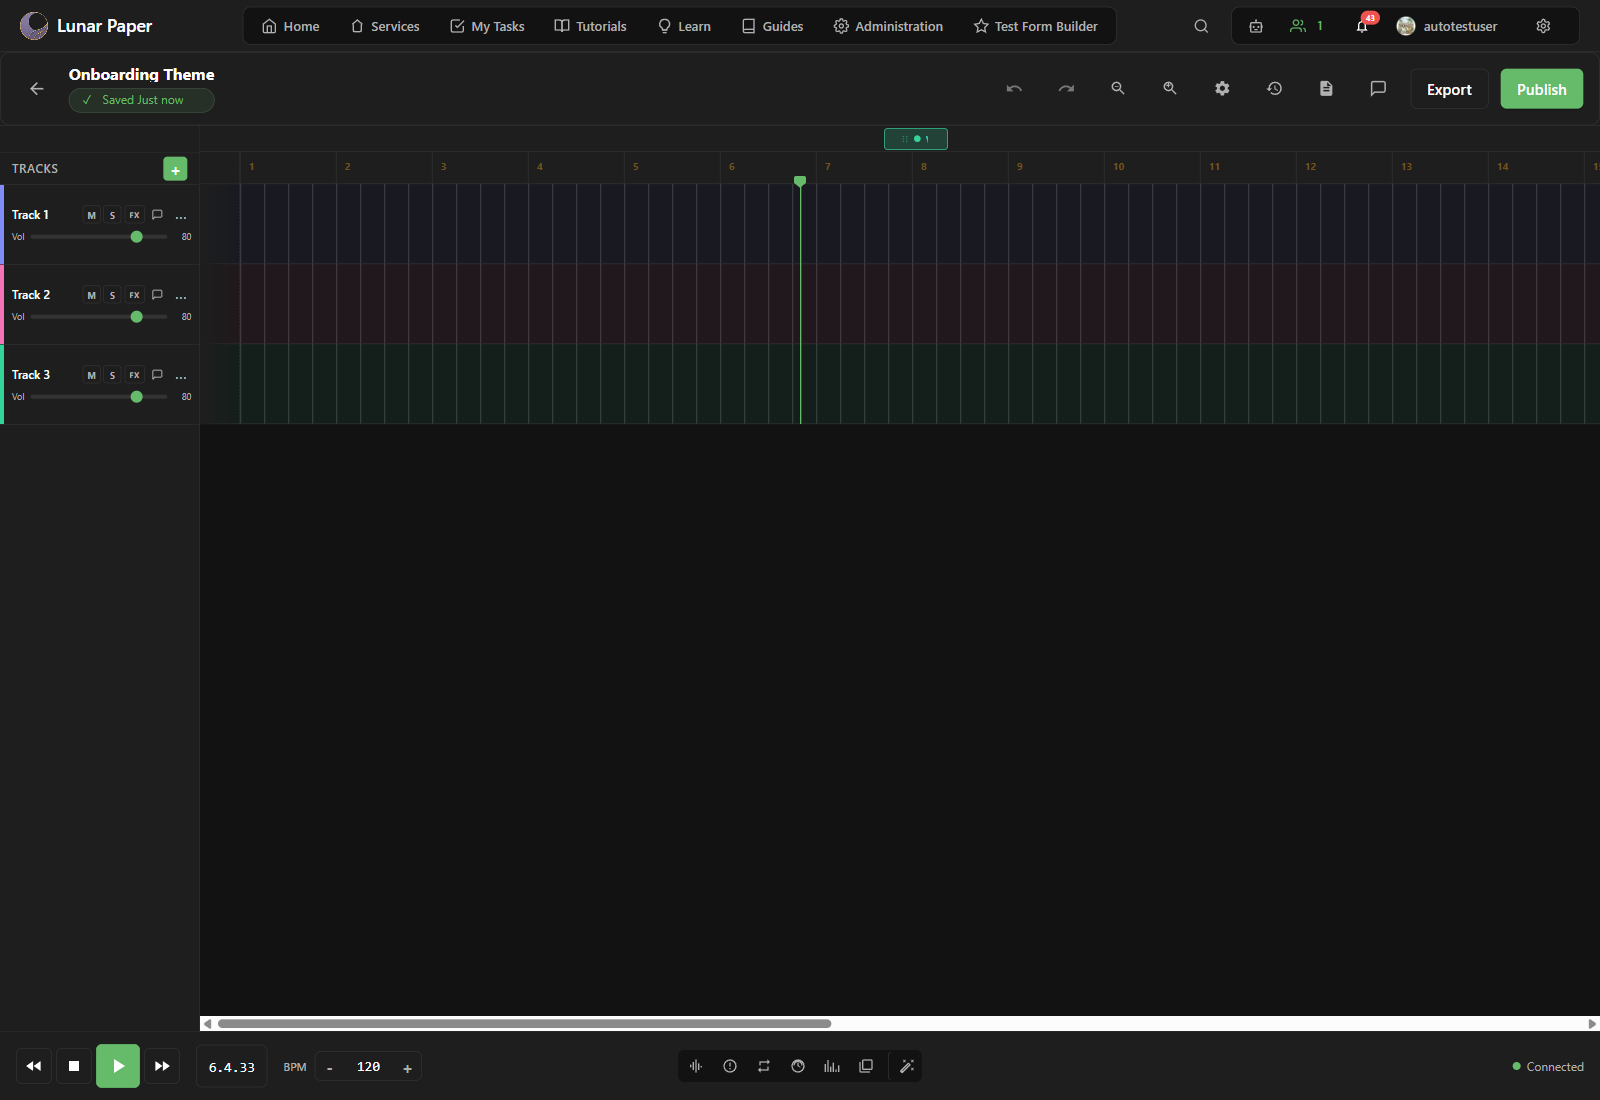
Click the section label and rename it to Verse.
4. Add a track
Section titled “4. Add a track”Click the + button next to Tracks in the left panel. A new track appears below Track 1. Double-click the track name and rename it to Drums or Bass, depending on what you want to build first.
5. Set the tempo
Section titled “5. Set the tempo”The transport bar at the bottom shows the current BPM, which starts at 120. Click the BPM value and type a tempo that fits your project, such as 110 for a relaxed onboarding theme.
6. Open a side panel
Section titled “6. Open a side panel”Click Mixer in the bottom transport bar. The Mixer panel opens and shows level faders or meters for each track.
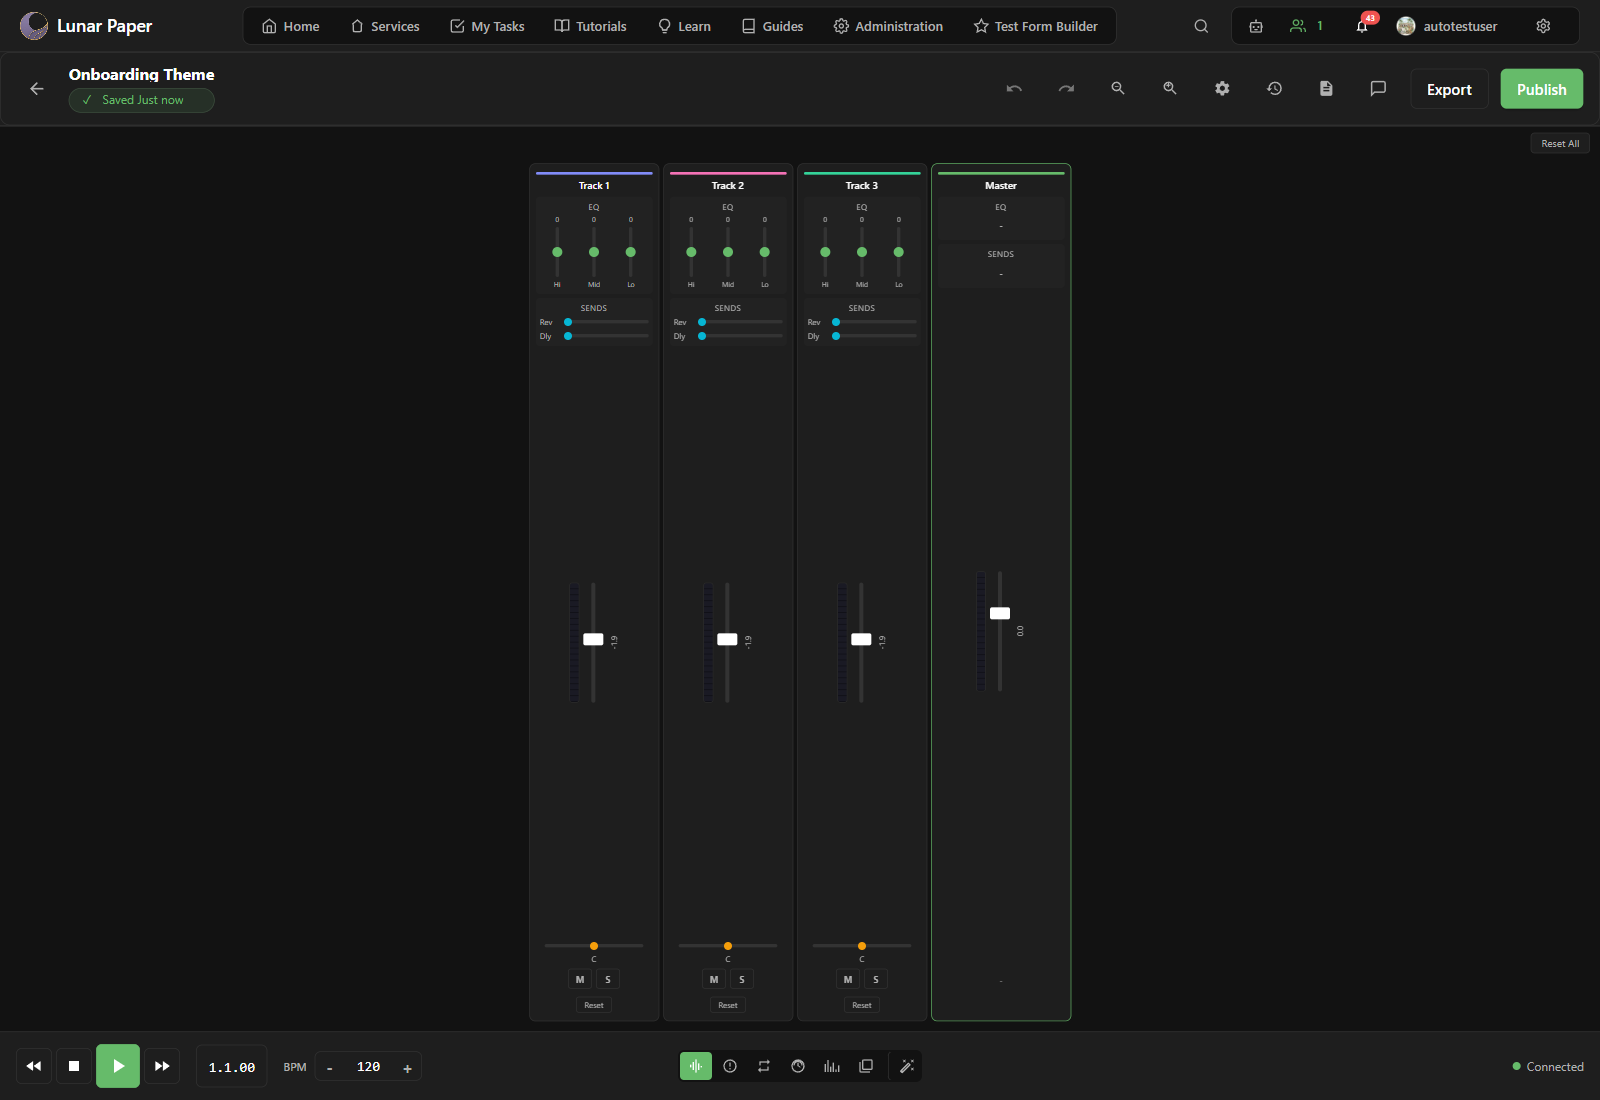
Try the other panel buttons to see the Spatial, Presets, and AI Assistant views.
7. Save and export
Section titled “7. Save and export”Press Ctrl+S to save. Click Version History in the top toolbar, type a note such as Initial structure with Verse section and two tracks, and click Add.
When you are ready to share the audio outside Lunar Paper, click Export, choose your preferred format and quality, and click Export.
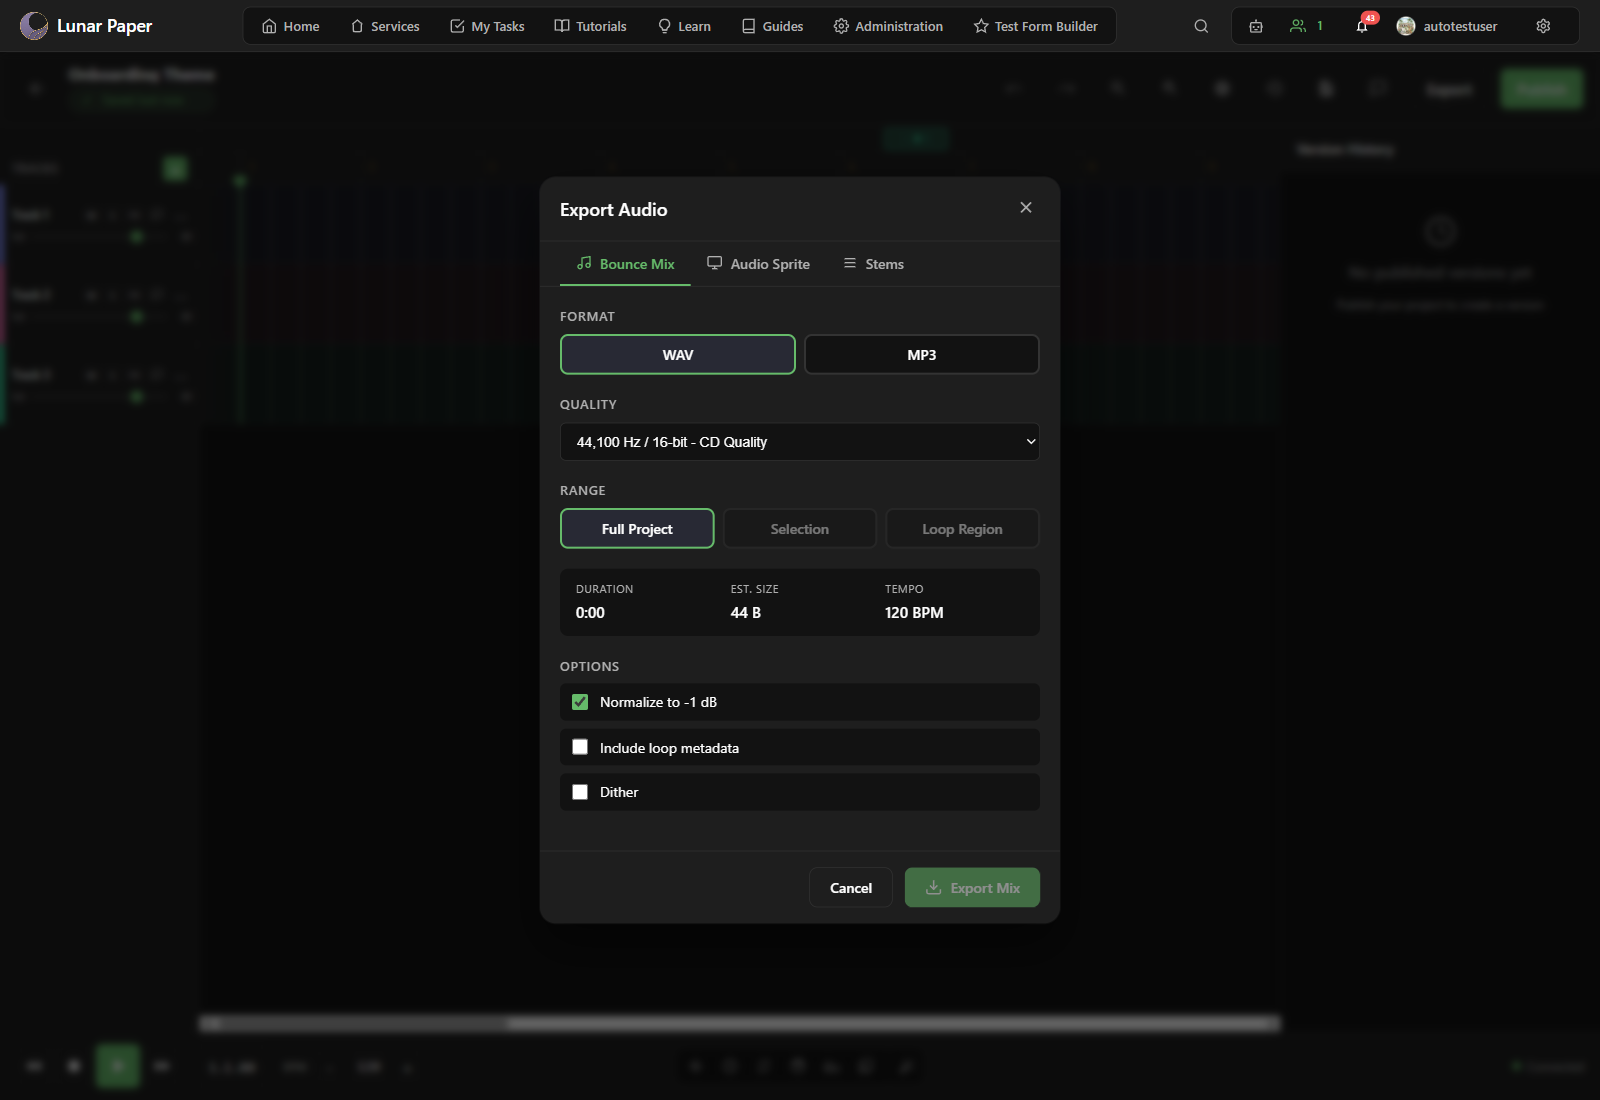
The file downloads to your computer.
Edit a recorded part
Section titled “Edit a recorded part”After recording an instrument and adding it to the timeline, double-click its clip and choose Performance in the modal header. You can adjust individual actions and Save changes, or use Save as new clip to keep an alternate. You can also open Performance before committing a fresh take; switching back to Instrument preserves the draft.
Edit recorded performances covers the full workflow.
The rest of the audio docs
Section titled “The rest of the audio docs”Now that you have a project open, the Guides hub covers one task at a time: working with templates, building arrangements, mixing, using the AI Assistant, and exporting. If a control on screen is unfamiliar, the Editor reference names every region and button.