
Design Studio quickstart
This makes a real poster from a sentence. Allow about fifteen minutes, most of it waiting for generation.
1. Open the module
Section titled “1. Open the module”Design Studio under Creative Modules. An empty service offers Create with AI and Create Design.
2. Describe what you want
Section titled “2. Describe what you want”Create with AI opens a seven-step brief.
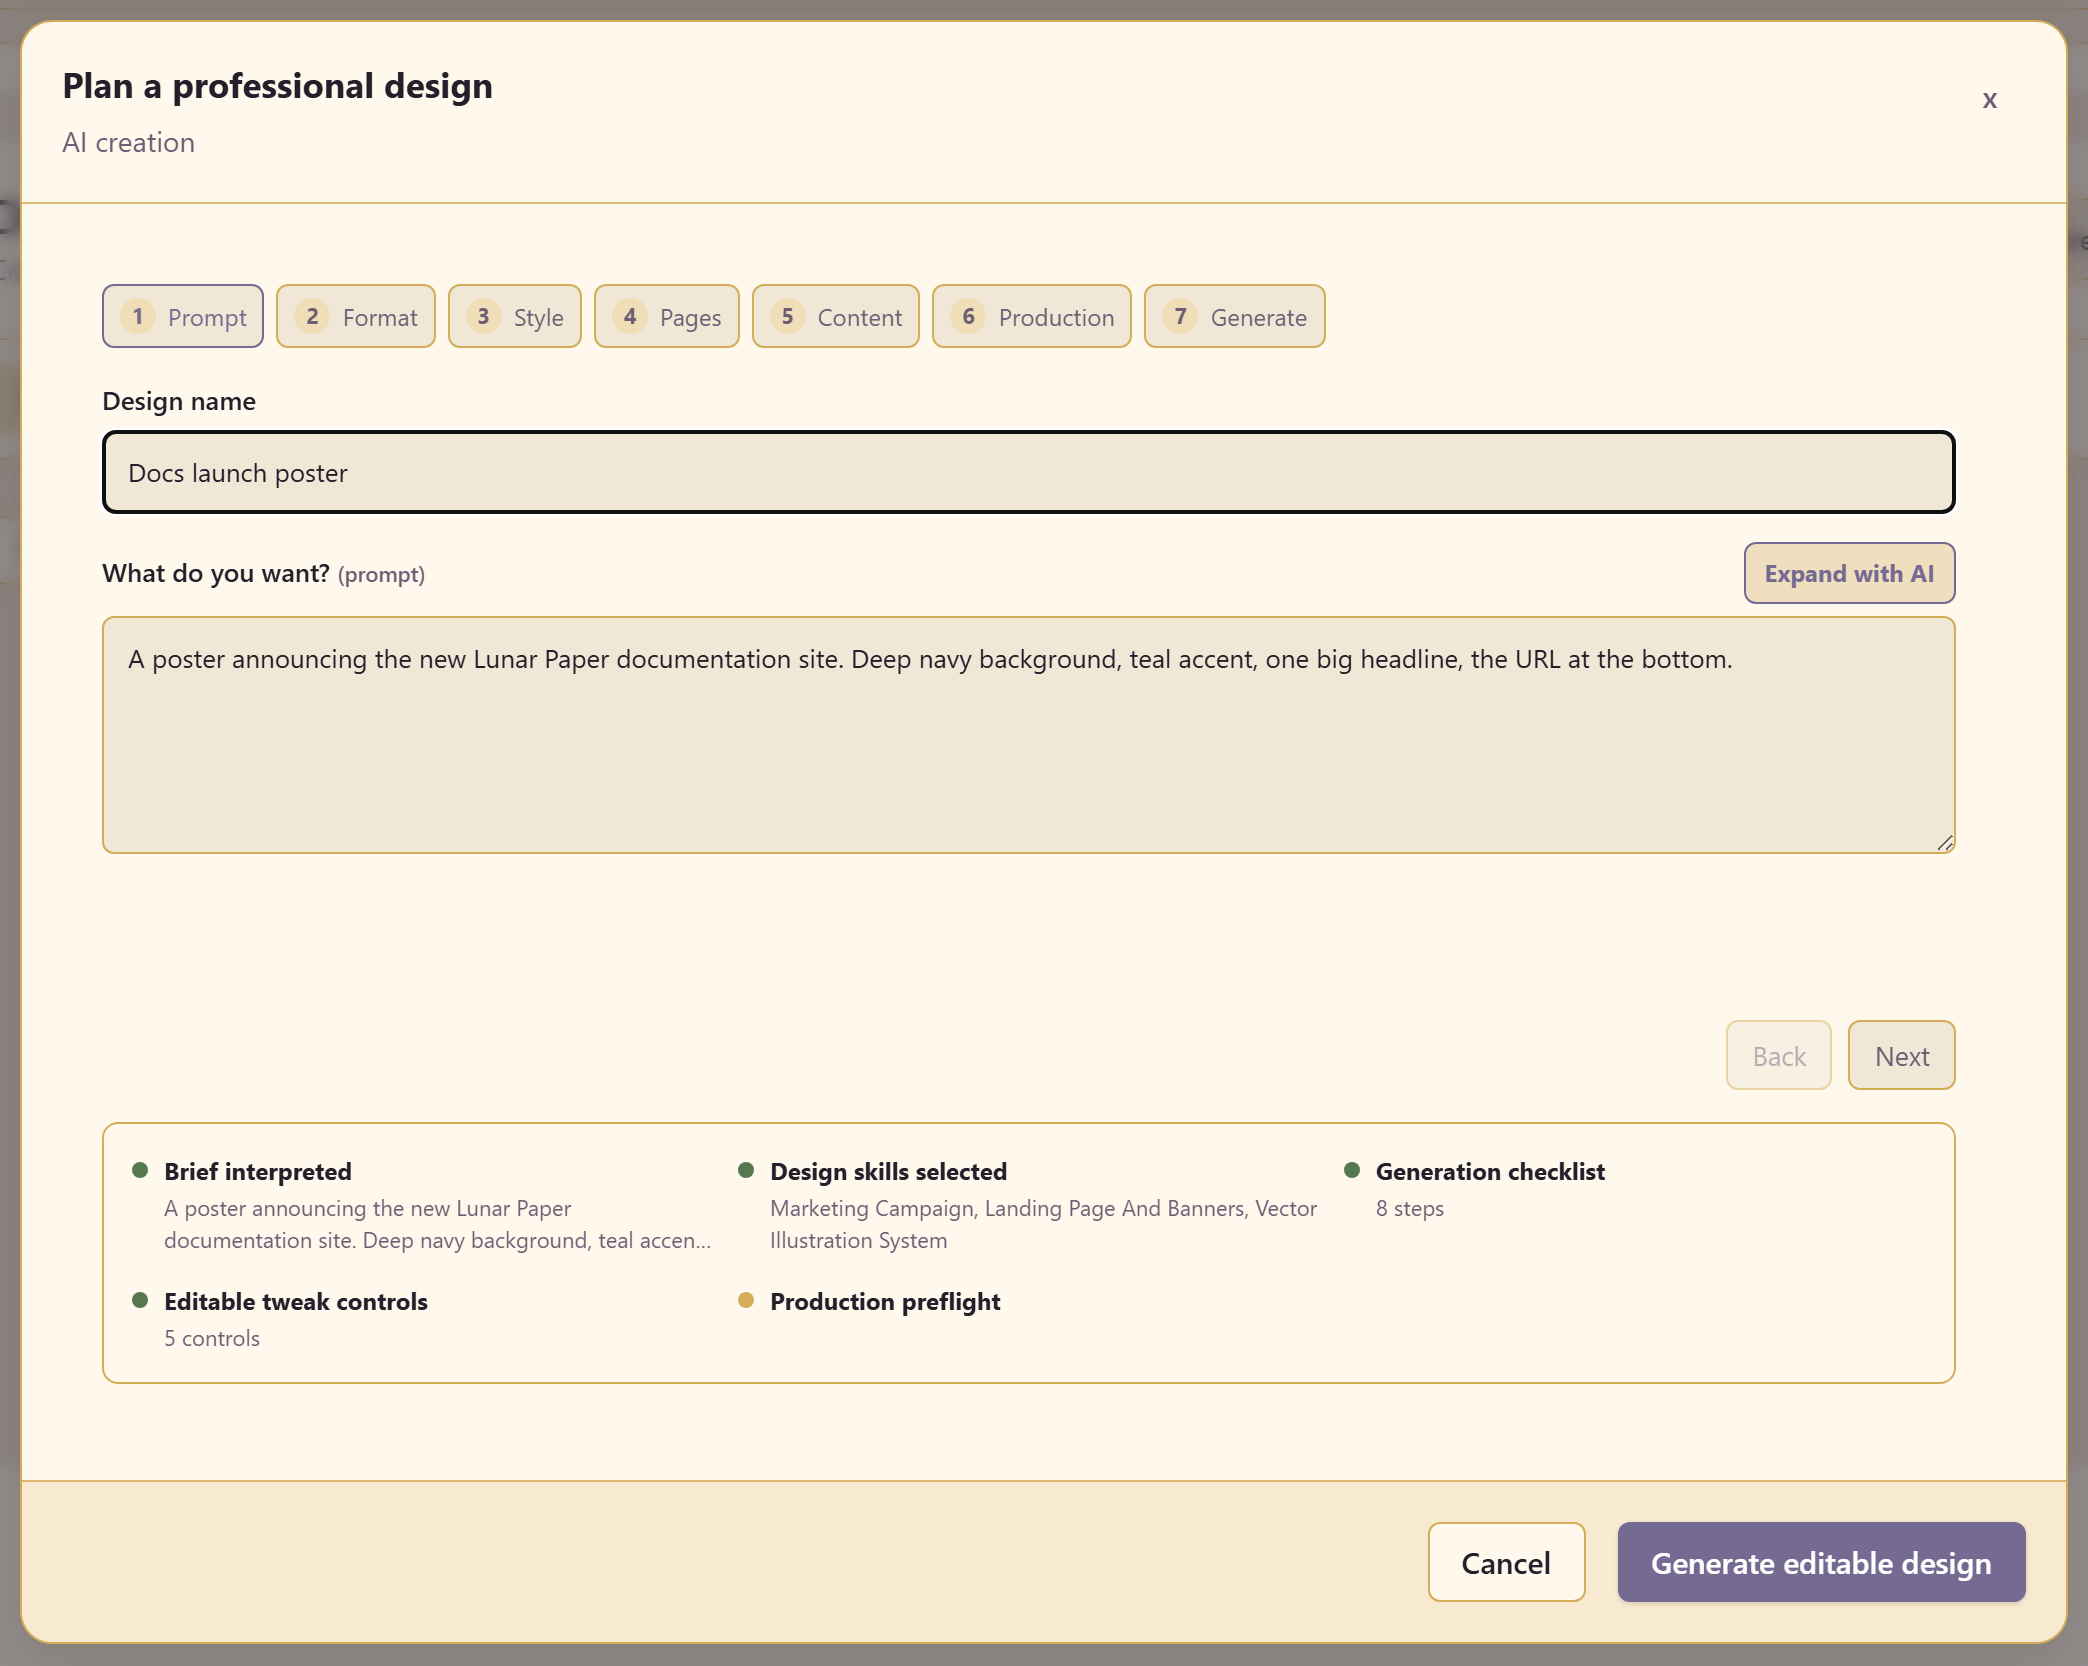
Give the design a name and write the prompt. The example used: a poster announcing the new Lunar Paper documentation site — deep navy background, teal accent, one big headline, and the site URL at the bottom.
Expand with AI rewrites a short prompt into a fuller brief if you would rather start from a sentence.
Say what it is for and what it must contain. Colour and mood are useful; a list of the actual content is more useful.
3. Pick a format
Section titled “3. Pick a format”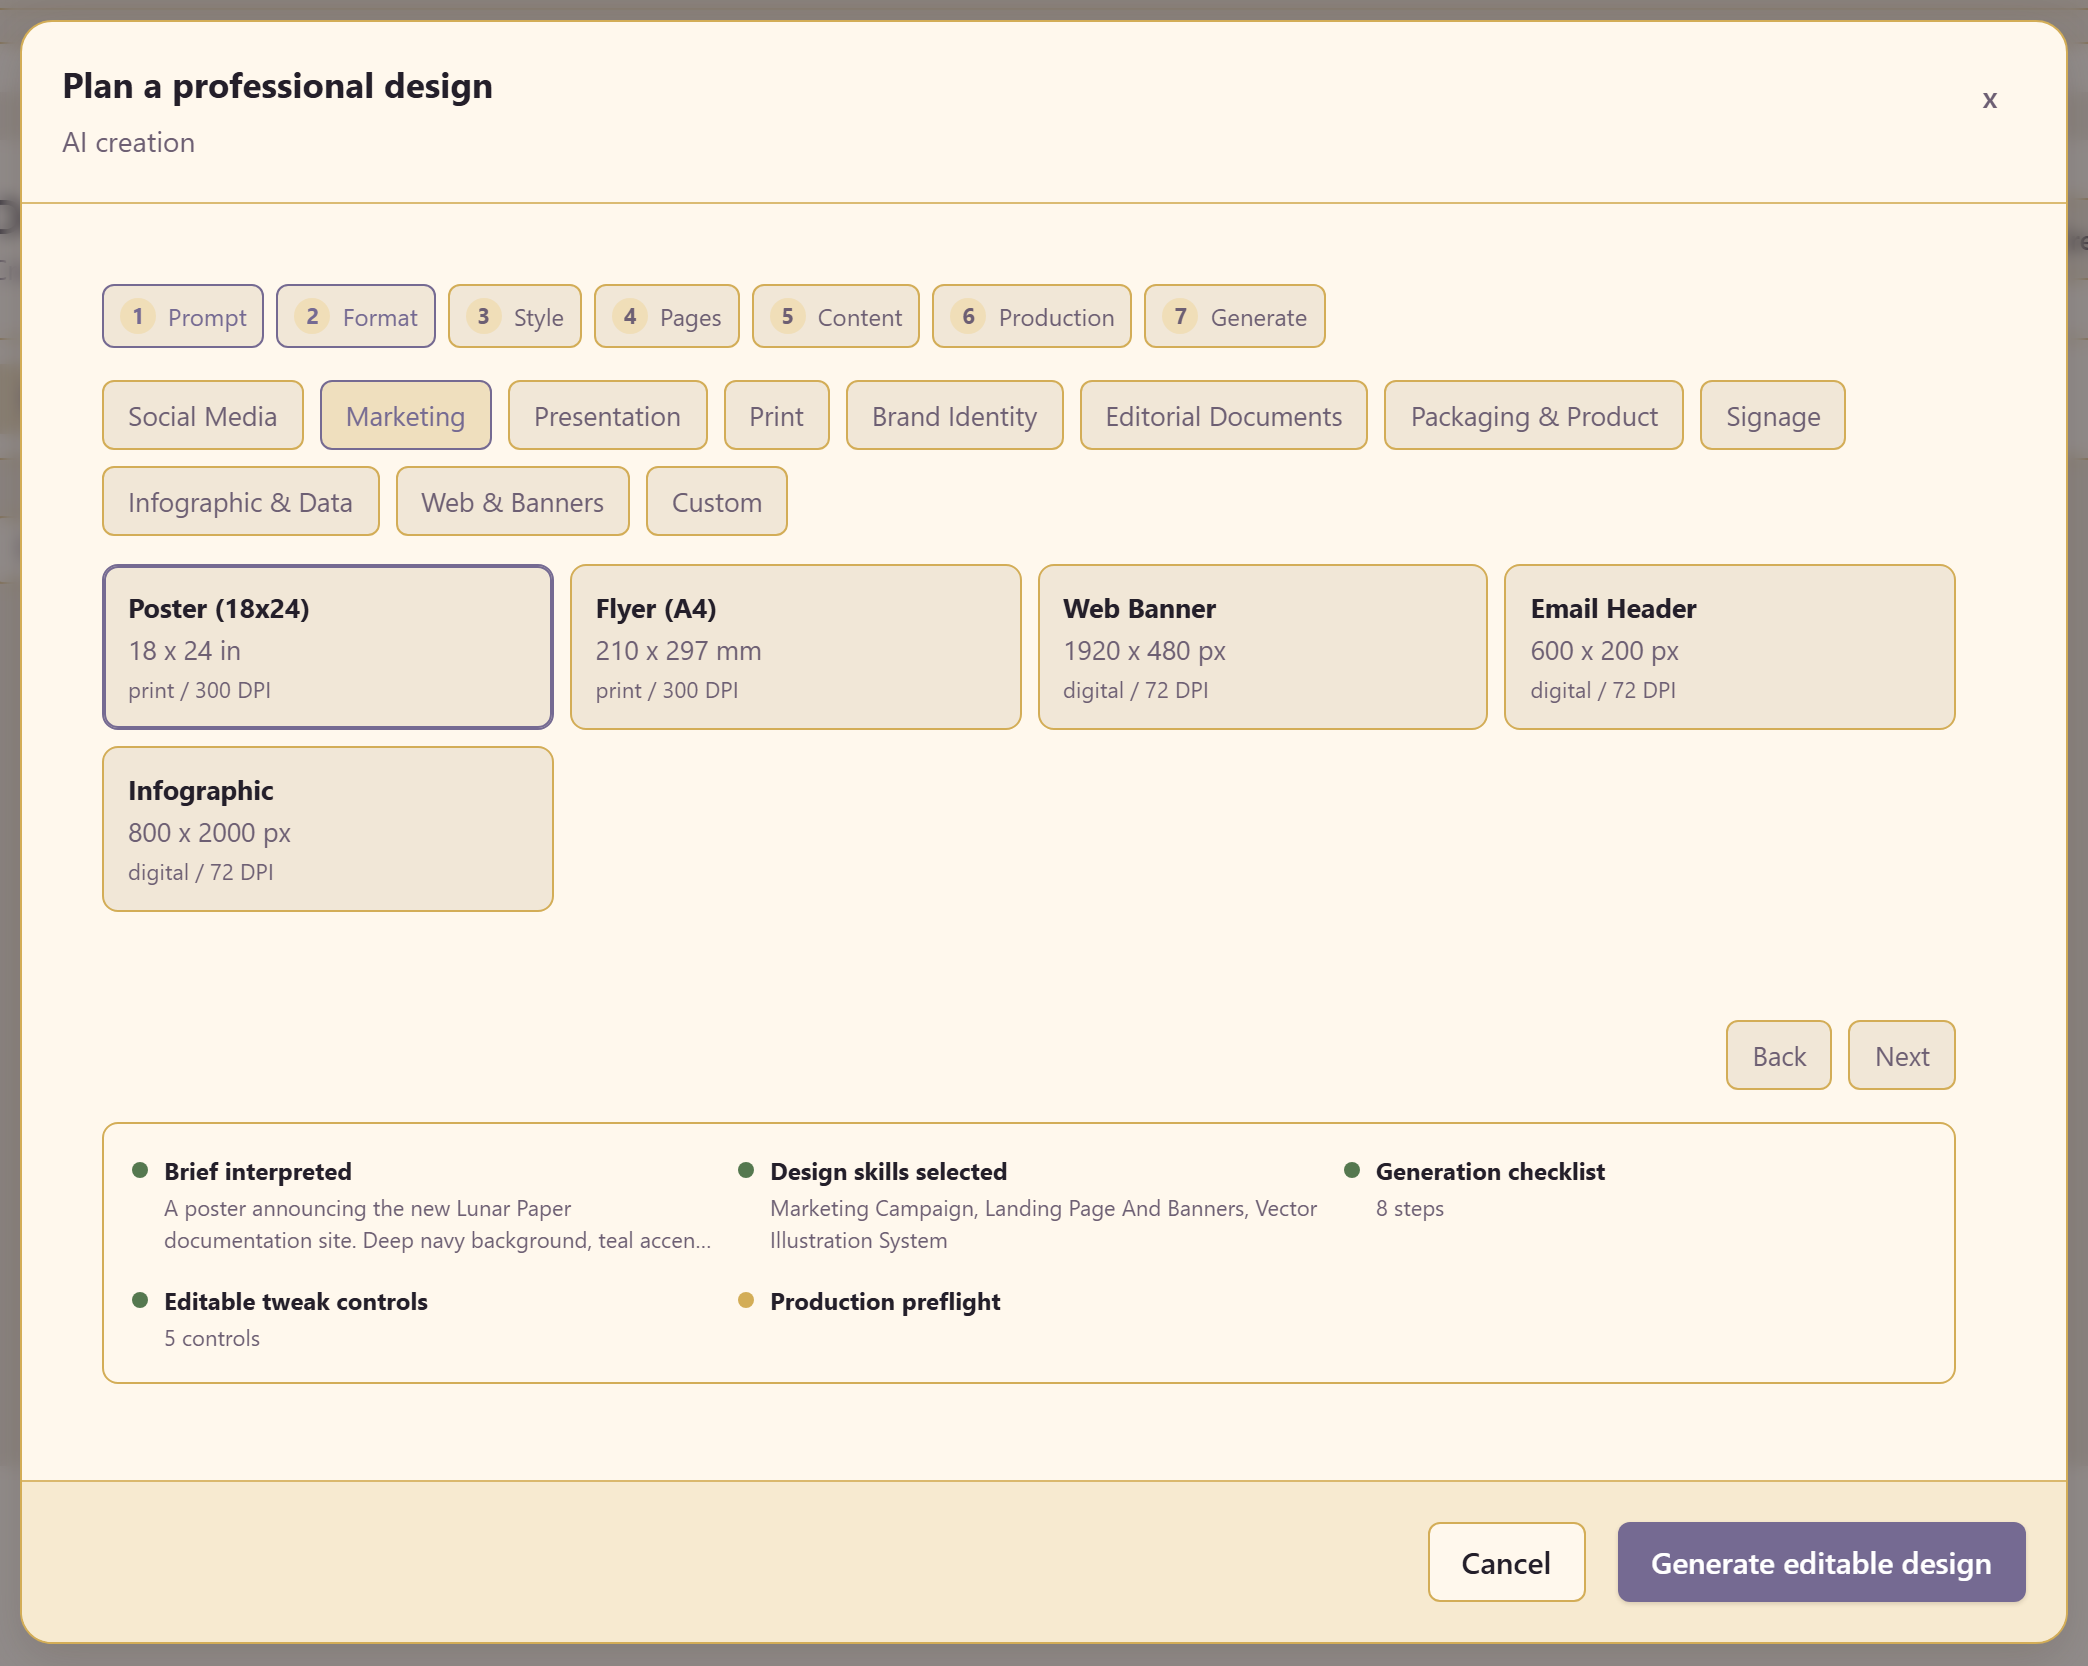
Nine categories, each with presets carrying real dimensions and DPI — Poster (18x24) at 300 DPI for print, Web Banner at 1920 × 480 and 72 DPI for screen.
Choose the output first. A poster written for print and later squeezed into a banner rarely survives the move.
4. Set the style
Section titled “4. Set the style”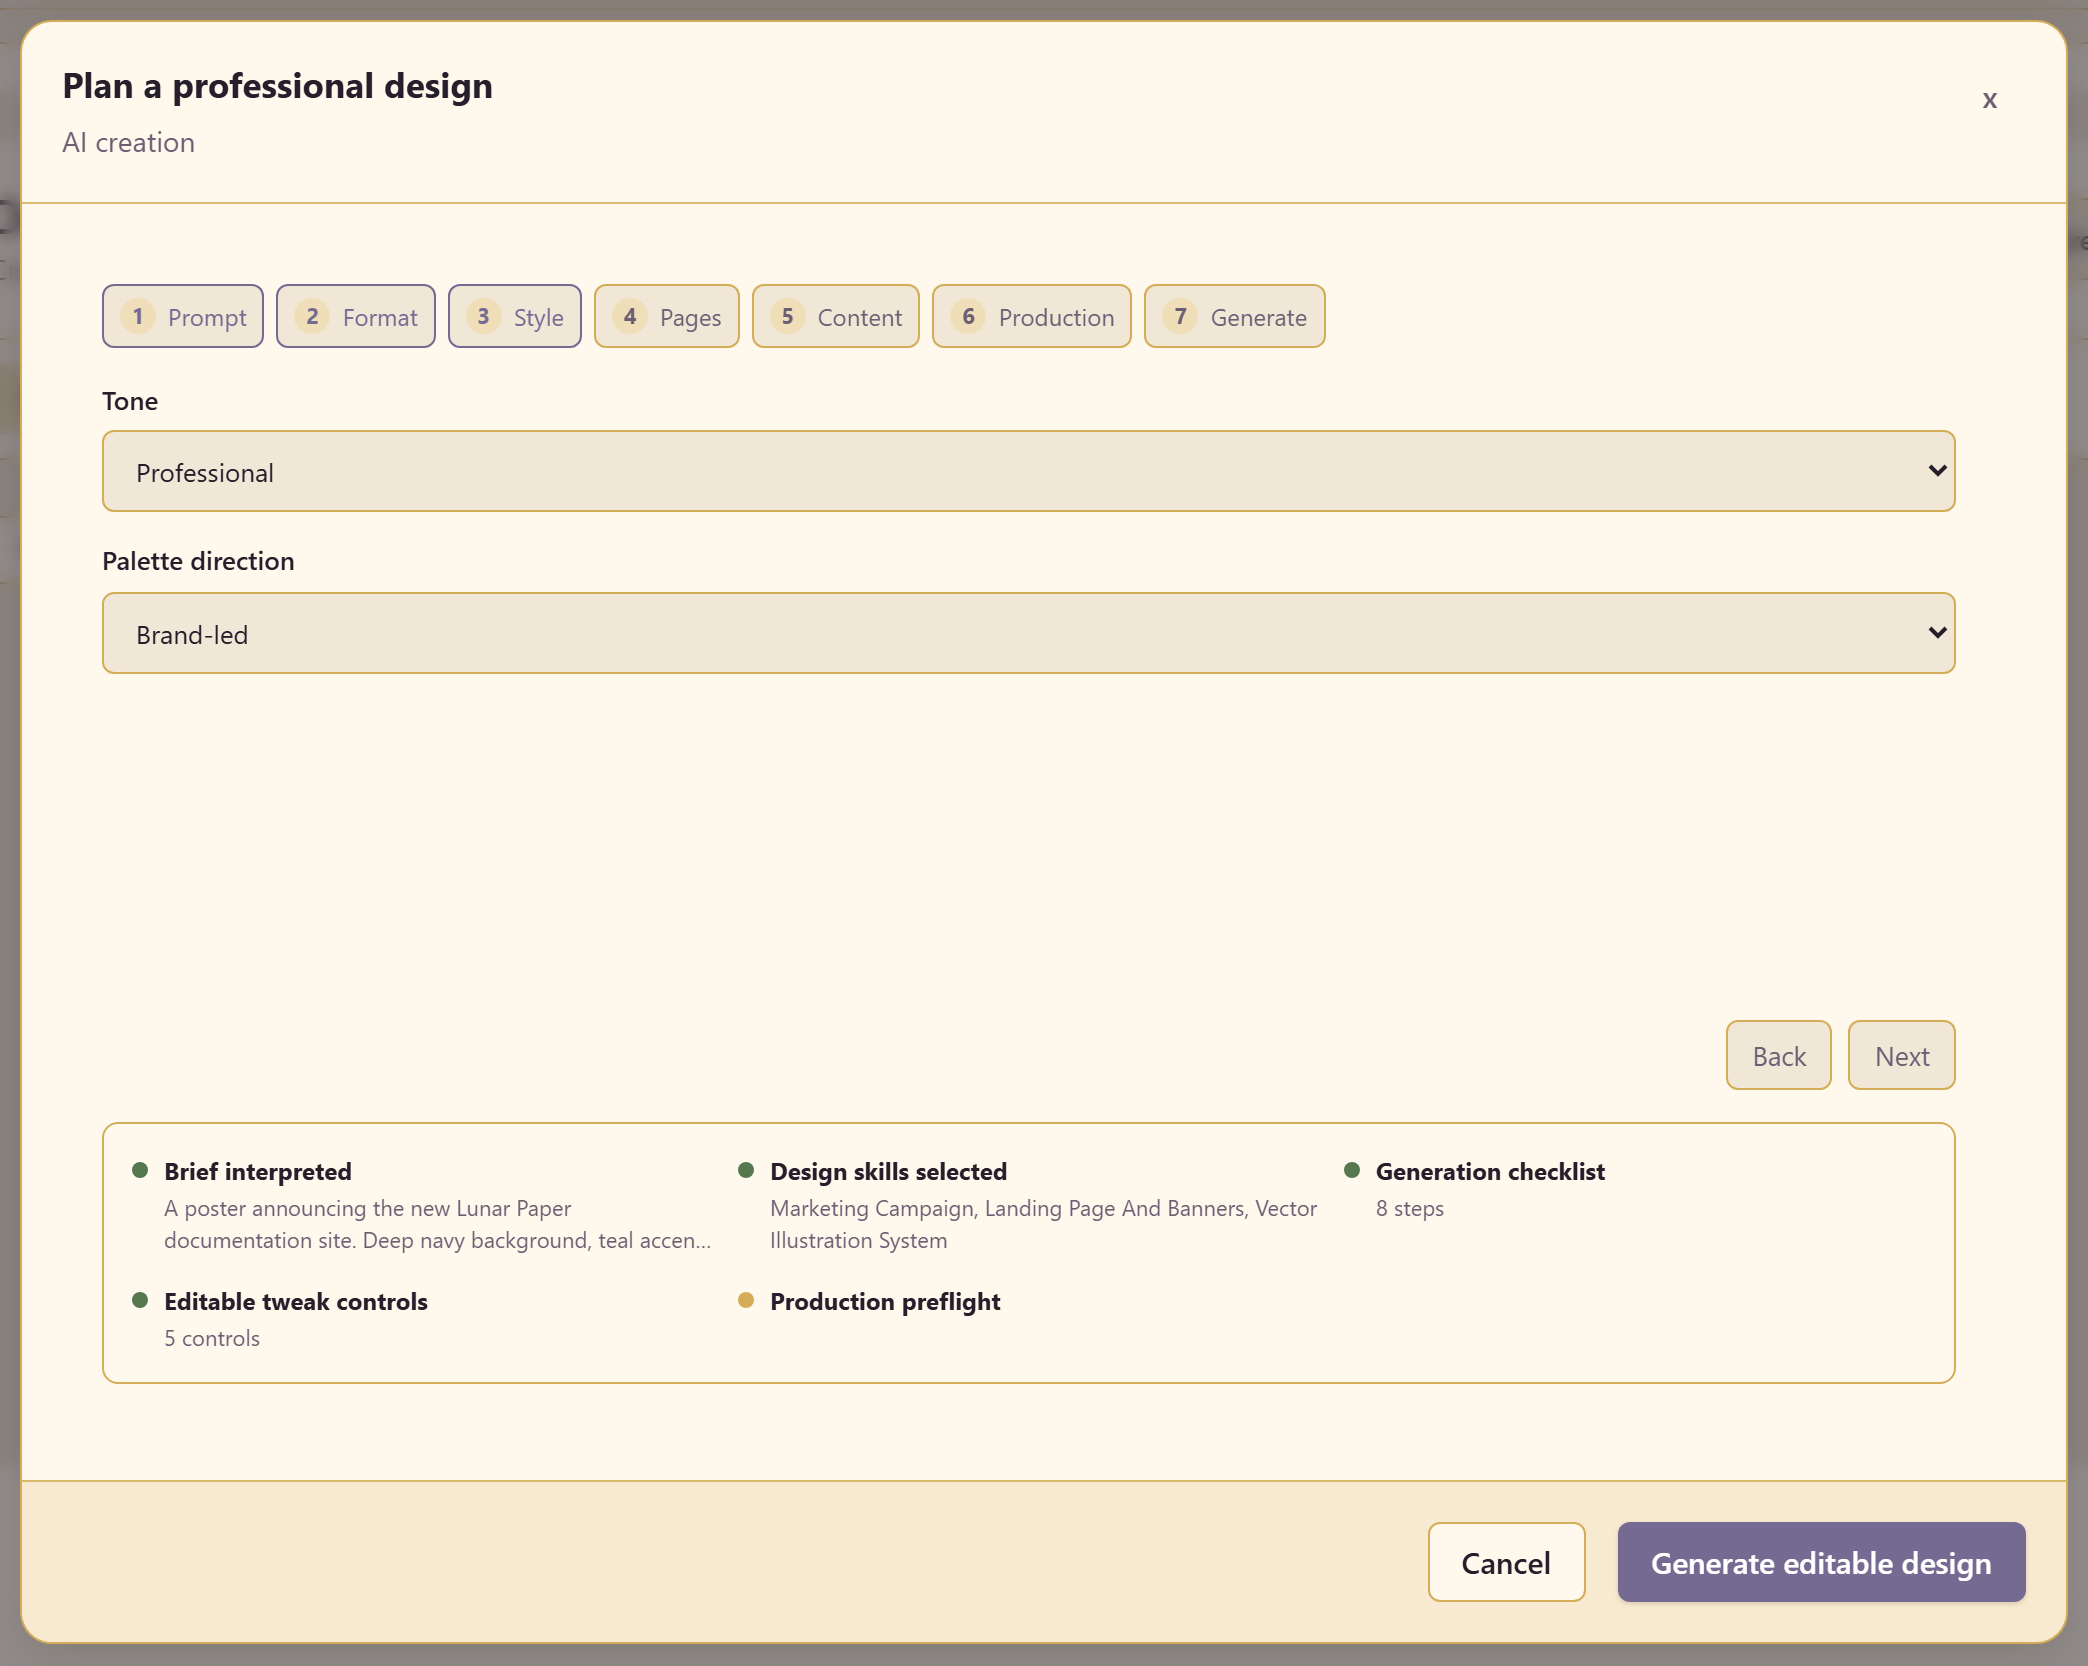
Two choices: a tone — Professional, Bold, Minimal, Editorial, or Playful — and a colour approach — Brand-led, High contrast, Neutral, or Vivid.
Brand-led is the one to pick when the service has a brand set up, because it pulls from that rather than inventing a palette.
5. Pages, content, production
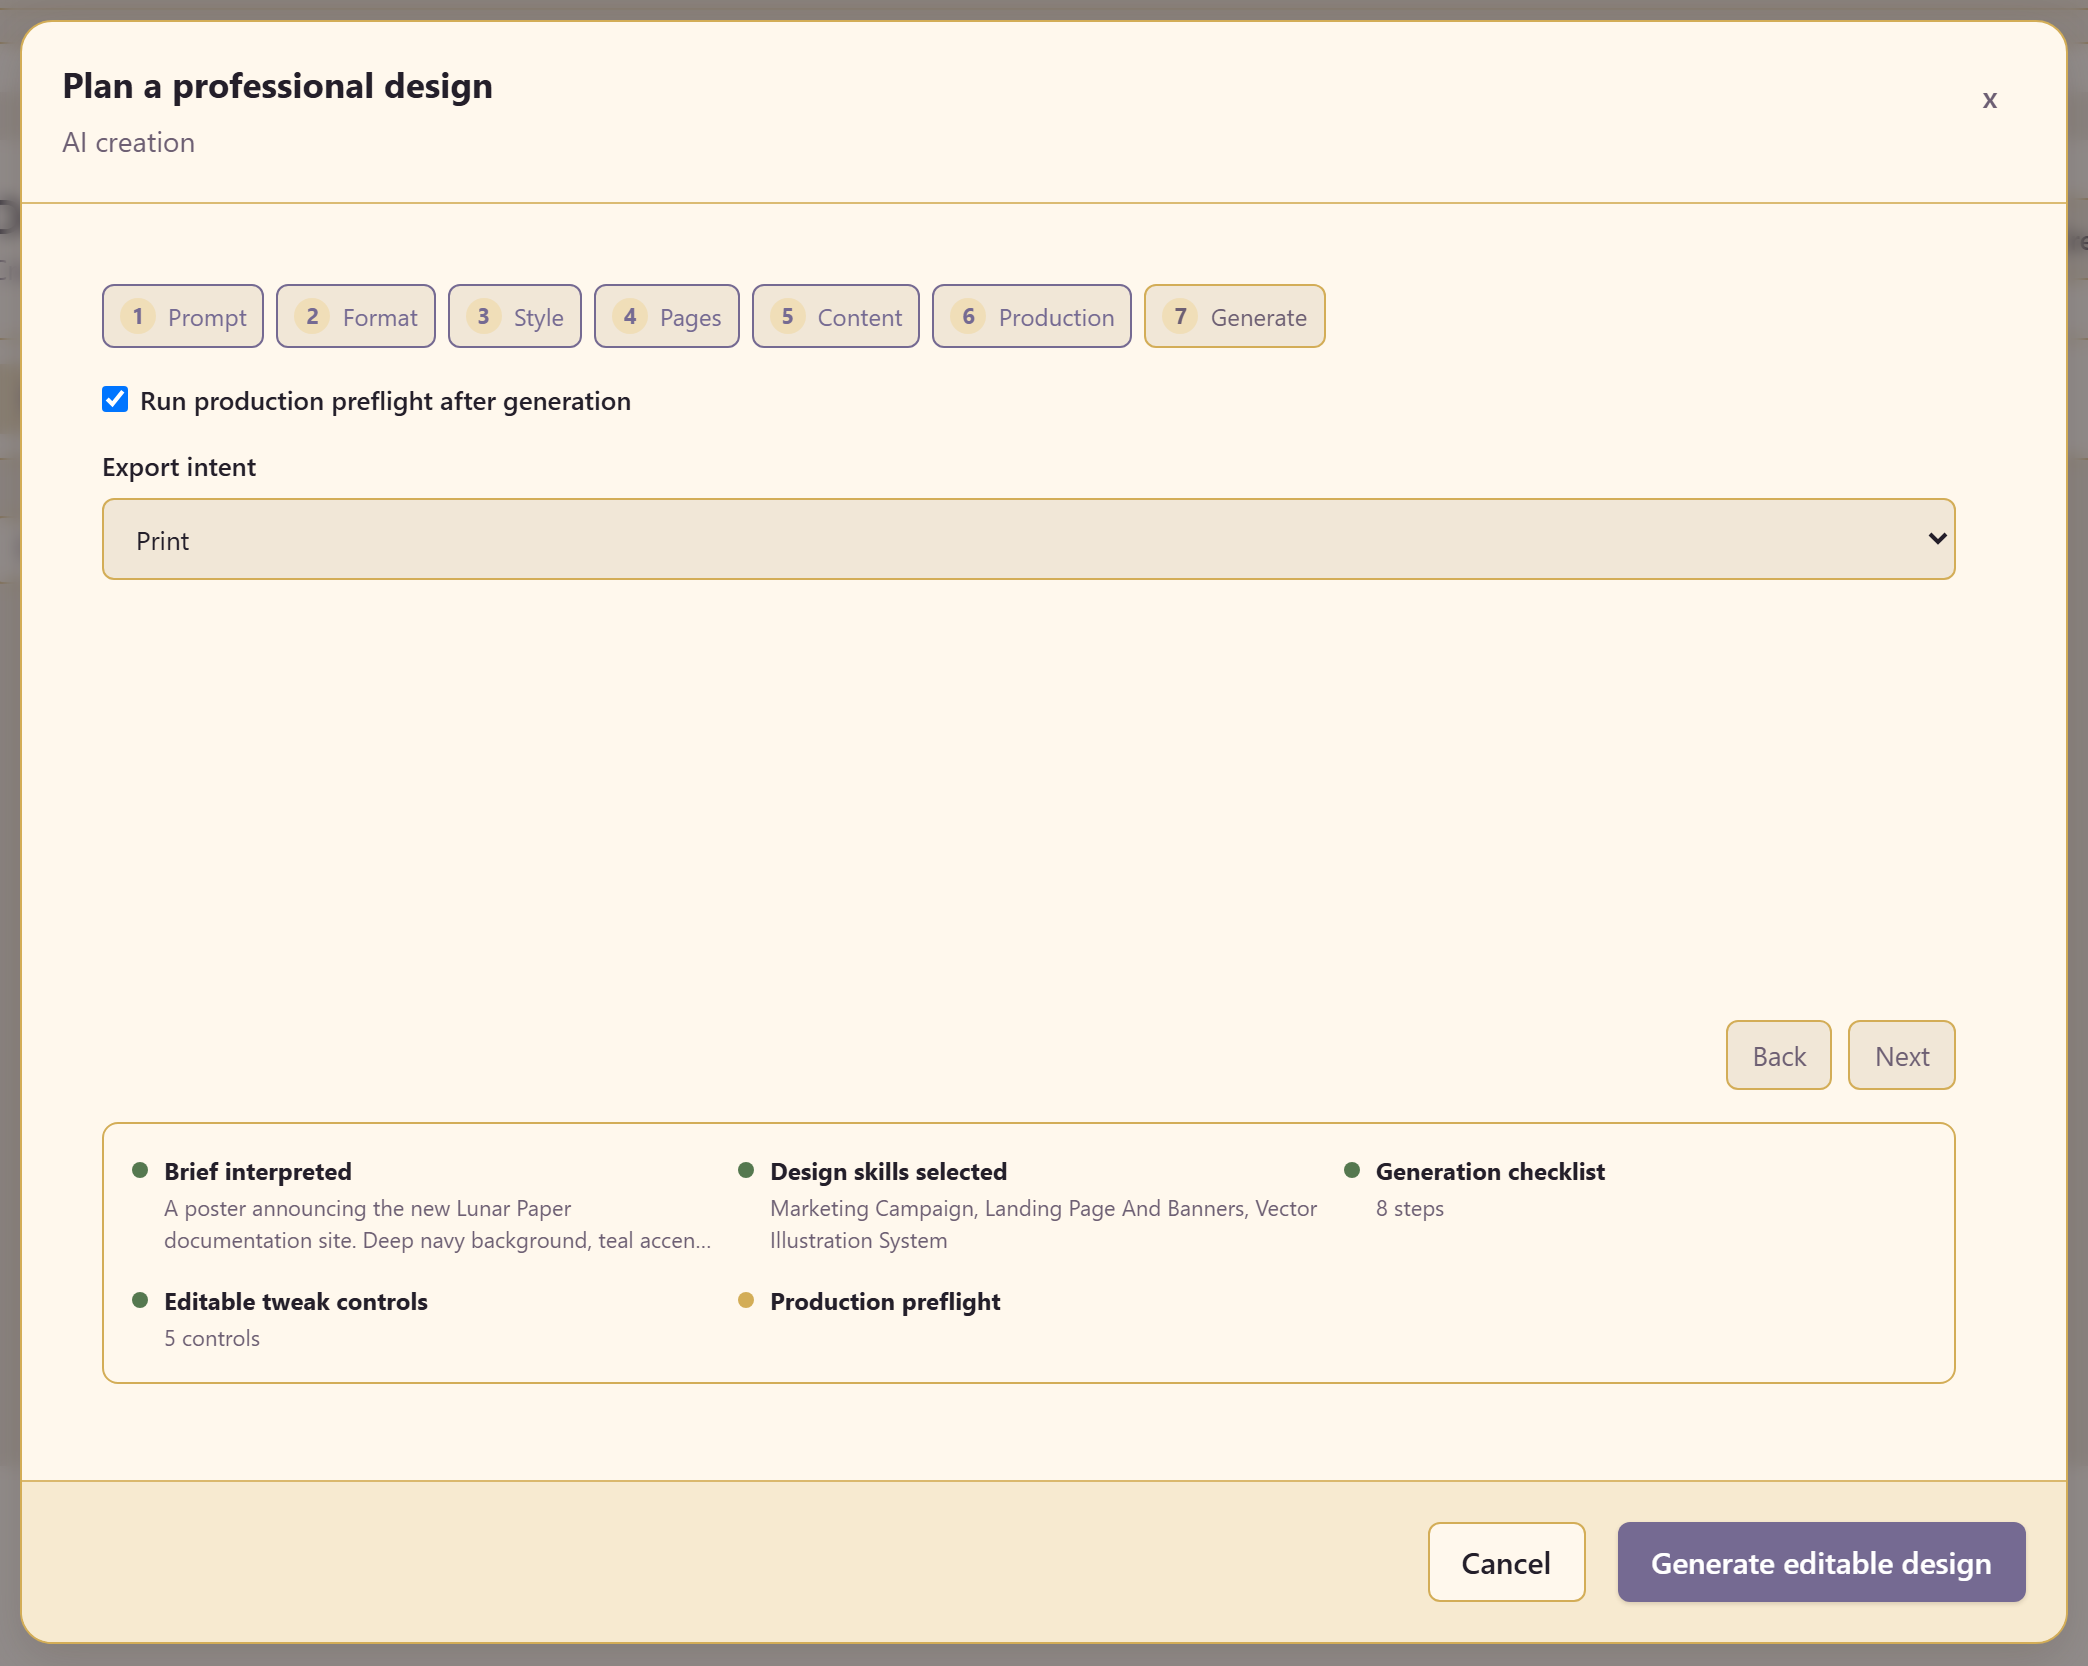
Section titled “5. Pages, content, production”Pages sets how many artboards. Content takes an audience and a primary message. Production chooses an export intent — Digital, Print, or Presentation — and whether to run a preflight after generating.
The primary message is the field that most changes the result. One sentence, the thing a reader should leave with.
6. Generate
Section titled “6. Generate”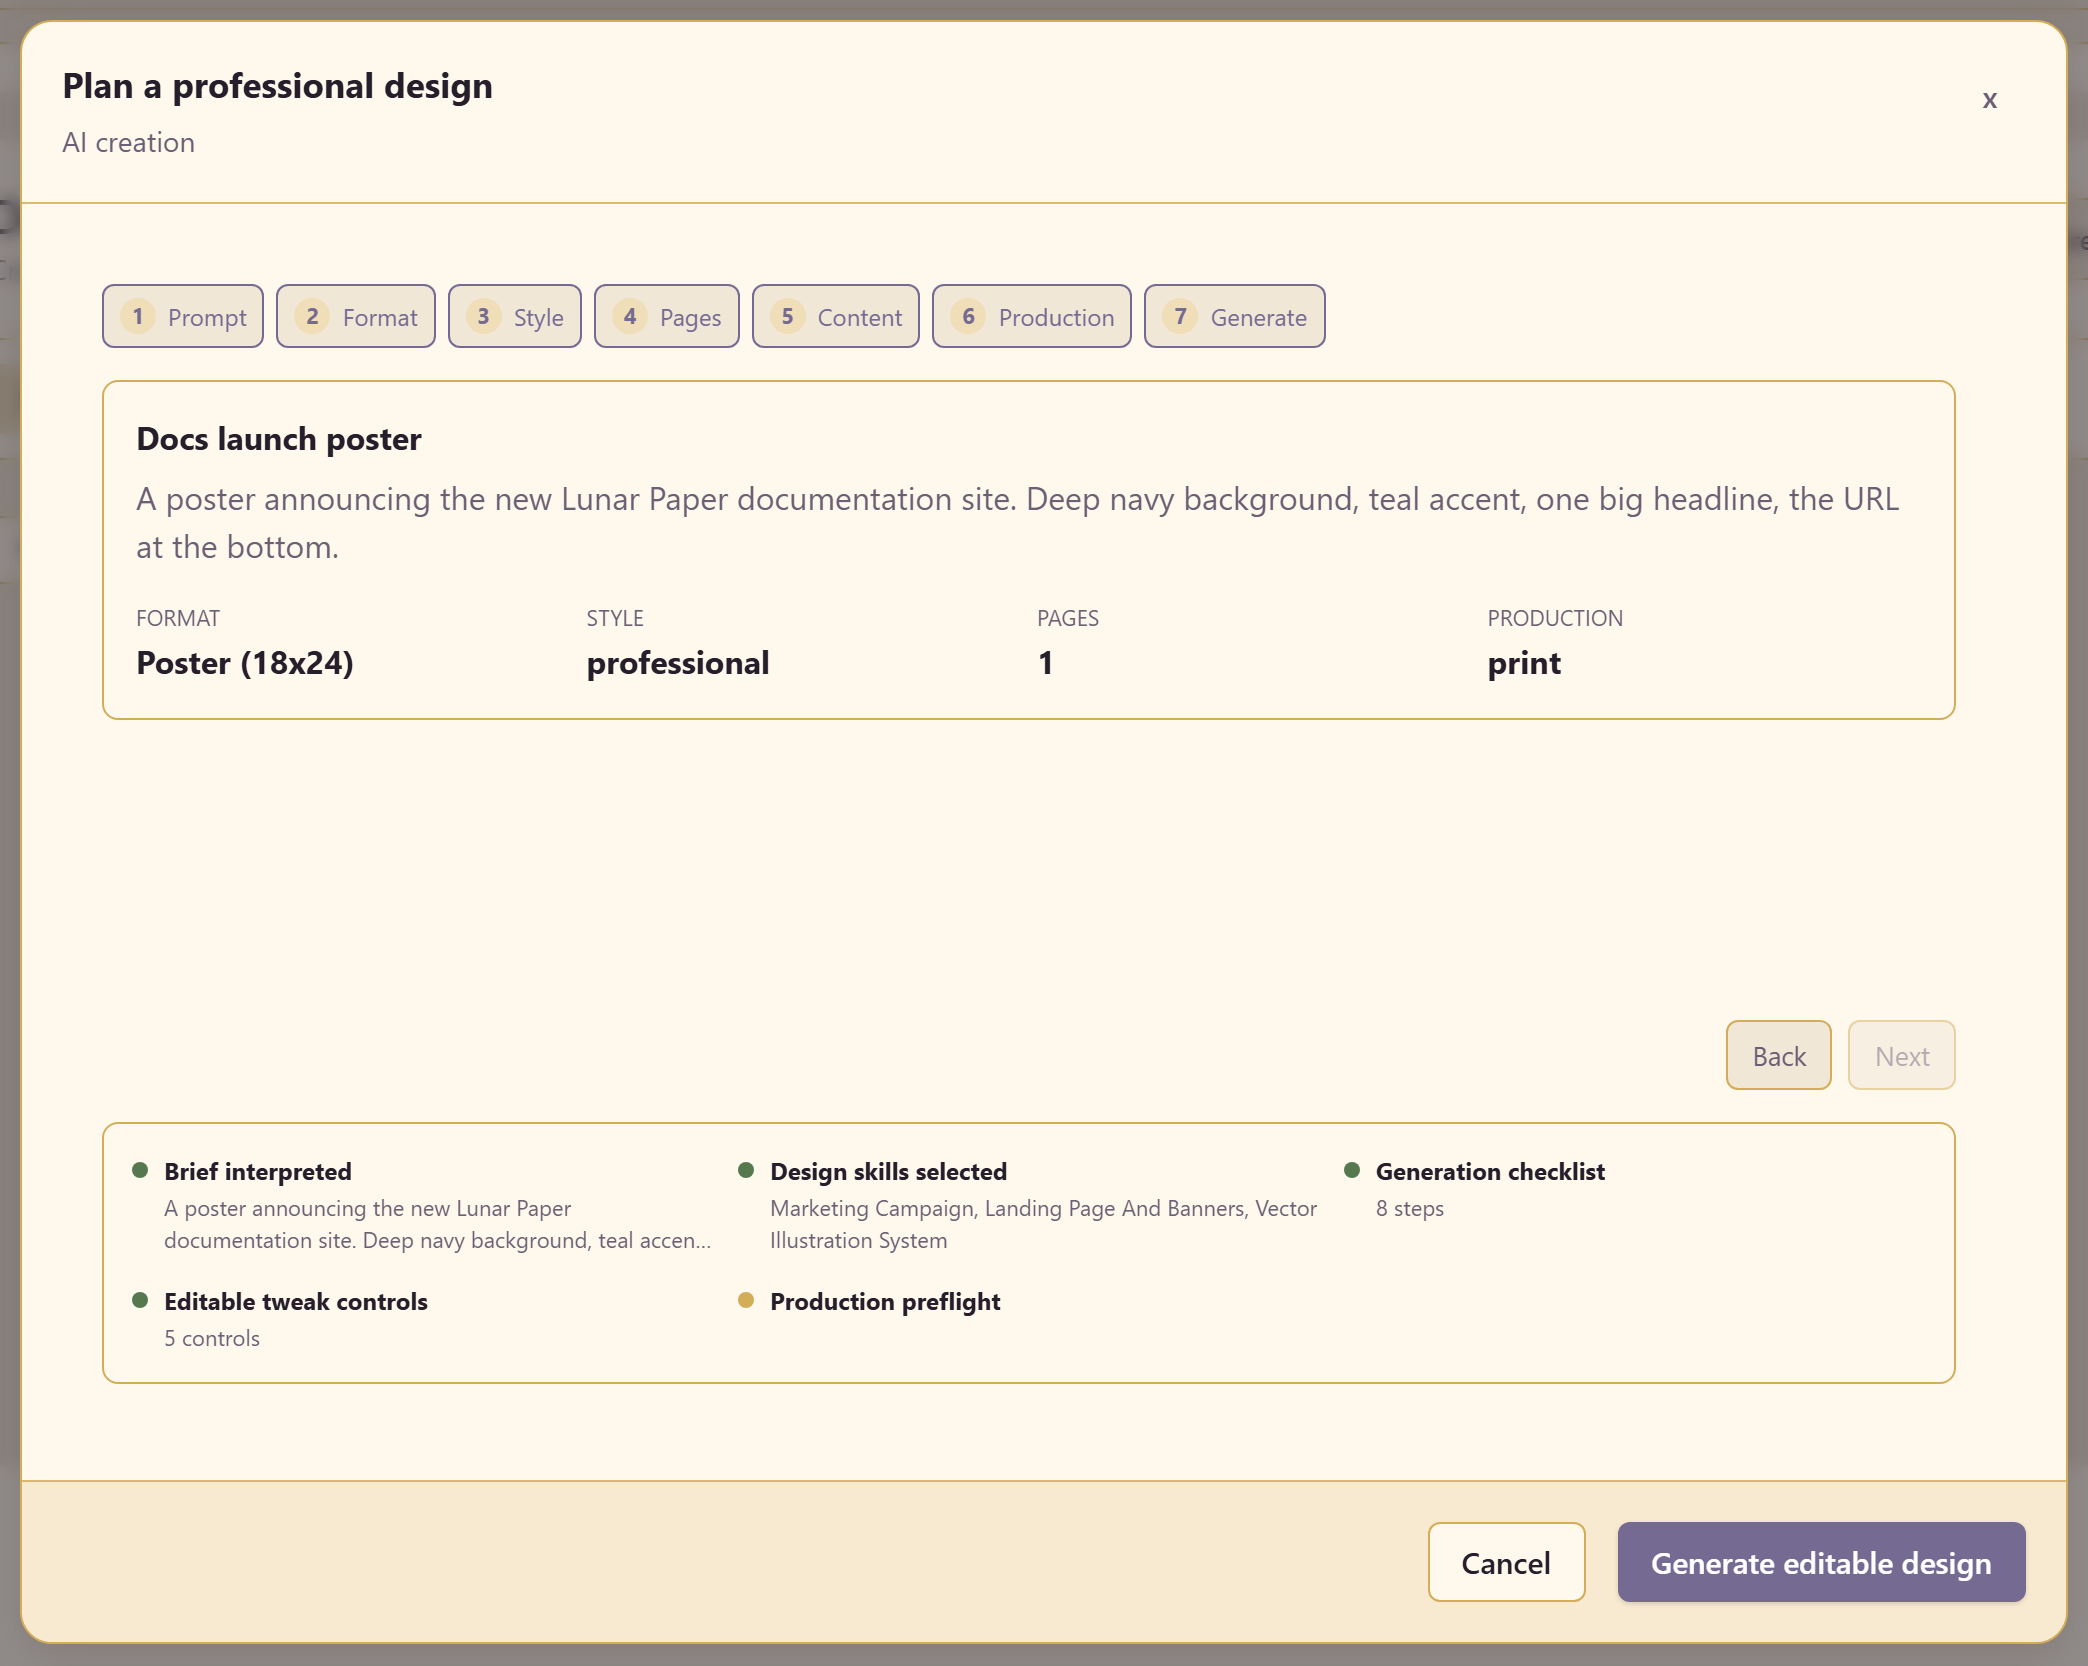
The summary shows what the AI understood: the brief, the design skills it selected, a generation checklist, the tweak controls you will get, and the preflight.
Read it before you commit. If the interpreted brief is wrong, fixing the prompt is far cheaper than editing the result.
Generate editable design builds it.
7. Edit it
Section titled “7. Edit it”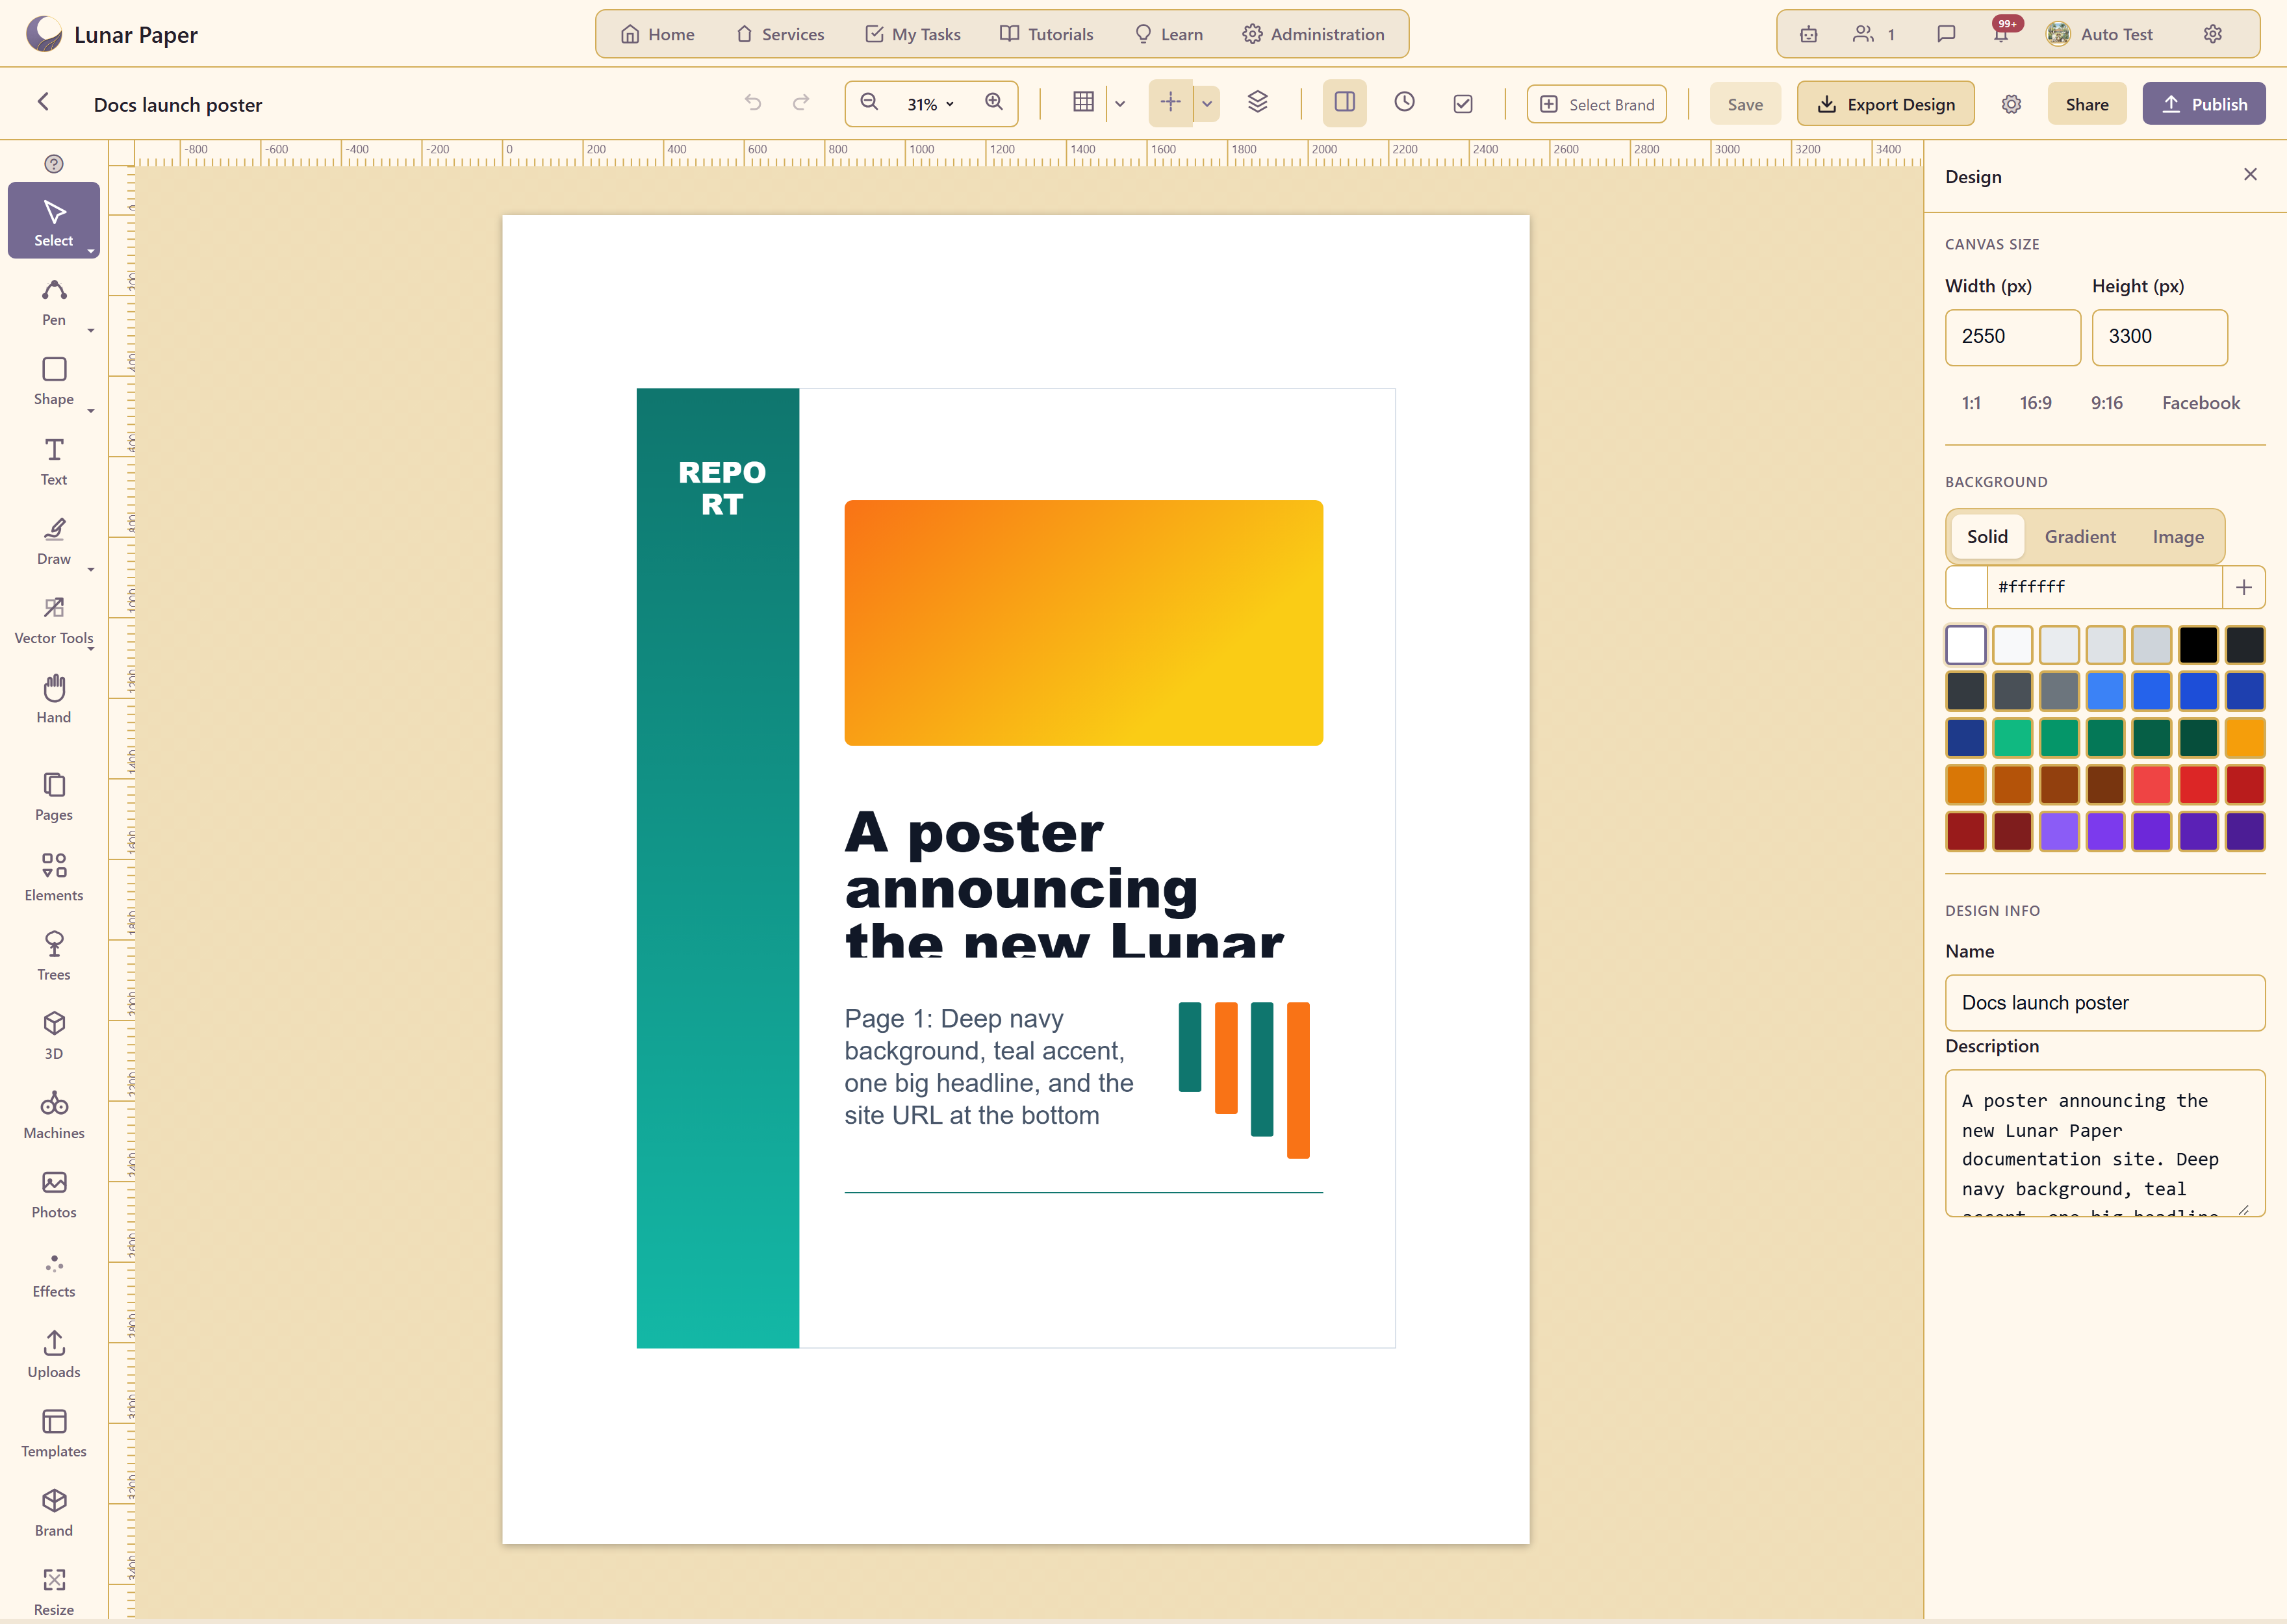
What comes back is a real document. Select anything and edit it; the tools and panels work as they would on a design you drew yourself.
8. Check and export
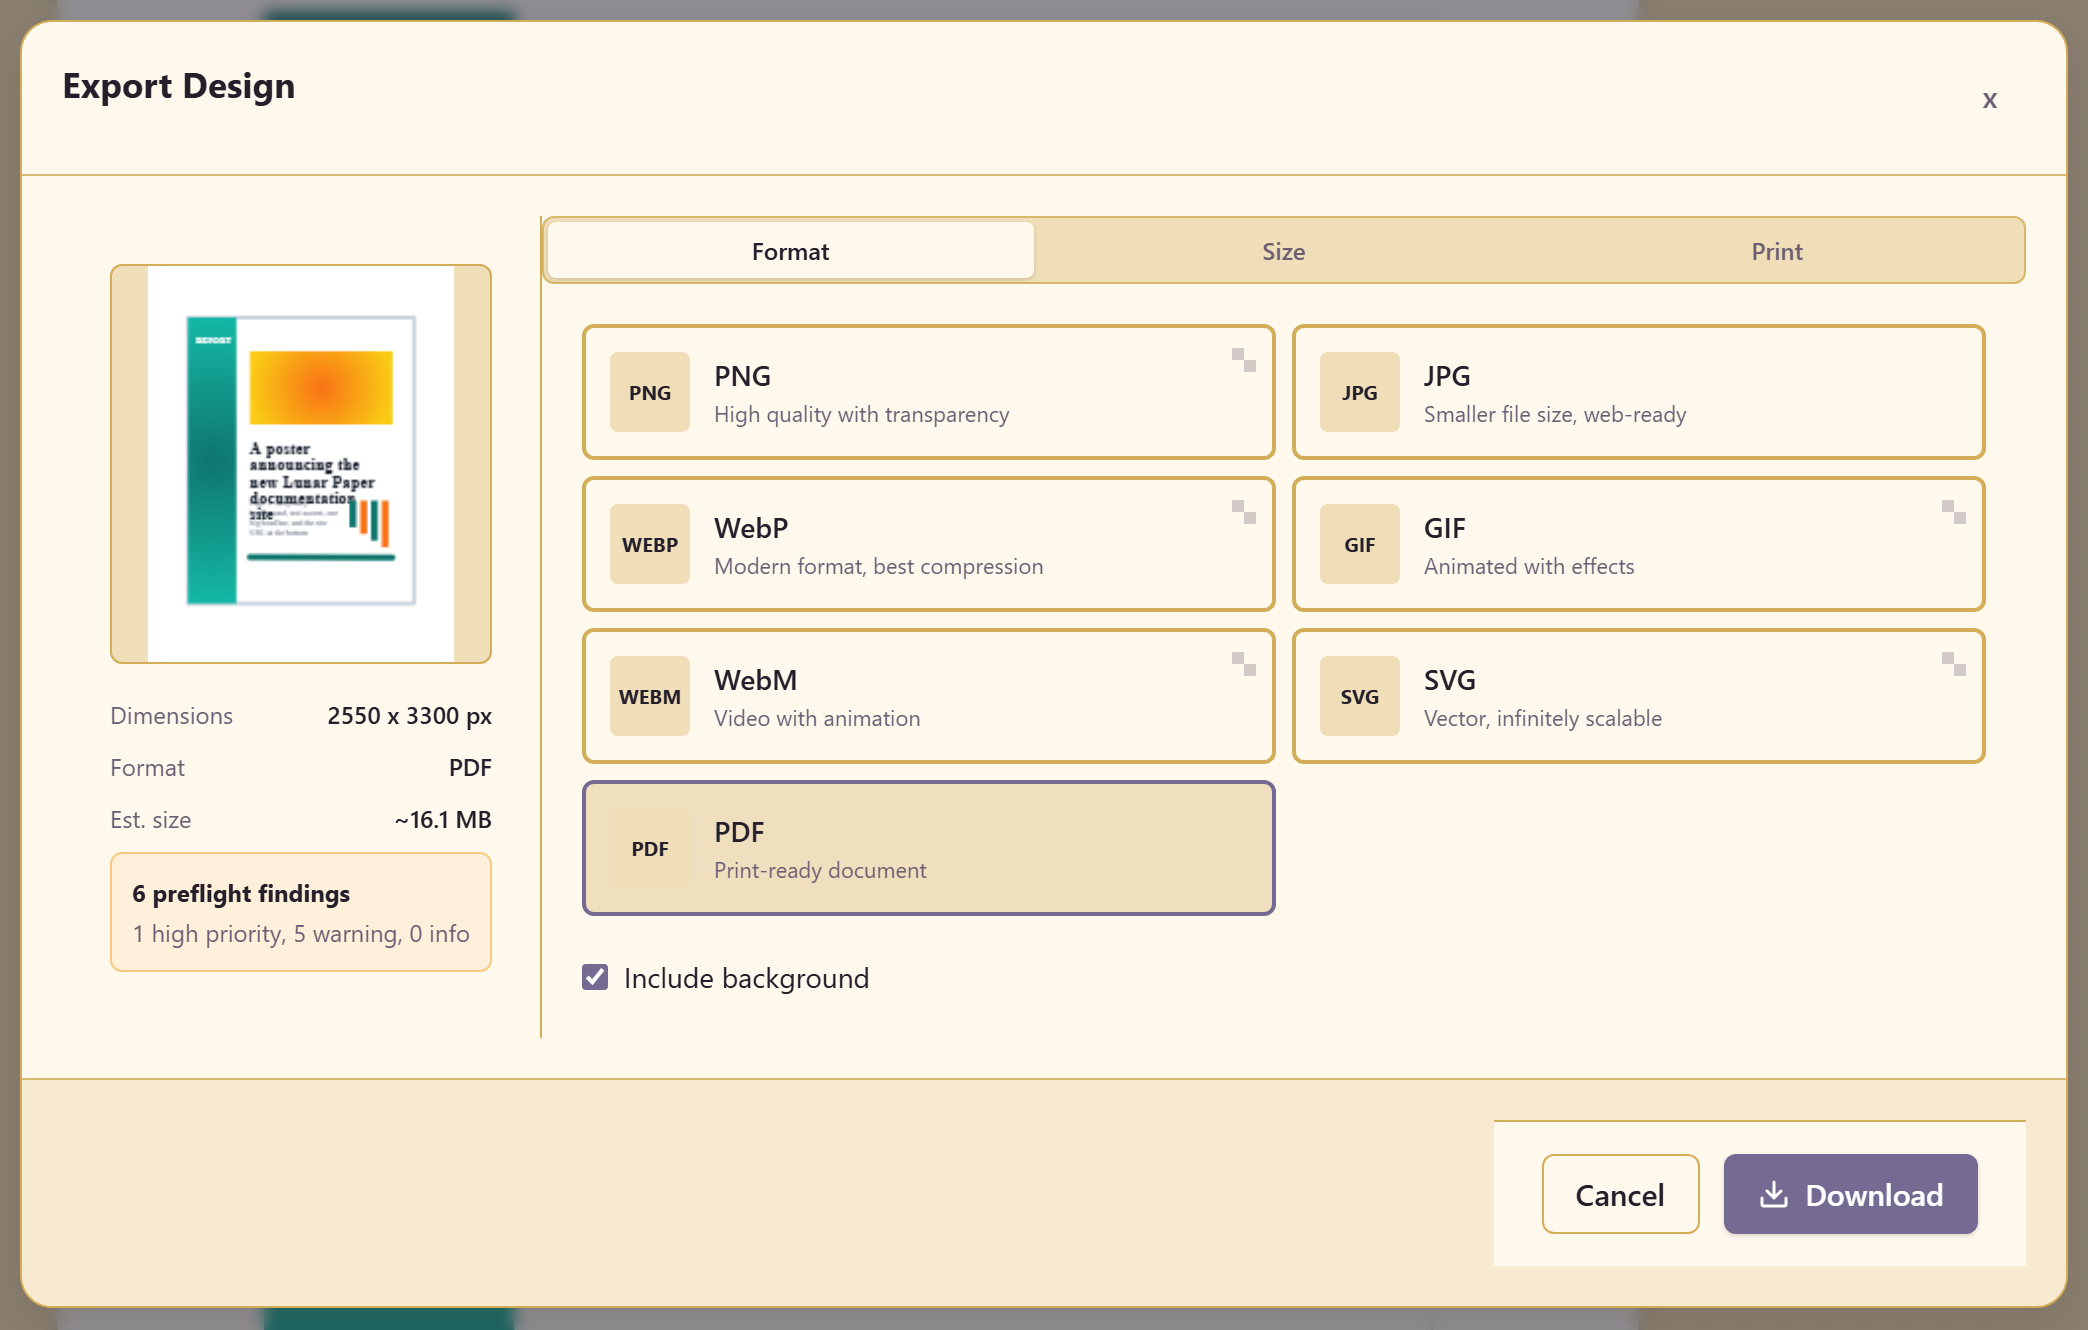
Section titled “8. Check and export”Check design runs a preflight. Export Design produces the file.
Work on the canvas covers the tools. Add elements covers the library, which is larger than it first appears.