
Quickstart — your first project
Set up a project that is genuinely usable in about fifteen minutes. At the end it will have a code, a schedule, a budget, a linked board supplying its progress, and a team with allocations.
1. Create the project
Section titled “1. Create the project”Open the service and choose Projects under Project Management, then + New Project.
The create dialog asks for very little: Name is required, Description and Status are optional. Everything else — code, dates, budget, manager, priority — is set afterwards. Name it for the outcome rather than the team, then choose Create Project.
2. Fill in what the dialog left out
Section titled “2. Fill in what the dialog left out”Open the project and choose the gear, Project Settings.
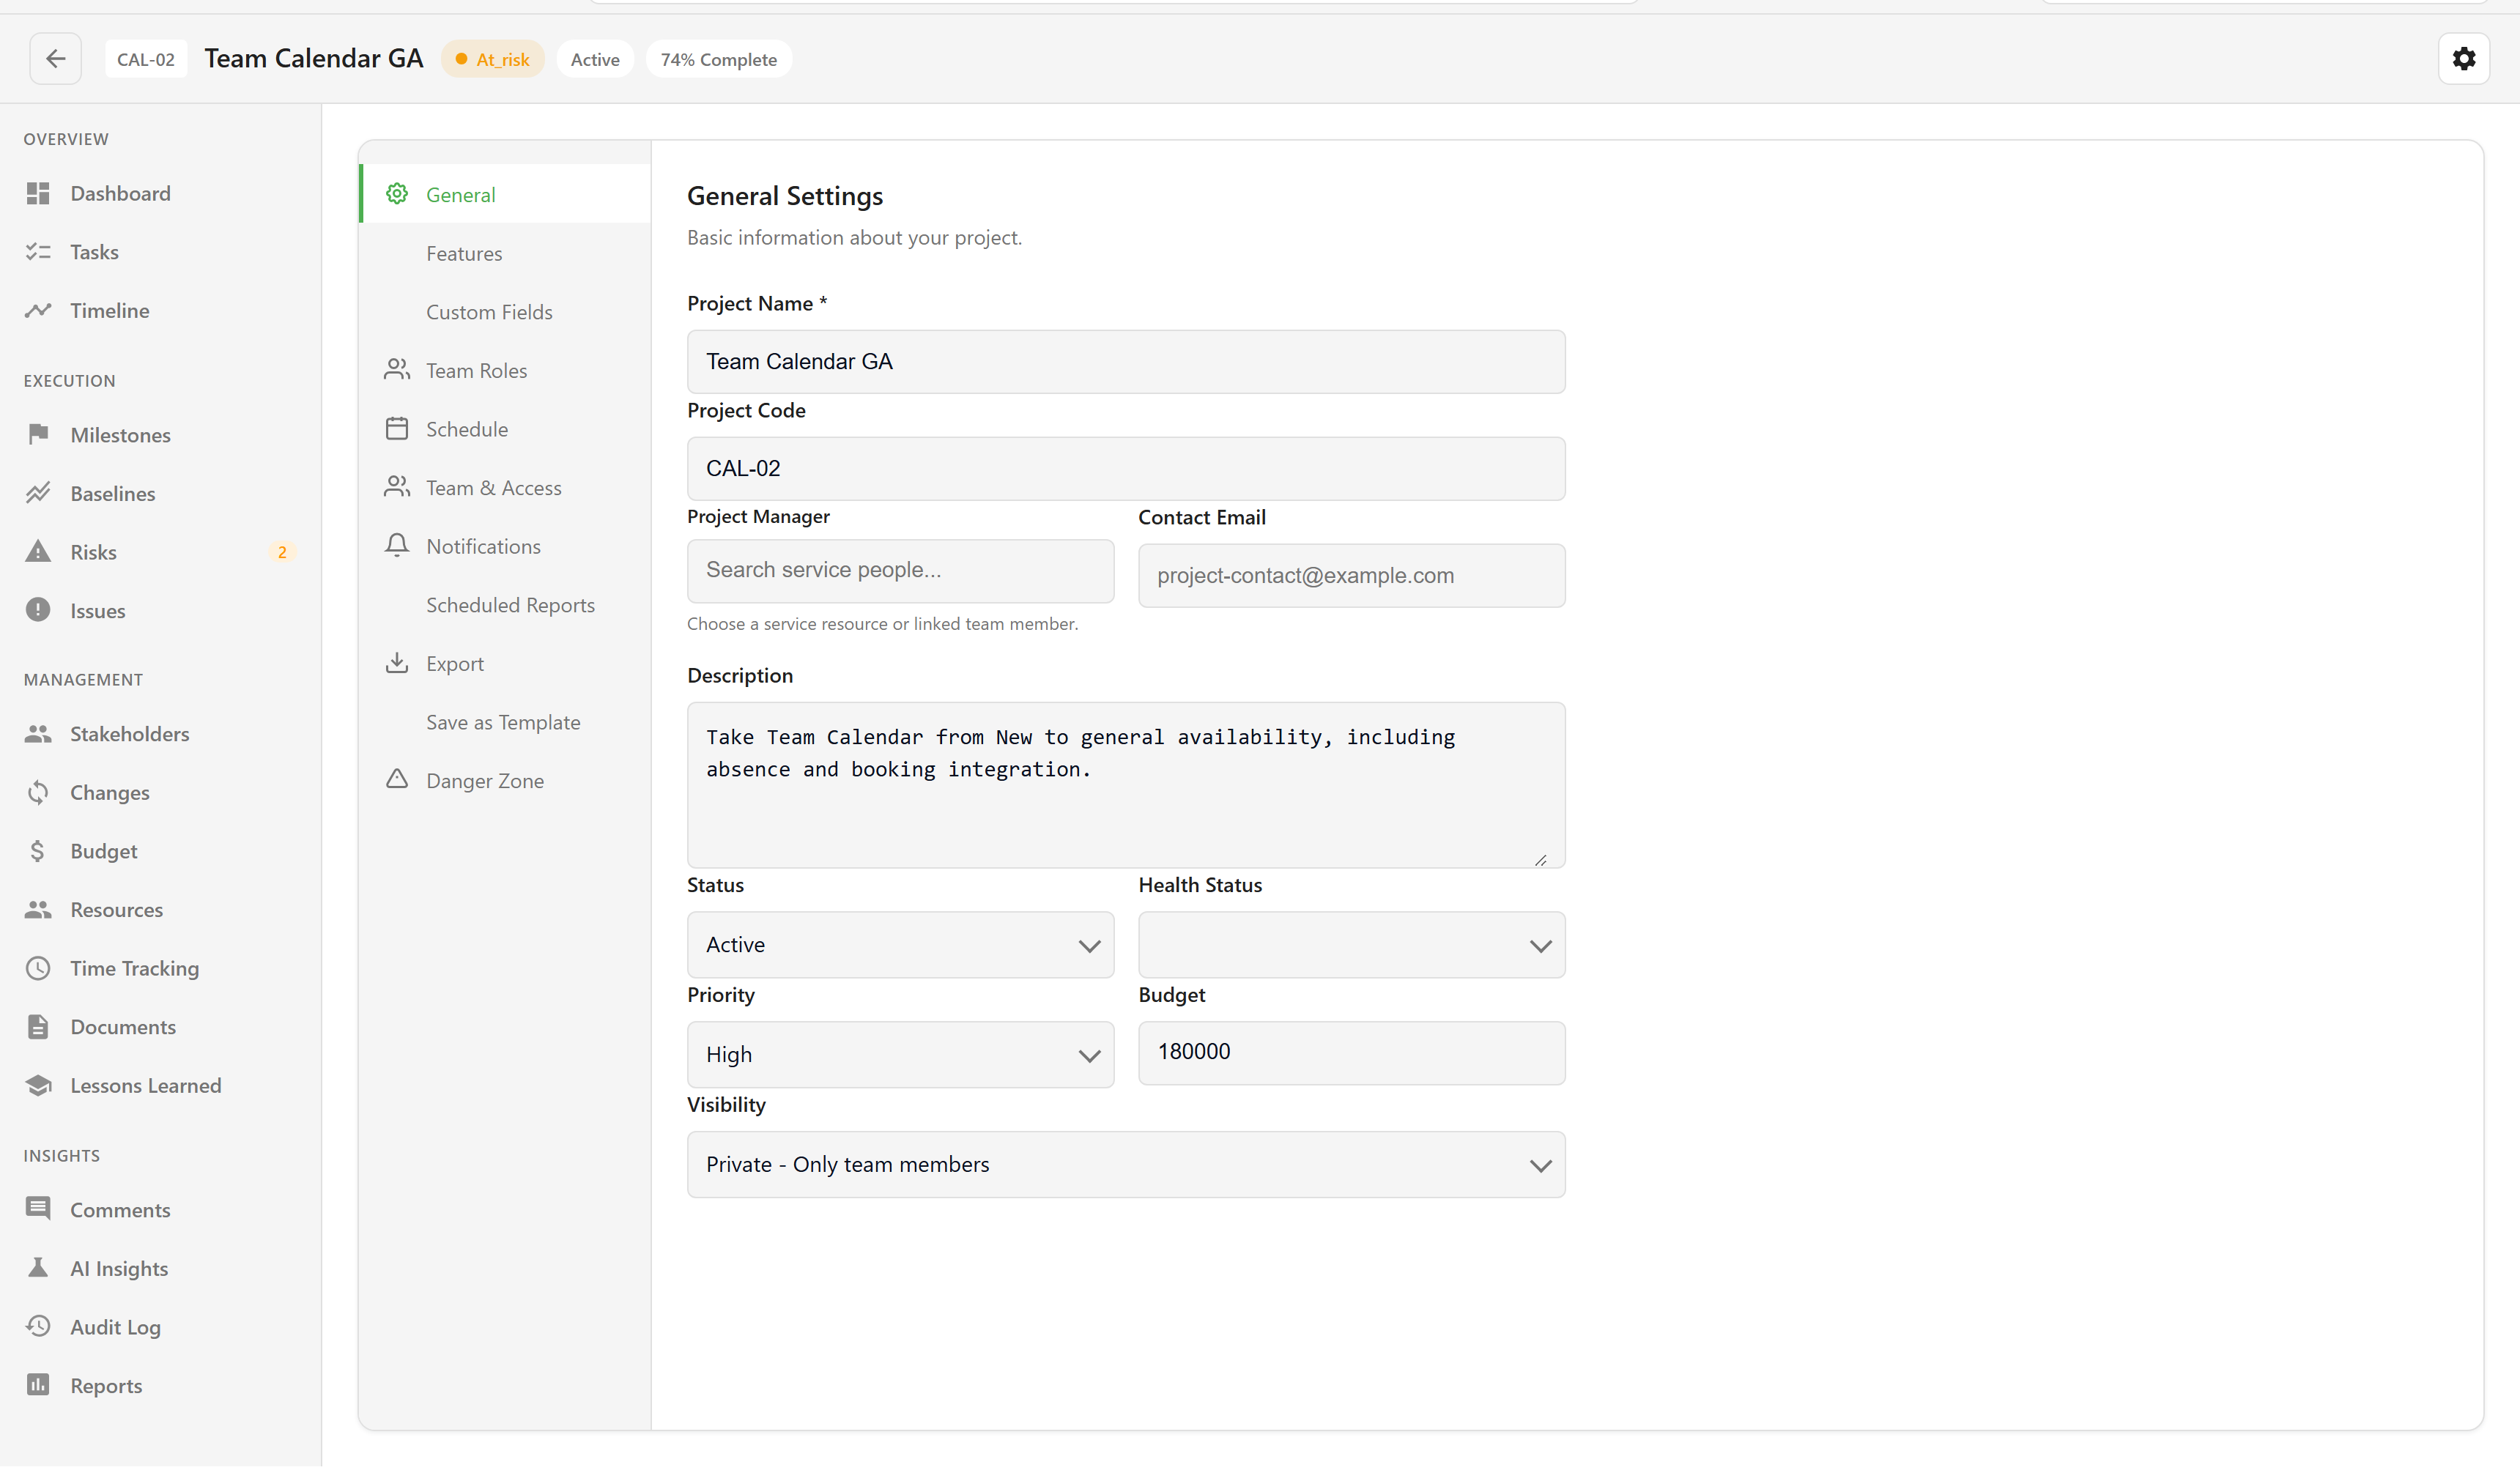
In General, set:
- Project Code: a short handle like
CAL-02that appears on the card and in the header. - Status: move it off Draft once the work is real.
- Priority and Health Status: both drive the filters on the project list.
- Budget: the total you are working to.
Switch to Schedule and set a Start Date and Target End Date. The dashboard cannot show a schedule until both exist.
Choose Save Changes.
3. Link a task board
Section titled “3. Link a task board”A project does not hold tasks of its own. Open Tasks in the left navigation and either + New Board or Link Board.
This step is what makes the rest of the project work. Progress percentage, the timeline, time tracking, and earned value are all computed from the tasks on linked boards. Without one, those sections stay empty.
4. Put people on it
Section titled “4. Put people on it”Open Resources in the left navigation, then + Add Member.
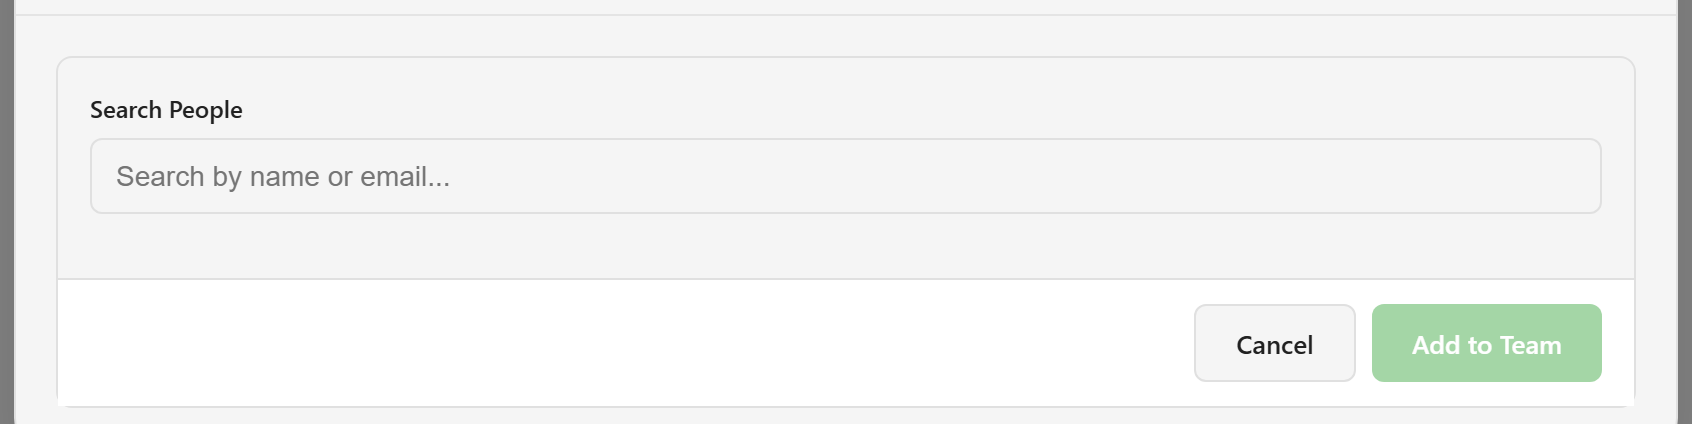
Search for somebody, then set their Role on Project, an Allocation %, and a start date. The allocation slider moves in steps of 10 between 10 and 100.
Anyone you add who is not already in the pool is added to it as a resource.
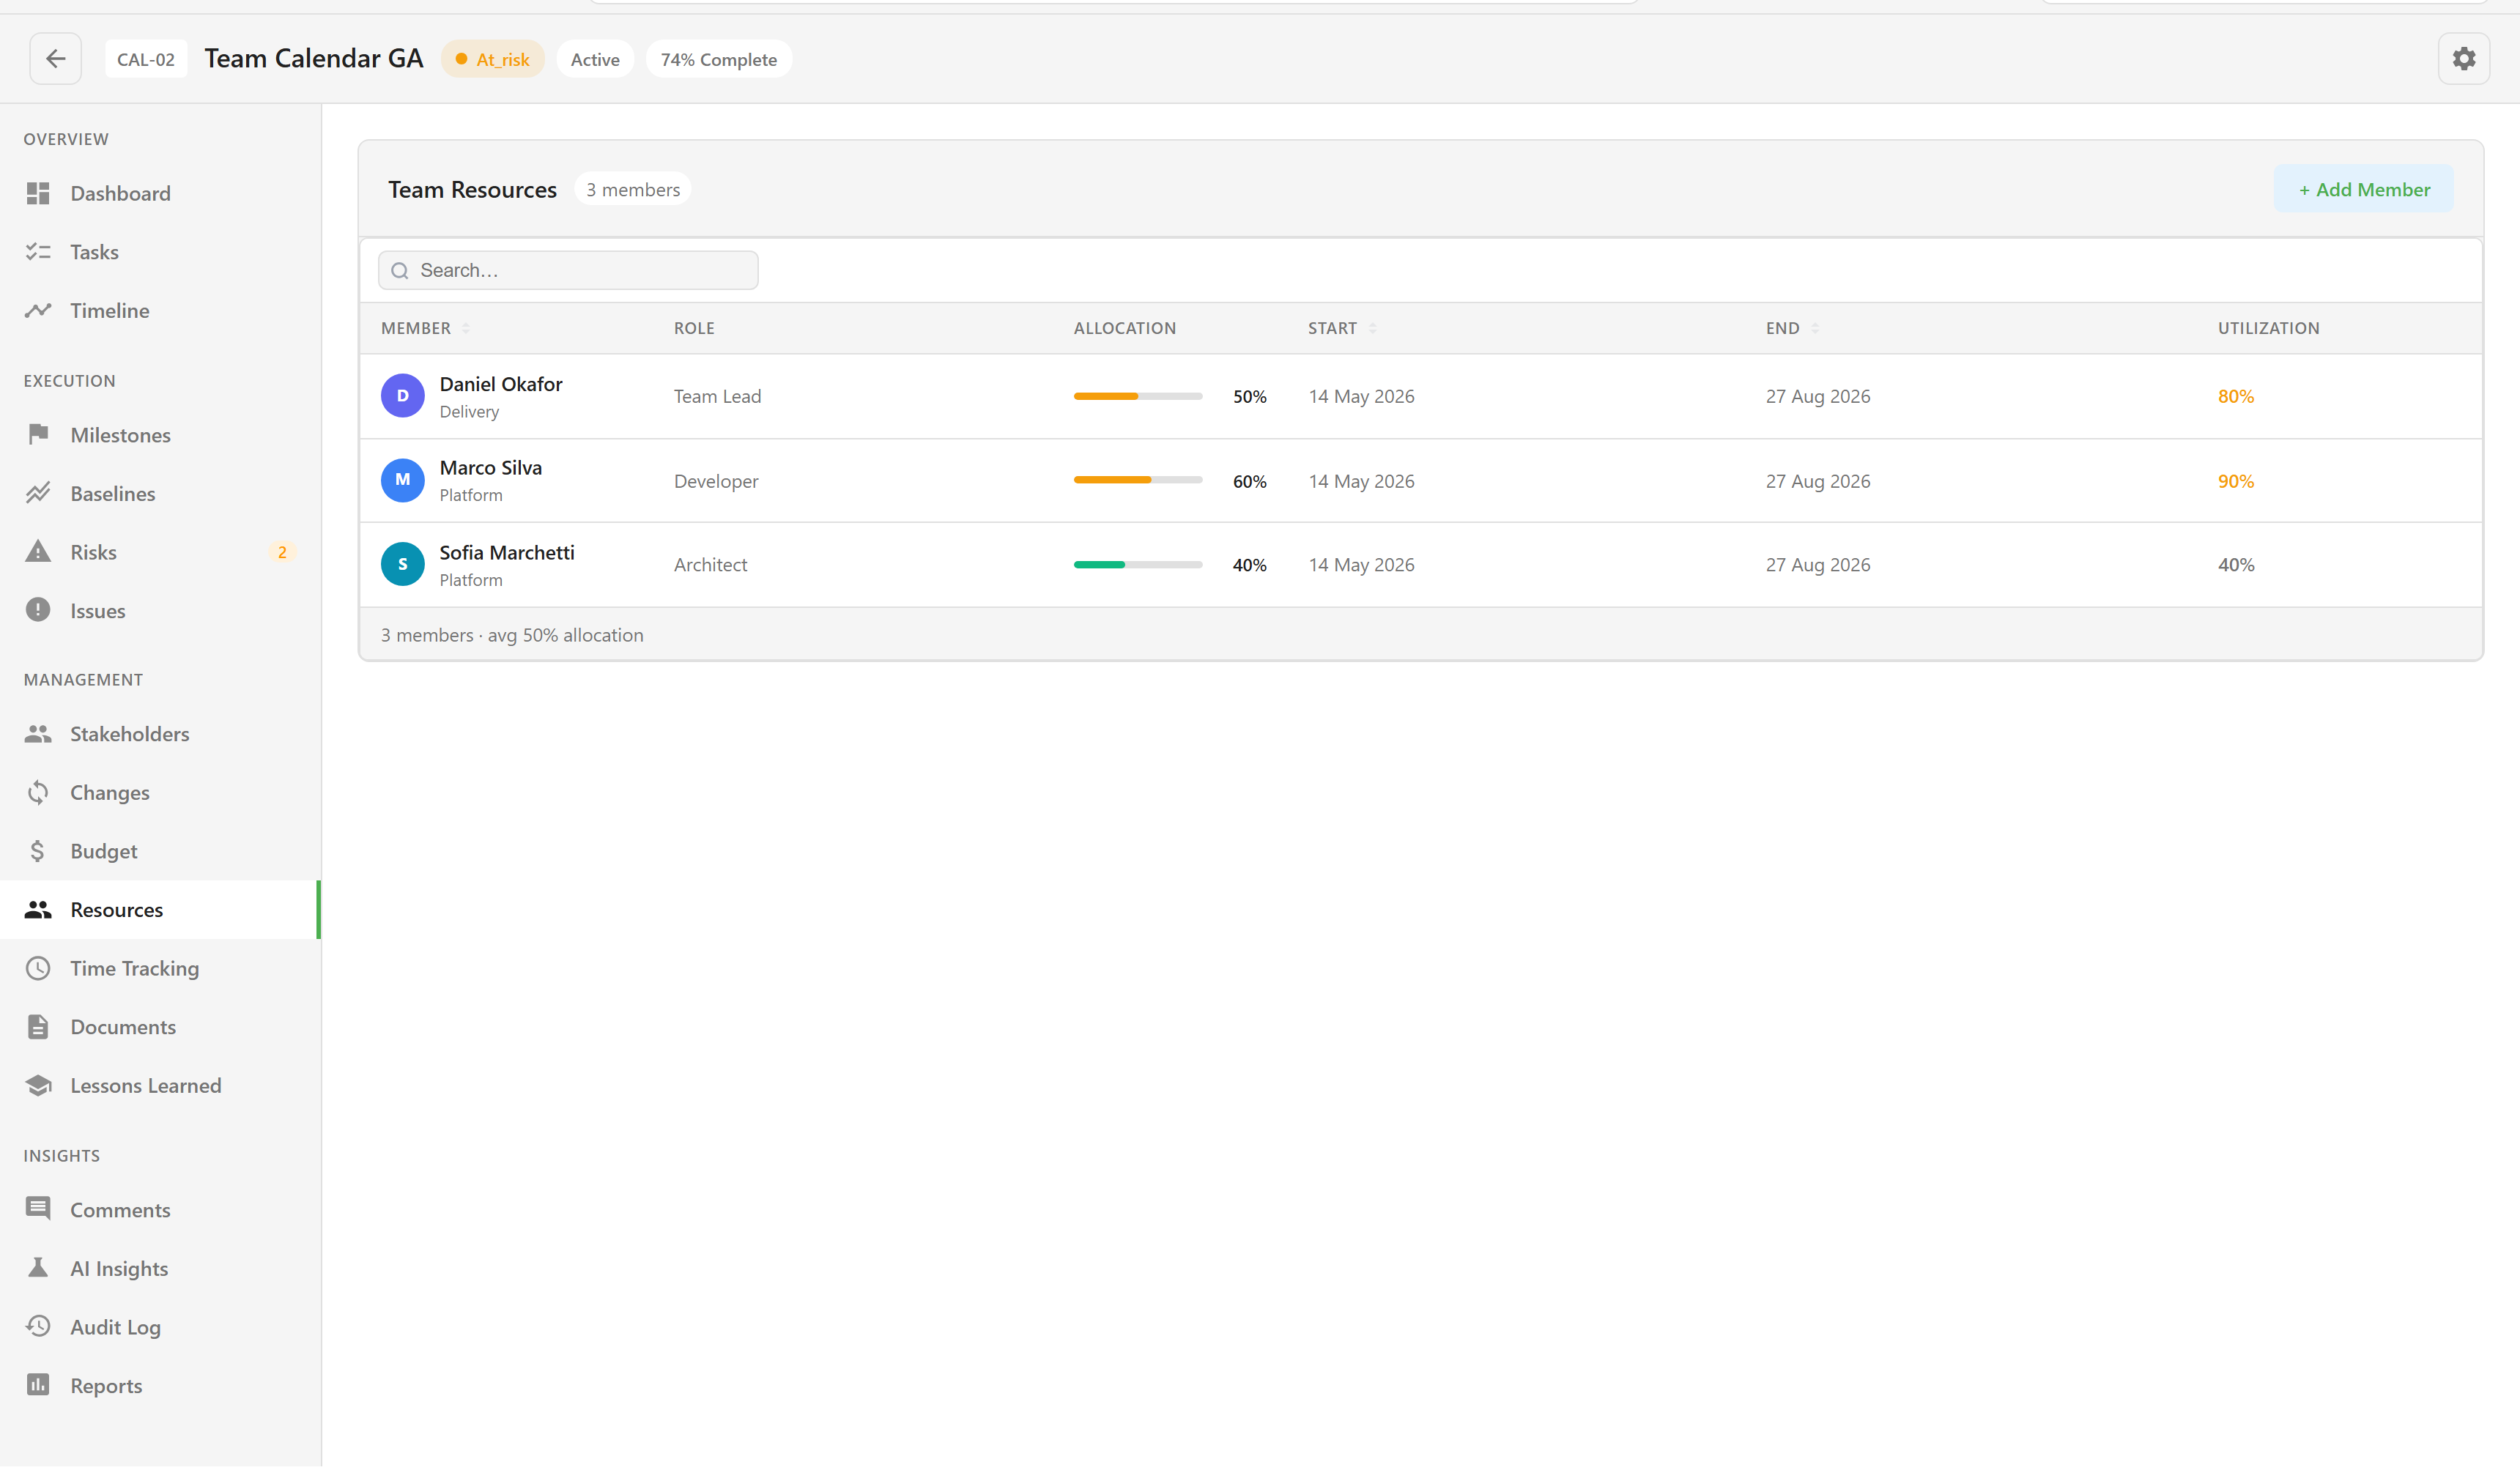
The Utilization column is the person’s total across every project, not just this one. A figure above 100% means they are promised to more work than they have time for.
5. Read the dashboard
Section titled “5. Read the dashboard”Go back to Dashboard.
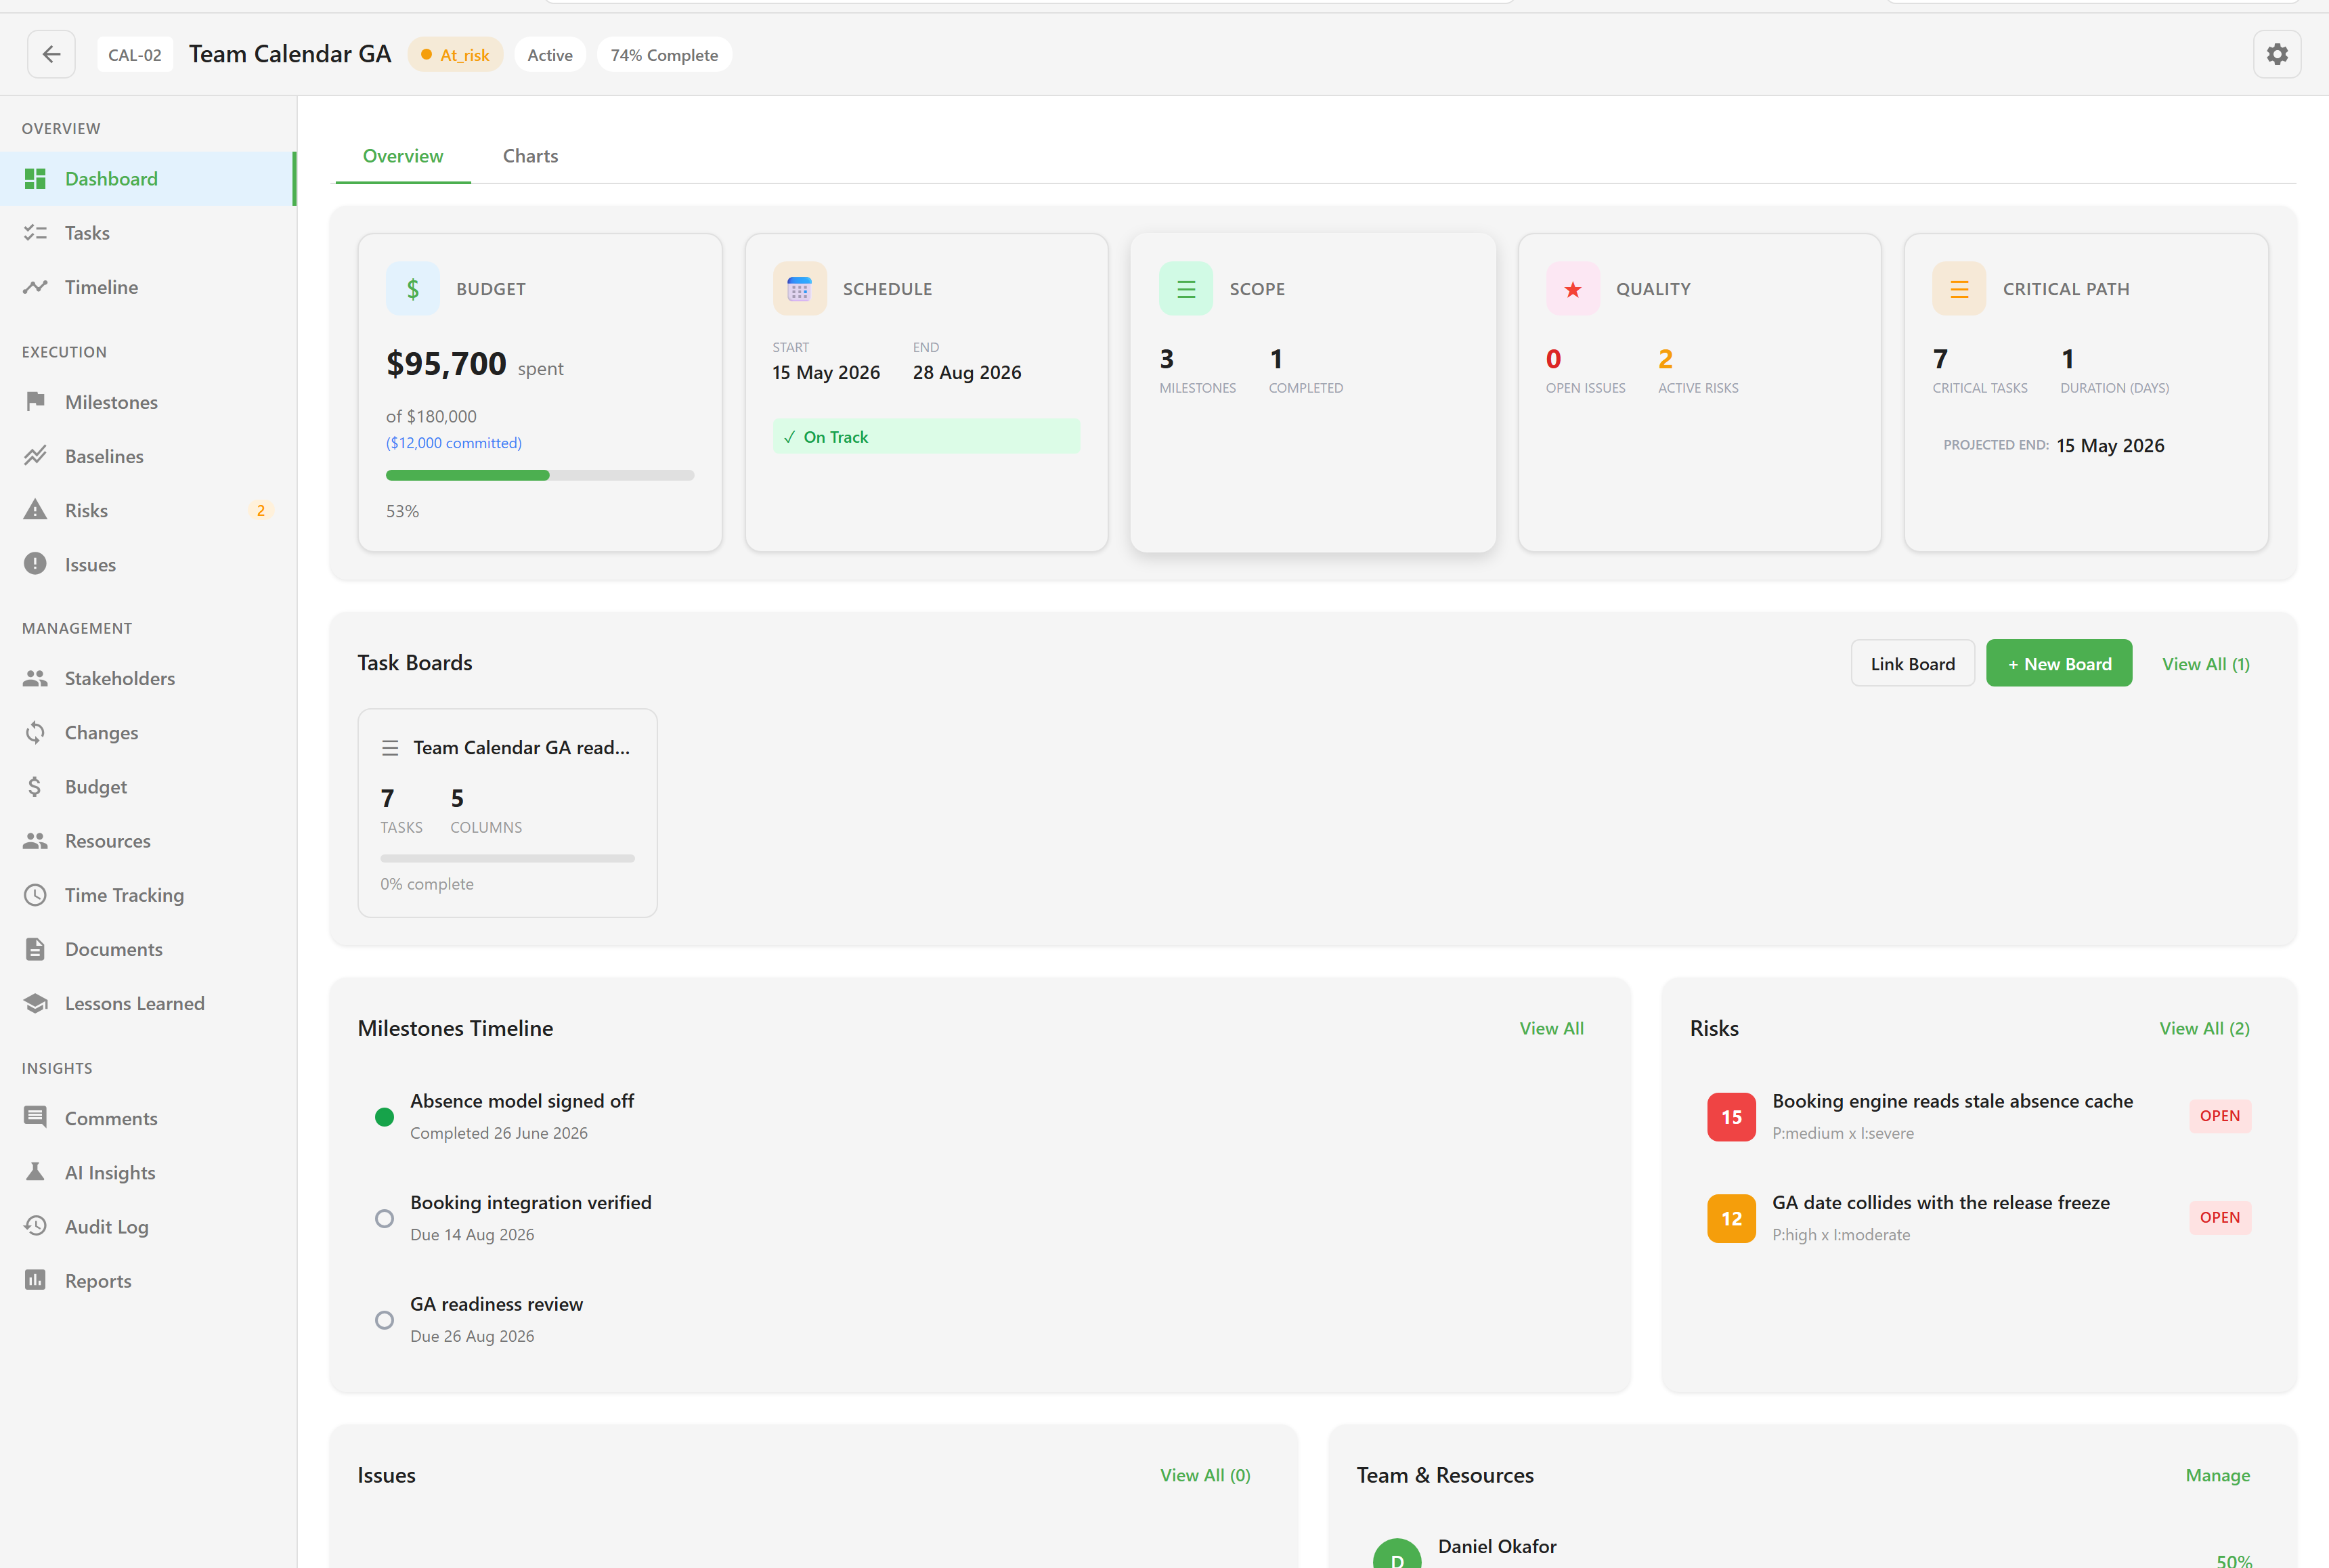
Four tiles summarise the project: Budget spend against total, Schedule against the dates you set, Scope as milestones completed, and Quality as open issues and active risks. Under them sit the linked boards, the milestone timeline, and the risk and issue registers.
Next, read Plan the schedule to add milestones, or Build the resource pool if you want the pool populated before you allocate anyone else.