
Version history and publishing
Audio projects auto-save as you work, but named versions give you stable checkpoints you can restore or publish.
Save manually
Section titled “Save manually”Press Ctrl+S to force a save. The toolbar shows the last saved time next to the project title.
Create a version
Section titled “Create a version”Click Version History in the top toolbar. A panel opens with a list of saved versions and a form to add a new one.
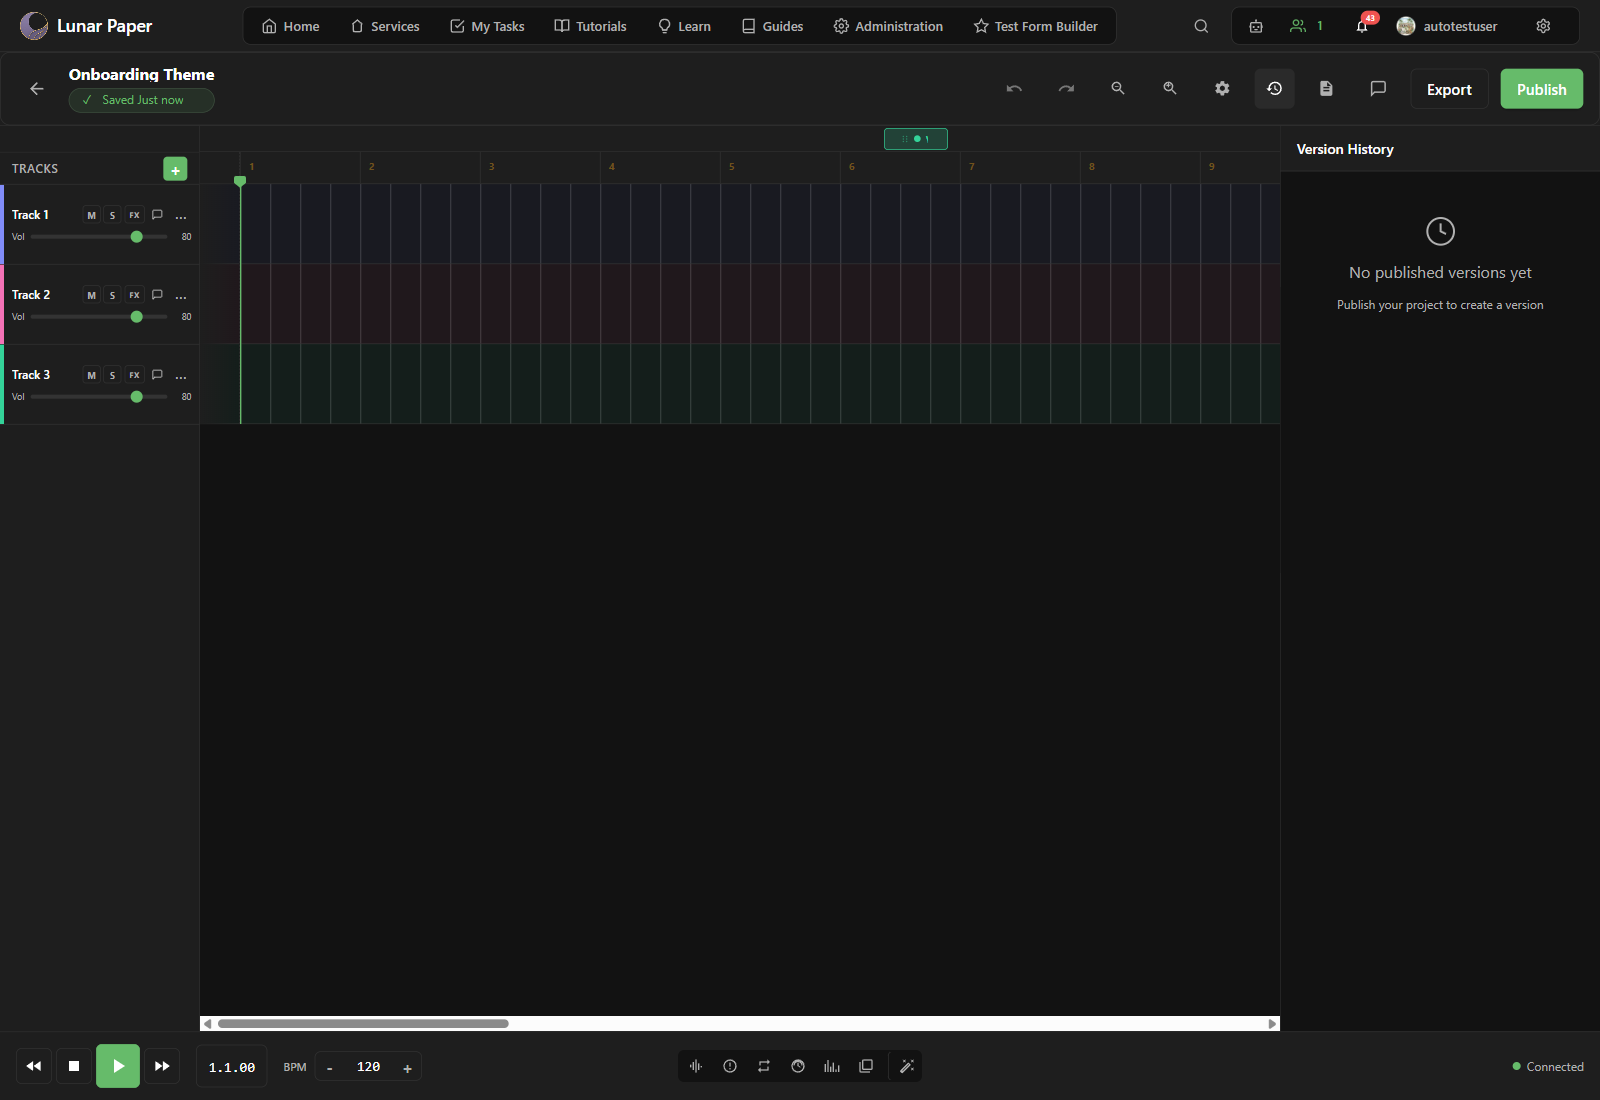
Type a version name and a note such as Added chorus and final mix, then click Add. The version is recorded with a timestamp.
Publish a version
Section titled “Publish a version”Click Publish in the top toolbar to create a public milestone. Collaborators can see published versions, and you can refer to them in exports and comments.
Restore a version
Section titled “Restore a version”In the Version History panel, select a previous version and click Restore. The timeline reverts to that checkpoint. Later versions remain available, so you can switch back if needed.
Edit Log
Section titled “Edit Log”Click Edit Log in the top toolbar to see a chronological list of changes. Use it to understand what changed between versions or to find the moment an edit was made.
Turning a version into a file
Section titled “Turning a version into a file”- Export audio turns a saved version into a file you can share.
- Project Settings reference describes the rest of the top toolbar.