
Create an email
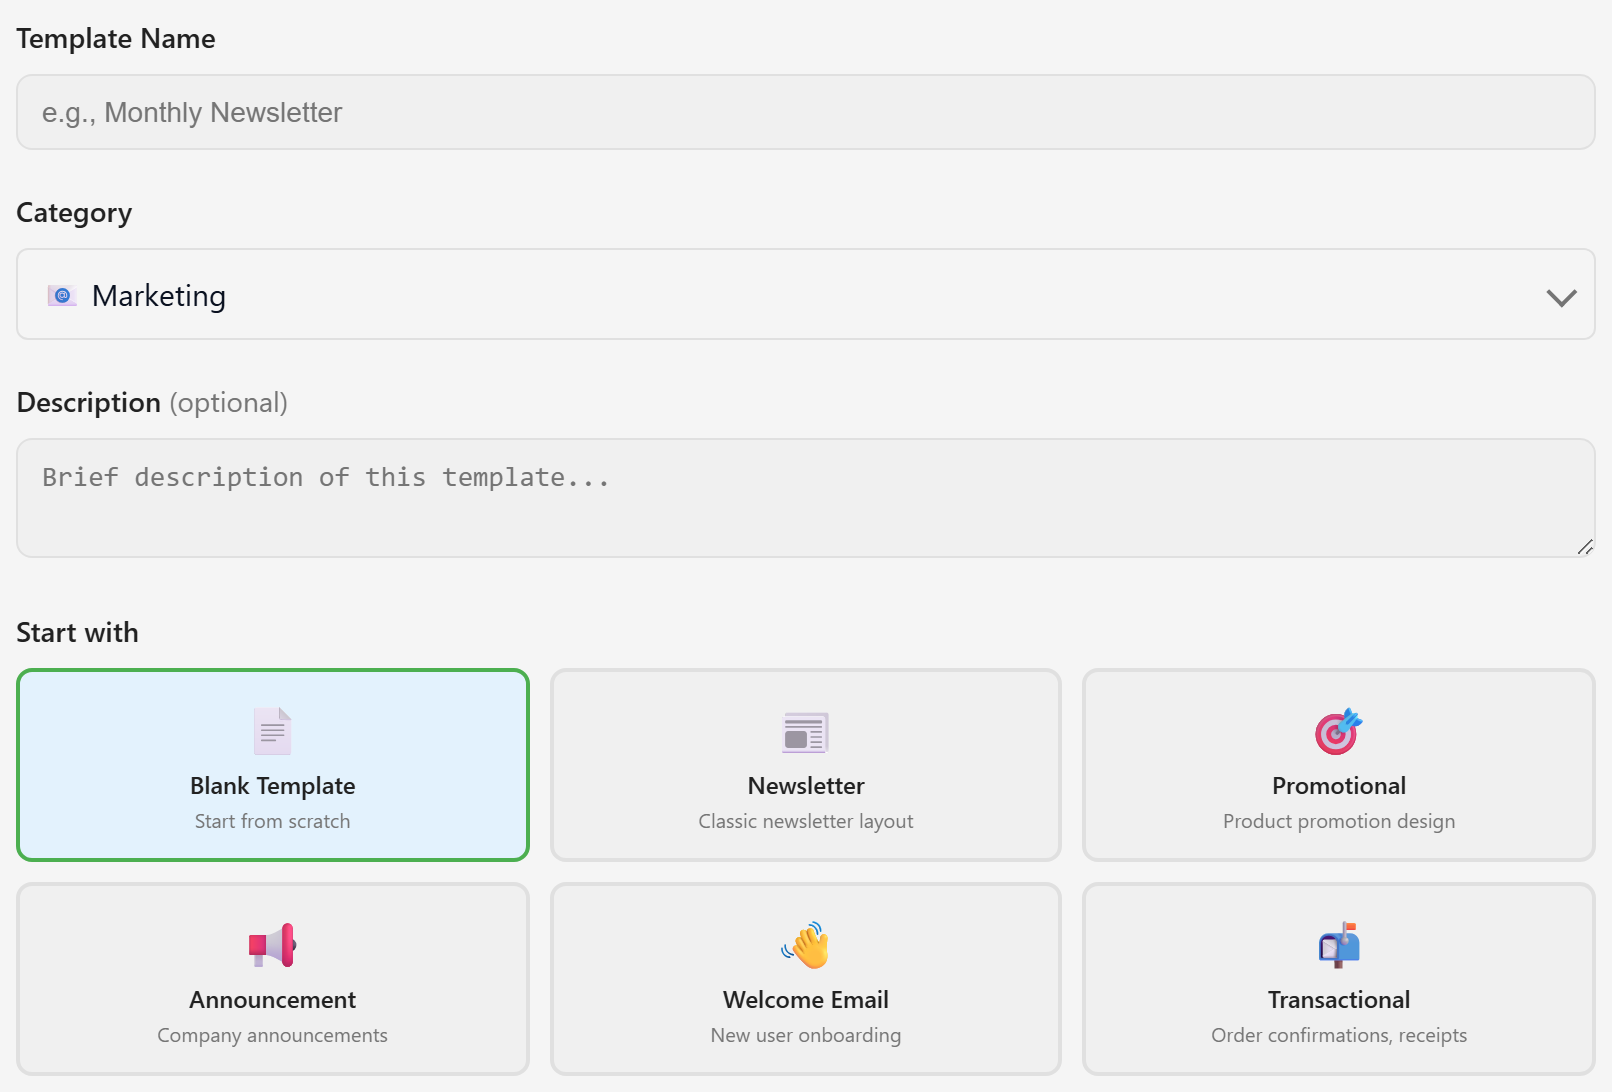
Creating an email takes one dialog. Nothing in it is permanent, so this guide is short — but the category is worth getting right, because it is how the module page finds things later.
Open the dialog
Section titled “Open the dialog”Open Emails under Communications and choose + Create Email.
Name it
Section titled “Name it”The name does two jobs. It labels the card on the module page, and it becomes the default subject line when you send a test.
Both of those work better with a name that describes the email rather than the occasion: “Booking confirmation” rather than “email for the August thing”.
You can rename an email later from Email Settings in the editor.
Pick a category
Section titled “Pick a category”Six categories: Marketing, Transactional, Notification, Newsletter, Onboarding, and Custom.
The category is the filter row on the module page, and that is the whole of what it does. It does not change how the email behaves, who can open it, or how it sends.
Which means the only reason to care is finding the email again. On a service with six emails, it barely matters. On a service with sixty, an email in the wrong category is an email nobody finds.
Pick from these six and no others. A template can end up carrying a category outside this list — some of the templates that ship with the platform do — and when that happens no filter button will ever show it. Troubleshooting covers what that looks like.
Describe it
Section titled “Describe it”The description is optional and shows on the card under the name. One line saying when the email goes out and to whom saves opening it to find out.
Choose a starting layout
Section titled “Choose a starting layout”Six options under Start with:
Blank Template gives you an empty canvas.
Newsletter, Promotional, Announcement, Welcome Email, and Transactional each drop in a rough structure for that kind of email.
The five structured ones are starting points, not themes — everything they add is an ordinary block you then edit or delete. Picking one is never a commitment, and picking Blank is never extra work beyond dragging in a heading.
If you have built emails here before, the more useful starting point is usually a template your service saved earlier. Reuse with snippets and templates covers that.
Create
Section titled “Create”Choose Create Email. The editor opens with the block library on the left, the canvas in the middle, and the properties panel on the right.
The email is saved from this point and appears on the module page immediately.
What the card shows afterwards
Section titled “What the card shows afterwards”Each email gets a card with its name, description, category badge, and the date it was last updated. Edit opens it and Use in Campaign hands it to Marketing. Duplicate and Delete are on the card too.
Templates that ship with the platform carry a System badge. They have Duplicate but no Delete, and they cannot be edited in place — duplicating one gives you a copy of your own that you can change freely.
Build with blocks fills the empty canvas.